
It's a Mystery! Part 2
Now that you’ve chosen fabrics for your mystery quilt it’s time to get cutting.
*** Remember to use the highlighter marker to highlight the cutting instructions for the quilt size you are making.
*** All strips are cut width of fabric unless otherwise specified (borders).
***Try to use the smaller bits at the end of the already sub-cut strips for other pieces then you'll have larger scraps left over for other projects.
*** scroll to the bottom of the page for a printable PDF
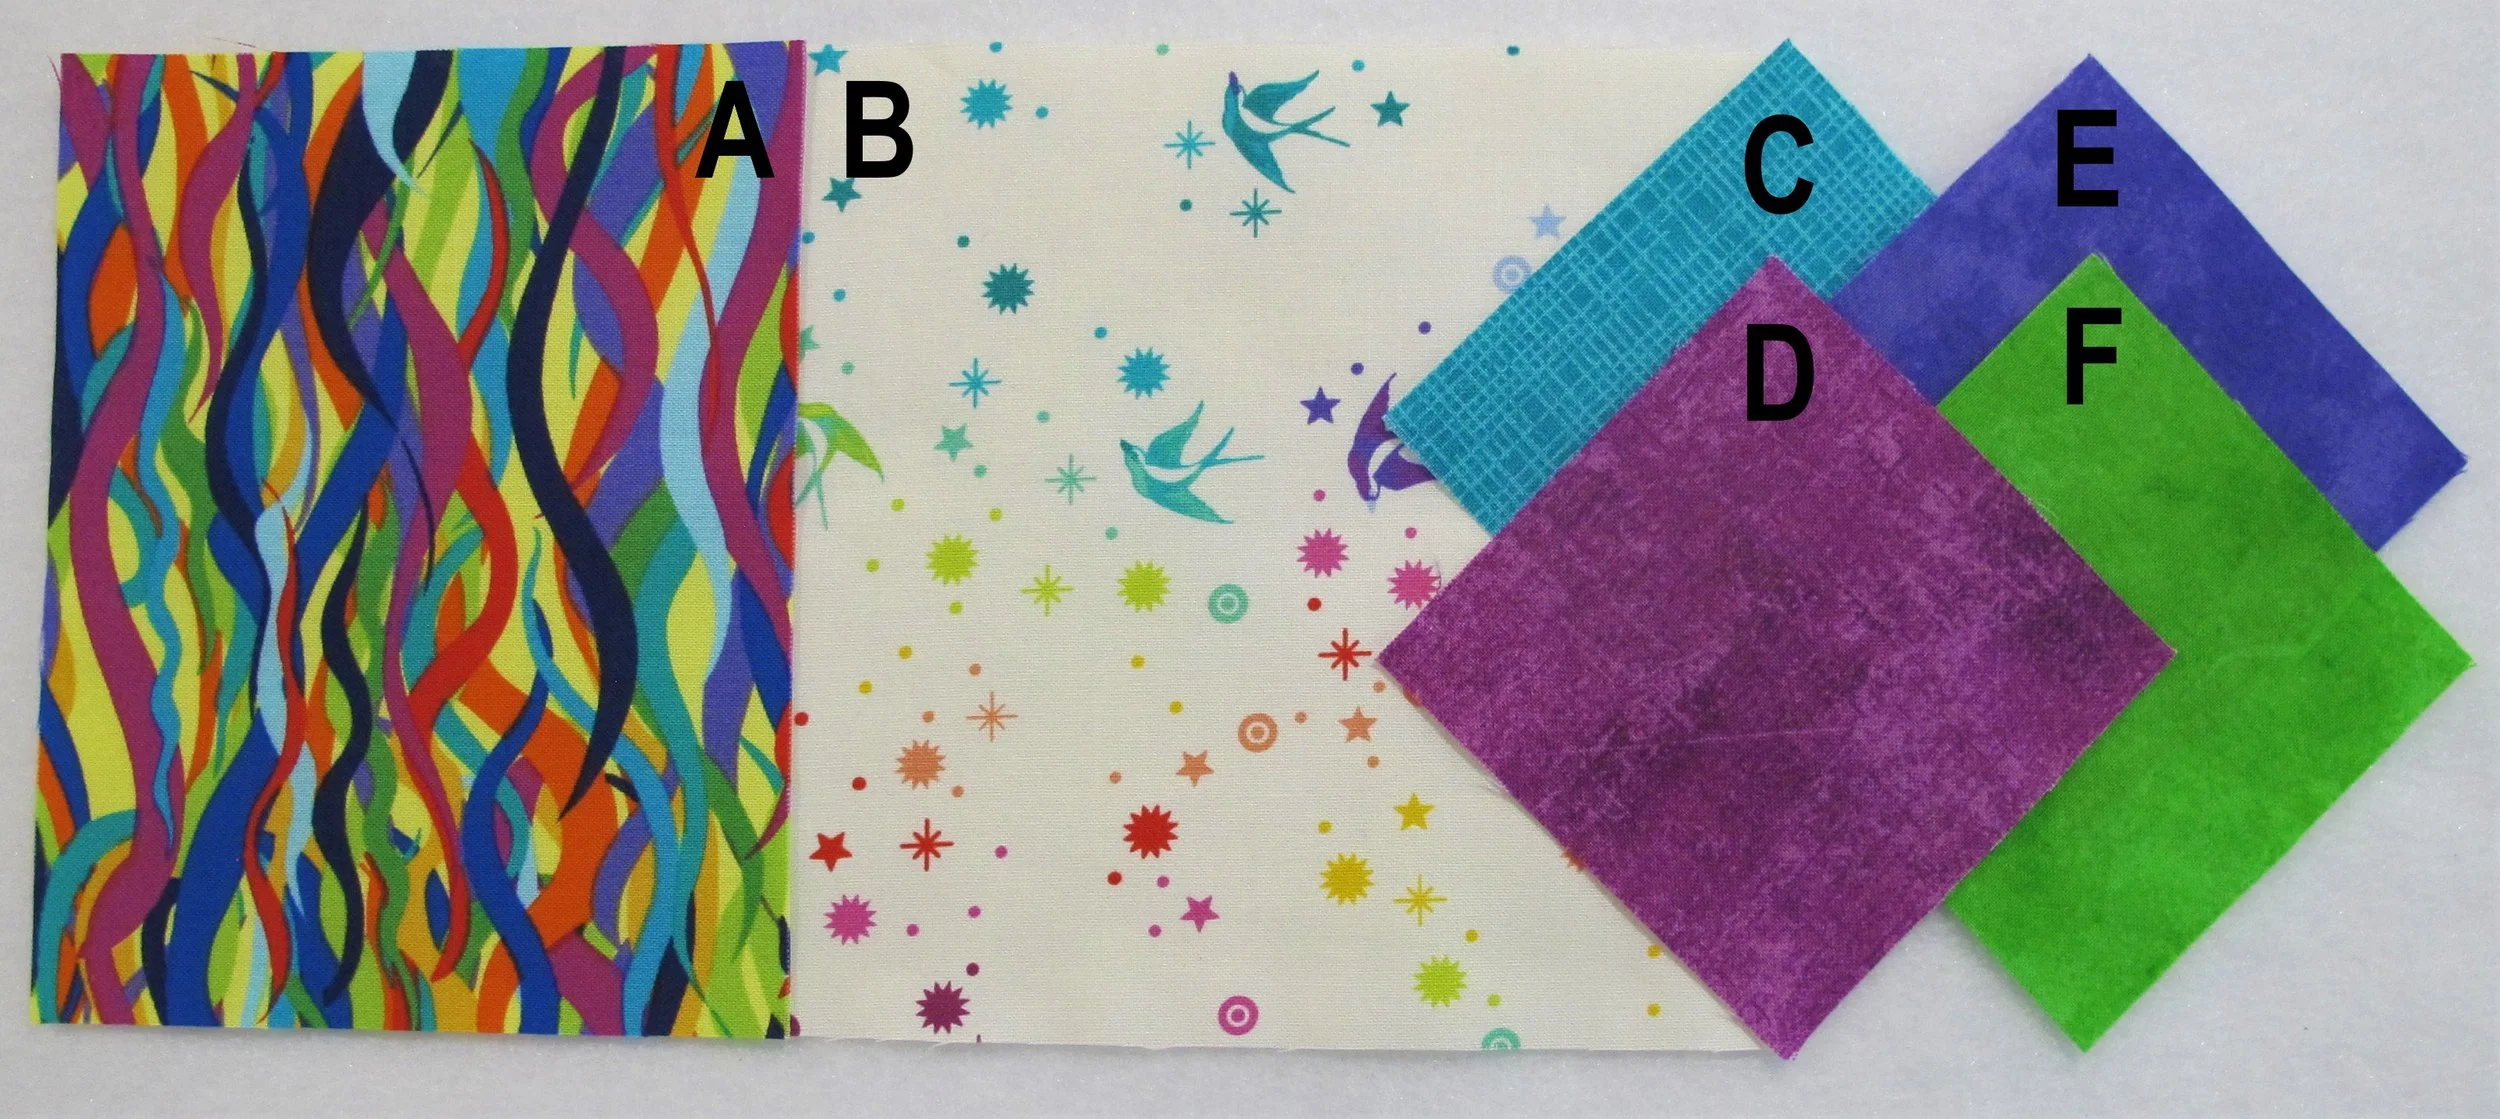
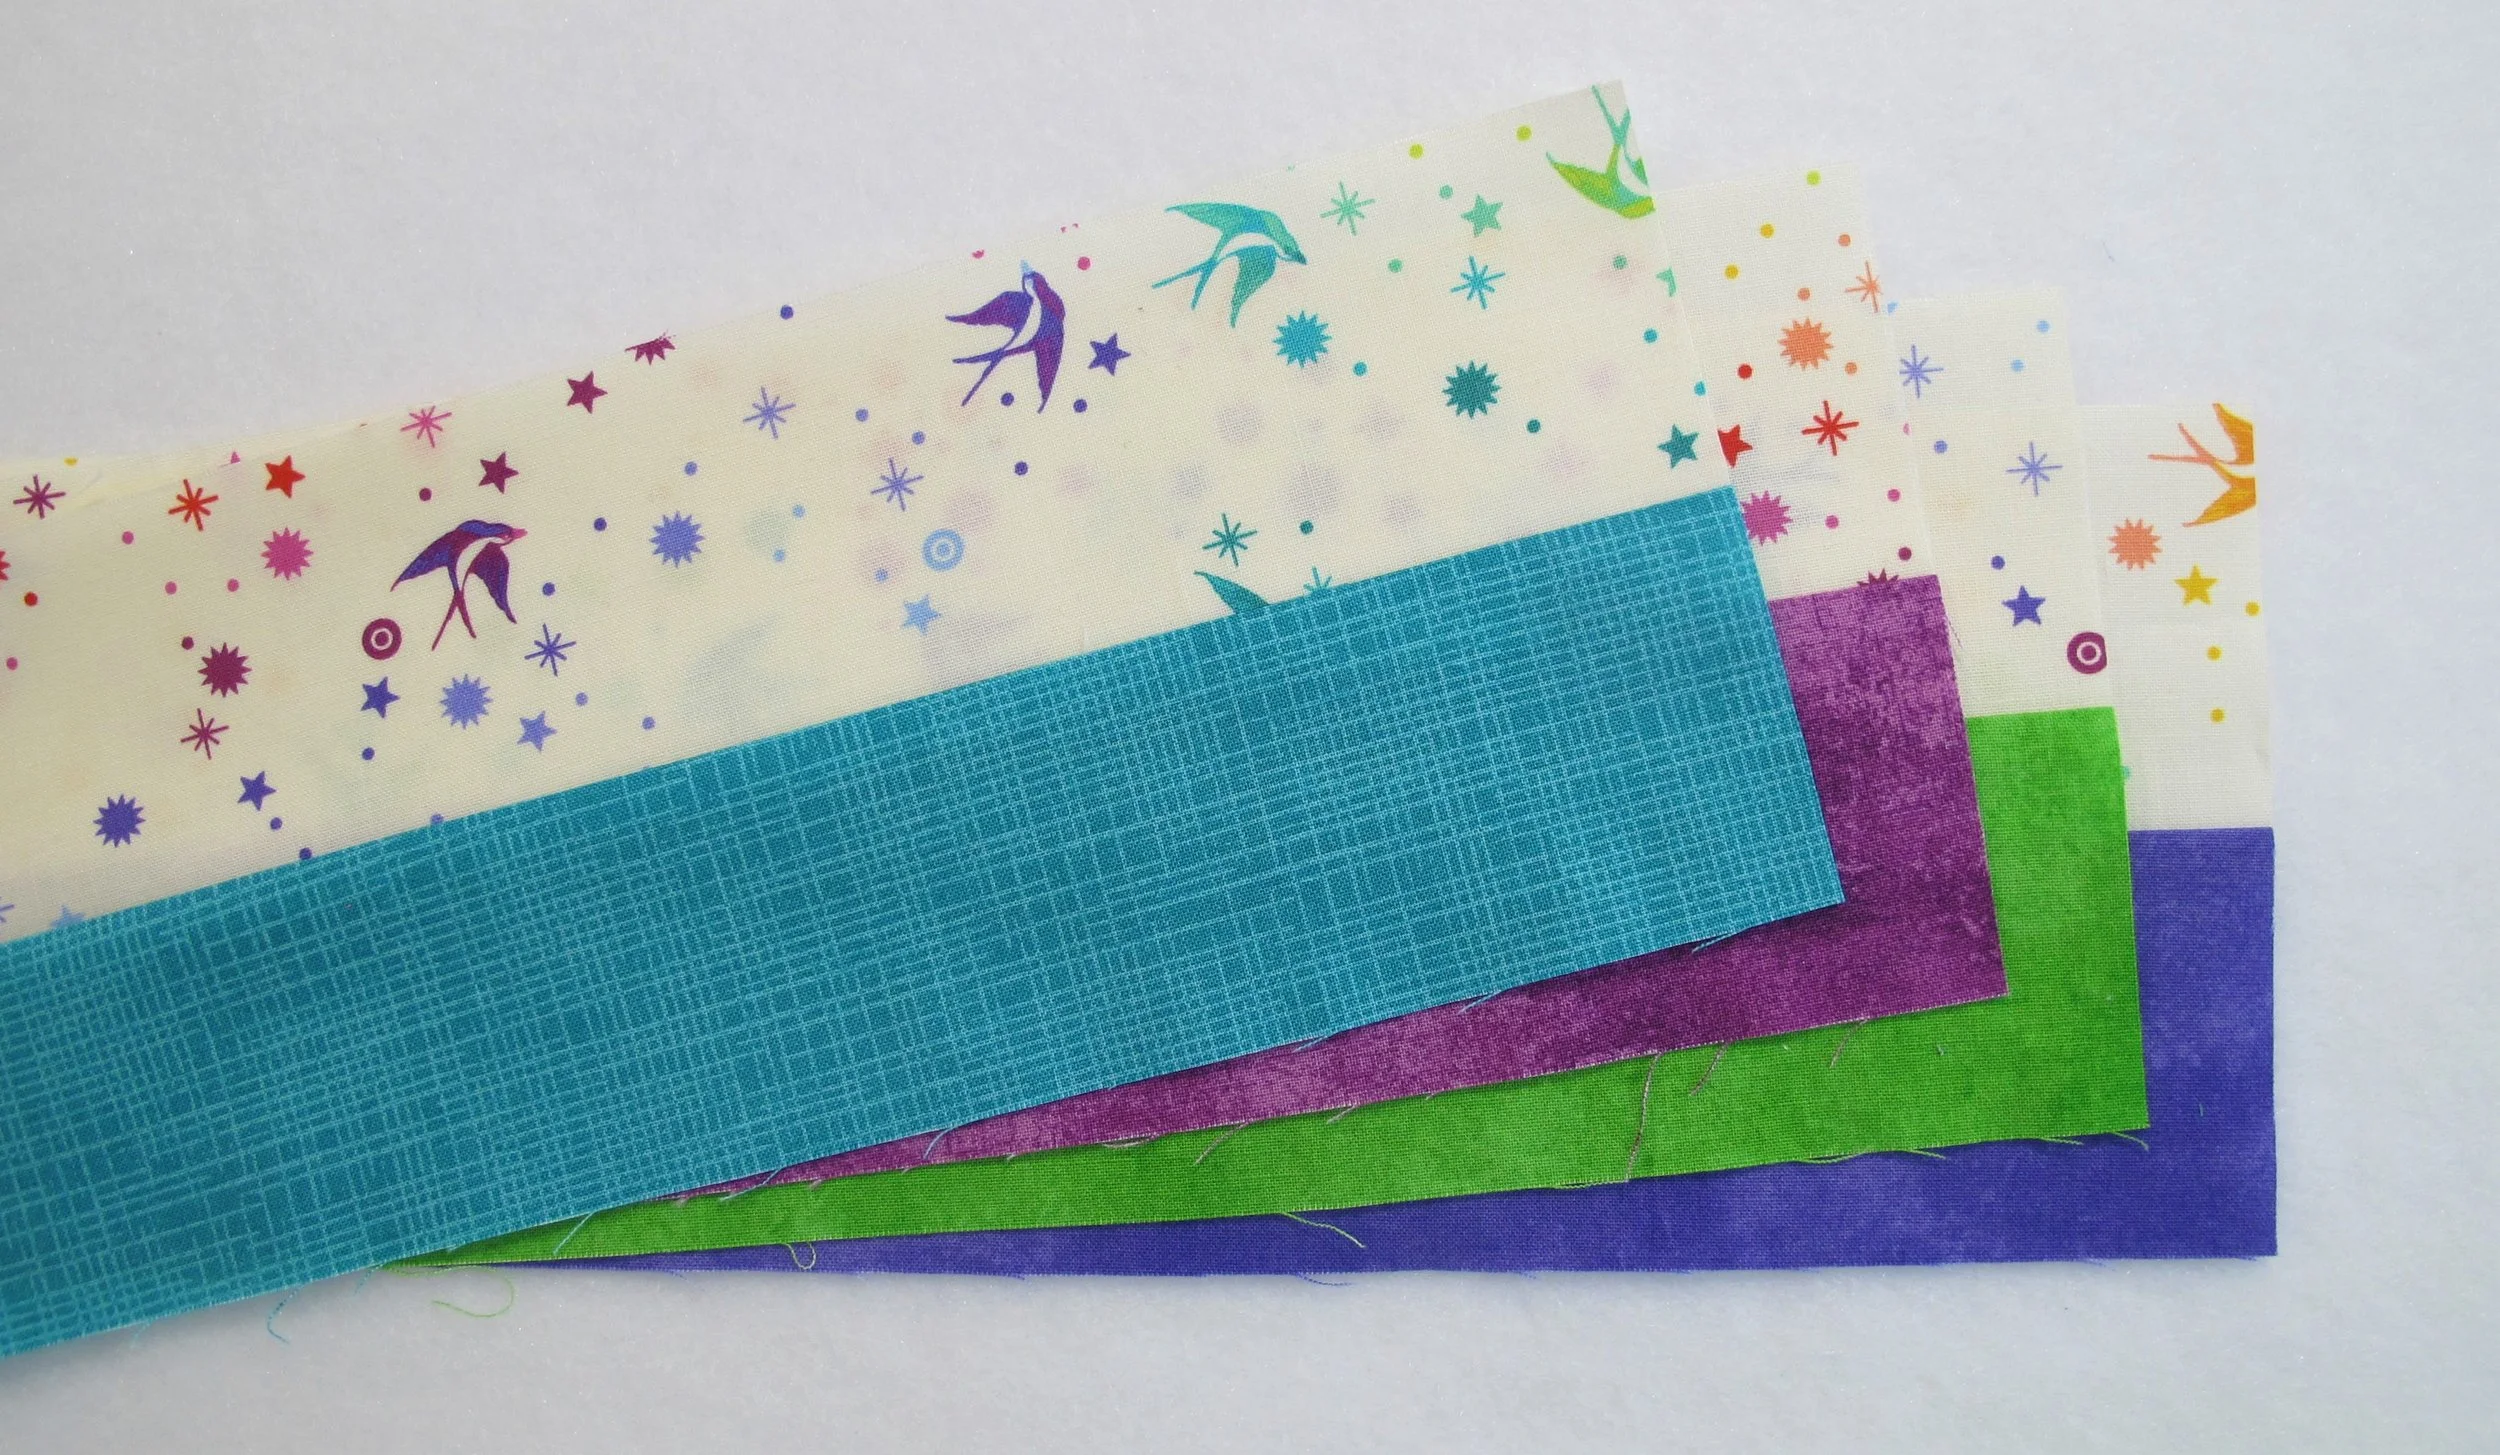
Sharon’s Hint: Keep track of the fabrics used by making a master sheet of paper with your fabrics labelled (kind of like my photo above) so you can stay organized.
Clue 1: Cut fabric A Main print as follows: Notice that you have a choice of cutting “A” Lengthwise borders (no piecing, all one length) or “B” Width of Fabric borders (pieced to make the proper length)
“A” Lengthwise strips:
***If you need guidance with this step check out the Cutting Lengthwise Borders tutorial.
Lap-
cut four 4 ½” lengthwise borders and put in a marked baggie- “borders”
with the fabric left over after cutting the lengthwise borders cut one more 4 ½” lengthwise strip and sub cut into 12 4 ½” squares
Twin-
cut four 6 ½” lengthwise borders and put in a marked baggie- “borders”
with the fabric left over after cutting the lengthwise borders cut one 4 ½” lengthwise strip and sub cut into 19 4 ½” squares. ***5 more squares are needed for a total of 24 4 ½” squares...cut those from the remaining scraps
Queen-
Cut one 4 ½” strip
with the remaining fabric cut four 6 ½” lengthwise borders and put in a marked baggie- “borders”
cut two more 4 ½” lengthwise strips and sub cut into 40 4 ½” squares. ***2 more squares are needed for a total of 42 4 ½” squares...cut those from the 4 ½” strip
“B” Width of Fabric strips:
***If you need guidance with this step check out the Proper Cutting Techniques tutorial.
Lap-
cut six 4 ½” strips and put 4 in a marked baggie- “borders”
from two strips cut 12 4 ½” squares and put the remaining piece of strip in the baggie in the “borders” bag with the other four
Twin-
cut eight 6 ½” strips and put in a marked baggie- “borders”
cut three 4 ½” strips and sub cut into 24 4 ½” squares.
Queen-
cut nine 6 ½” strips and put in a marked baggie- “borders”
cut five 4 ½” strips and sub cut into 42 4 ½” squares.
Clue 2: Cut fabric B Background as follows:
Cut 5 ¾” strips (L-2, T-4, Q-6) and sub cut into 5 ¾” squares (L-12, T-24, Q-42).
Cut 3 ¼” strips (L-4, T-8, Q-14) and sub cut into 3 ¼” squares (L-48, T-96, Q-168).
Cut 2 ½” strips (L-5, T-7, Q-9) and sub cut into 2 ½” x 12 ½” rectangles (L-14, T-20, Q-26).
Cut 2 ½” strips (L-6, T-11, Q-19) and sub cut into 2 ½” x 4 ½” rectangles (L-48, T-96, Q-168).
Cut 2 ½” strips (L-4, T-8, Q-12). These will be used for strip-piecing with the coordinates below.
With remaining left-overs cut four 2 ½” squares and place in a baggie.
Clue 3: Cut fabric C (medium/dark tone on tone) as follows:
Cut 5 ¾” strips (L-1, T-1, Q-2) and sub cut into 5 ¾” squares (L-3, T-6, Q-11).
Cut 3 ¼” strips (L-1, T-2, Q-4) and sub cut into 3 ¼” squares (L-12, T-24, Q-44).
Cut 2 ½” strips (L-1, T-2, Q-3). These will be used for strip-piecing with the background.
Cut 2 ½” strips (L-2, T-3, Q-4) and sub cut into 2 ½” squares (L-20, T-35, Q-56).
Put one 2 ½” square in the baggie with the four 2 ½” squares from the bottom of Clue 2.
Clue 4: Cut fabric D (medium/dark tone on tone) as follows:
Cut 5 ¾” strips (L-1, T-1, Q-2) and sub cut into 5 ¾” squares (L-3, T-6, Q-11).
Cut 3 ¼” strips (L-1, T-2, Q-4) and sub cut into 3 ¼” squares (L-12, T-24, Q-44).
Cut 2 ½” strips (L-1, T-2, Q-3). These will be used for strip-piecing with the background.
Cut 2 ½” strips (L-2, T-3, Q-4) and sub cut into 2 ½” squares (L-20, T-35, Q-56).
Put one 2 ½” square in the baggie with the four 2 ½” squares from the bottom of Clue 2.
Clue 5: Cut fabric E (medium/dark tone on tone) as follows:
Cut 5 ¾” strips (L-1, T-1, Q-2) and sub cut into 5 ¾ ” squares (L-3, T-6, Q-10).
Cut 3 ¼” strips (L-1, T-2, Q-4) and sub cut into 3 ¼” squares (L12, T-24, Q-40).
Cut 2 ½” strips (L-1, T-2, Q-3). These will be used for strip-piecing with the background.
Cut 2 ½” strips (L-1, T-3, Q-4) and sub cut into 2 ½” squares (L-16, T-35, Q-56).
Put one 2 ½” square in the baggie with the four 2 ½” squares from the bottom of Clue 2.
Clue 6: Cut fabric F (medium/dark tone on tone) as follows:
Cut 5 ¾” strips (L-1, T-1, Q-2) and sub cut into 5 ¾” squares (L-3, T-6, Q-10).
Cut 3 ¼” strips (L-1, T-2, Q-4) and sub cut into 3 ¼ ” squares (L12, T-24, Q-40).
Cut 2 ½” strips (L-1, T-2, Q-3). These will be used for strip-piecing with the background.
Cut 2 ½” strips (L-1, T-3, Q-4) and sub cut into 2 ½” squares (L-16, T-35, Q-56).
Put one 2 ½” square in the baggie with the four 2 ½” squares from the bottom of Clue 2.
Clue 7:
Binding:
Cut 2 ½” strips (L-6, T-8, Q-10)
Clue 8: Gather up the 3 ¼” squares from Clues 3, 4, 5 and 6 and the 3 ¼” background squares from Clue 2 and draw a diagonal line on the wrong side of each one...I know...you're hating me right now!
Gather up the 2 ½” squares from Clues 3, 4, 5 and 6 and do the same, unless you already know how to use diagonal seam tape or have a Sew Straight tool or Clearly Perfect Angles tool. These tools can be used for these smaller squares when it comes time to later.
Sewing: ***Use a scant ¼” throughout unless otherwise specified (when making flying geese). If you don’t know what this is check out the tutorial.
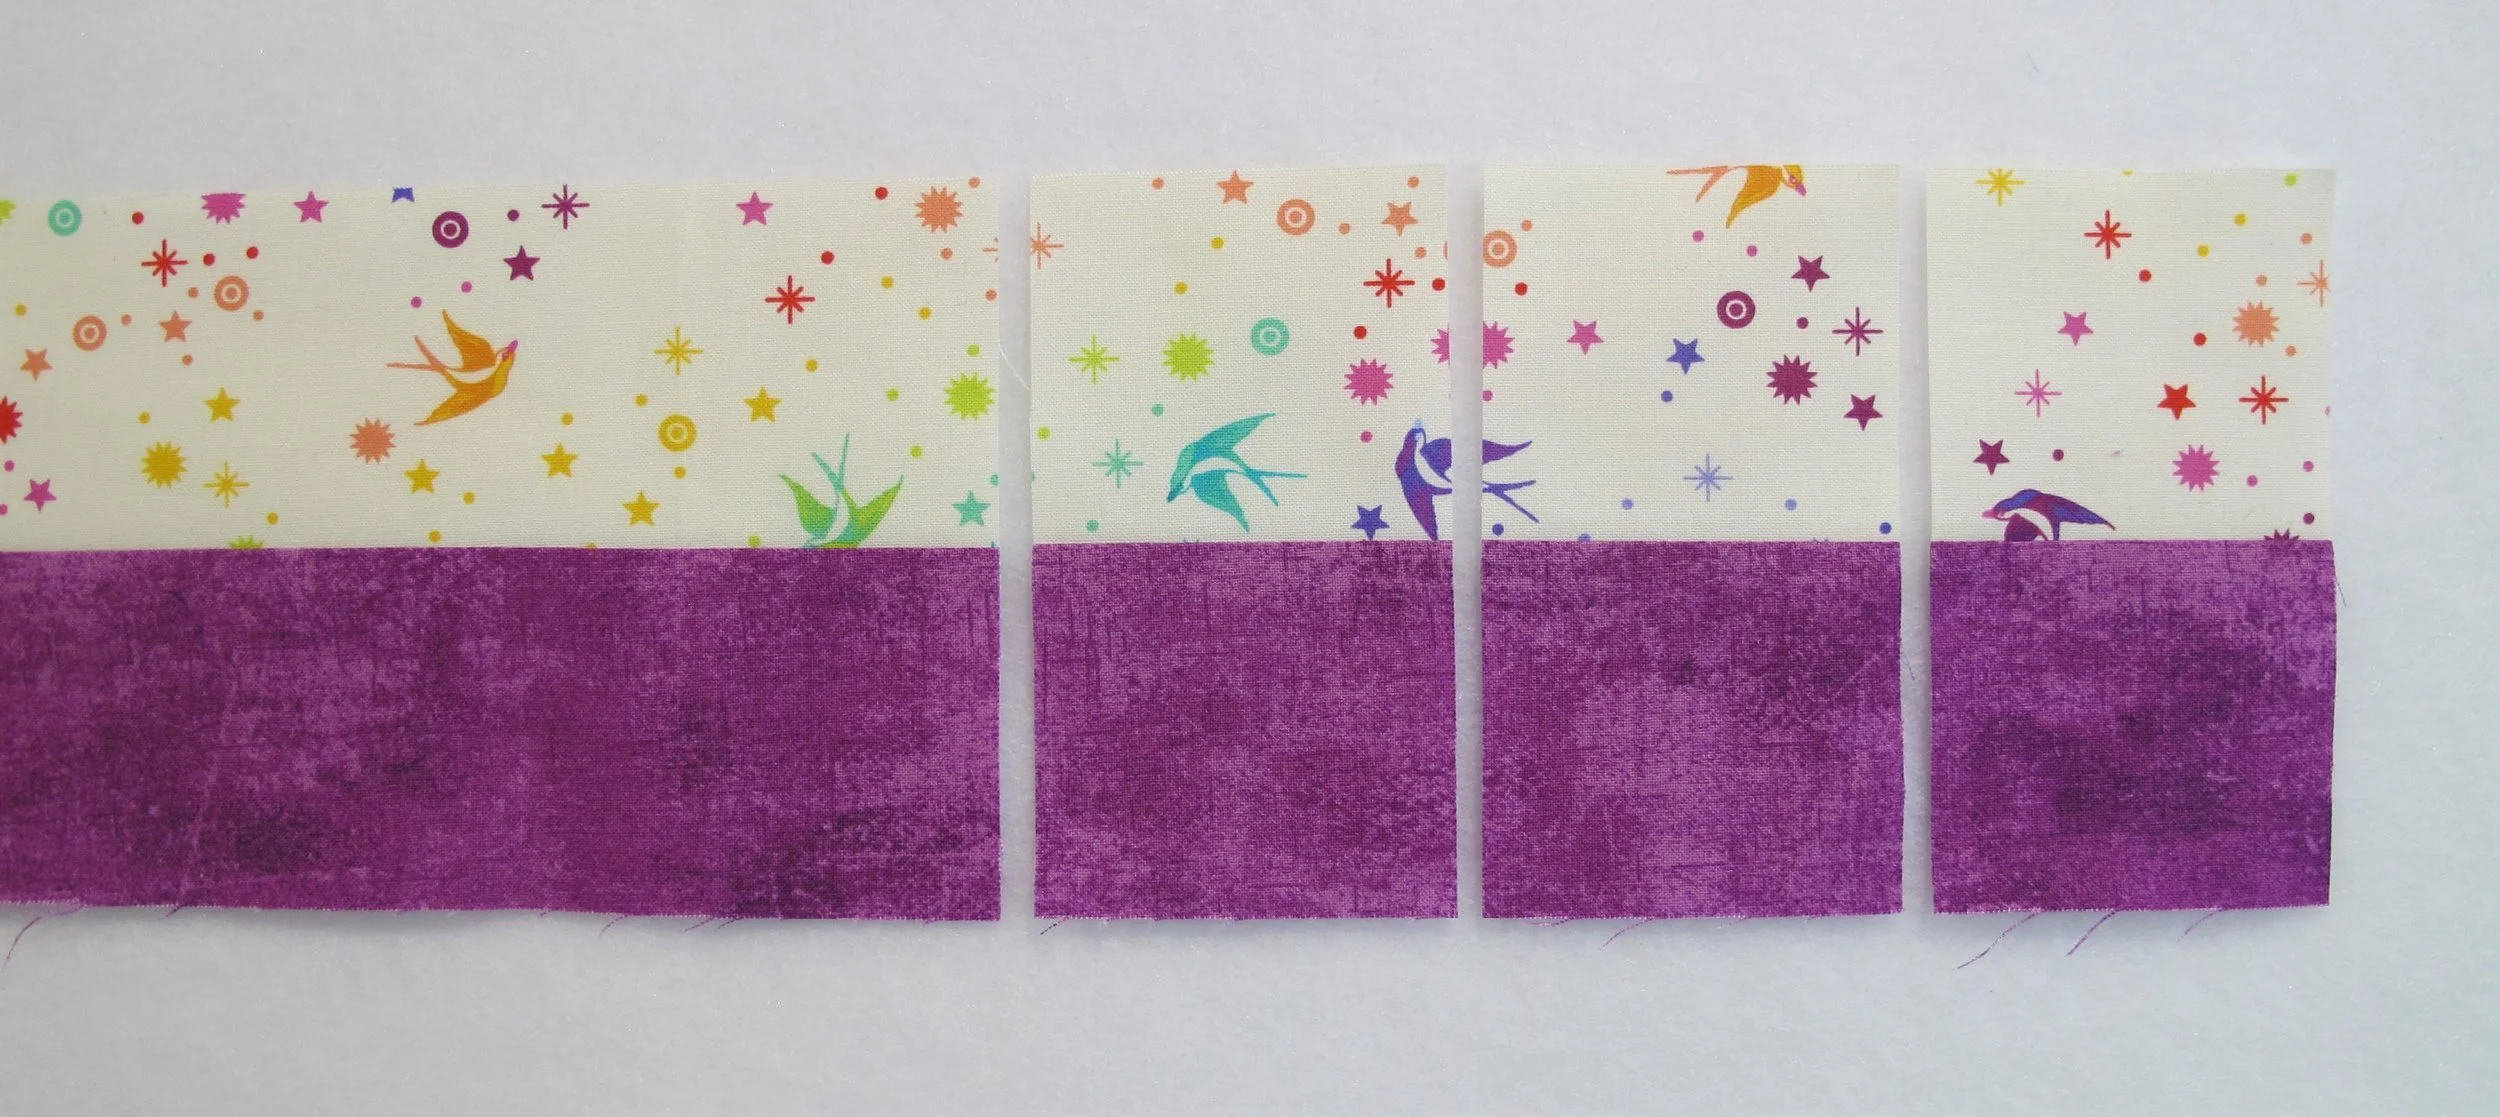
Clue 9: Gather up all the 2 ½” background strip-piecing strips from Clue 2 (L-4, T-8, Q-12) and the 2 ½” coordinate strip-piecing strips from Clues 3, 4, 5 and 6 (L-1, T-2, Q-3 of each). Stitch a background strip to each coordinate strip, press seam toward the coordinate and sub cut into 2 ½” segments (L-12, T-20 of each coordinate, Q-40 each of 2 coordinates, 44 each of the other 2 coordinates).
***From Clue 8…if you already know how to use diagonal seam tape or have a Sew Straight tool or Clearly Perfect Angles tool you can use them for Clues 10 and 11 (otherwise, the diagonal line will have to be drawn).
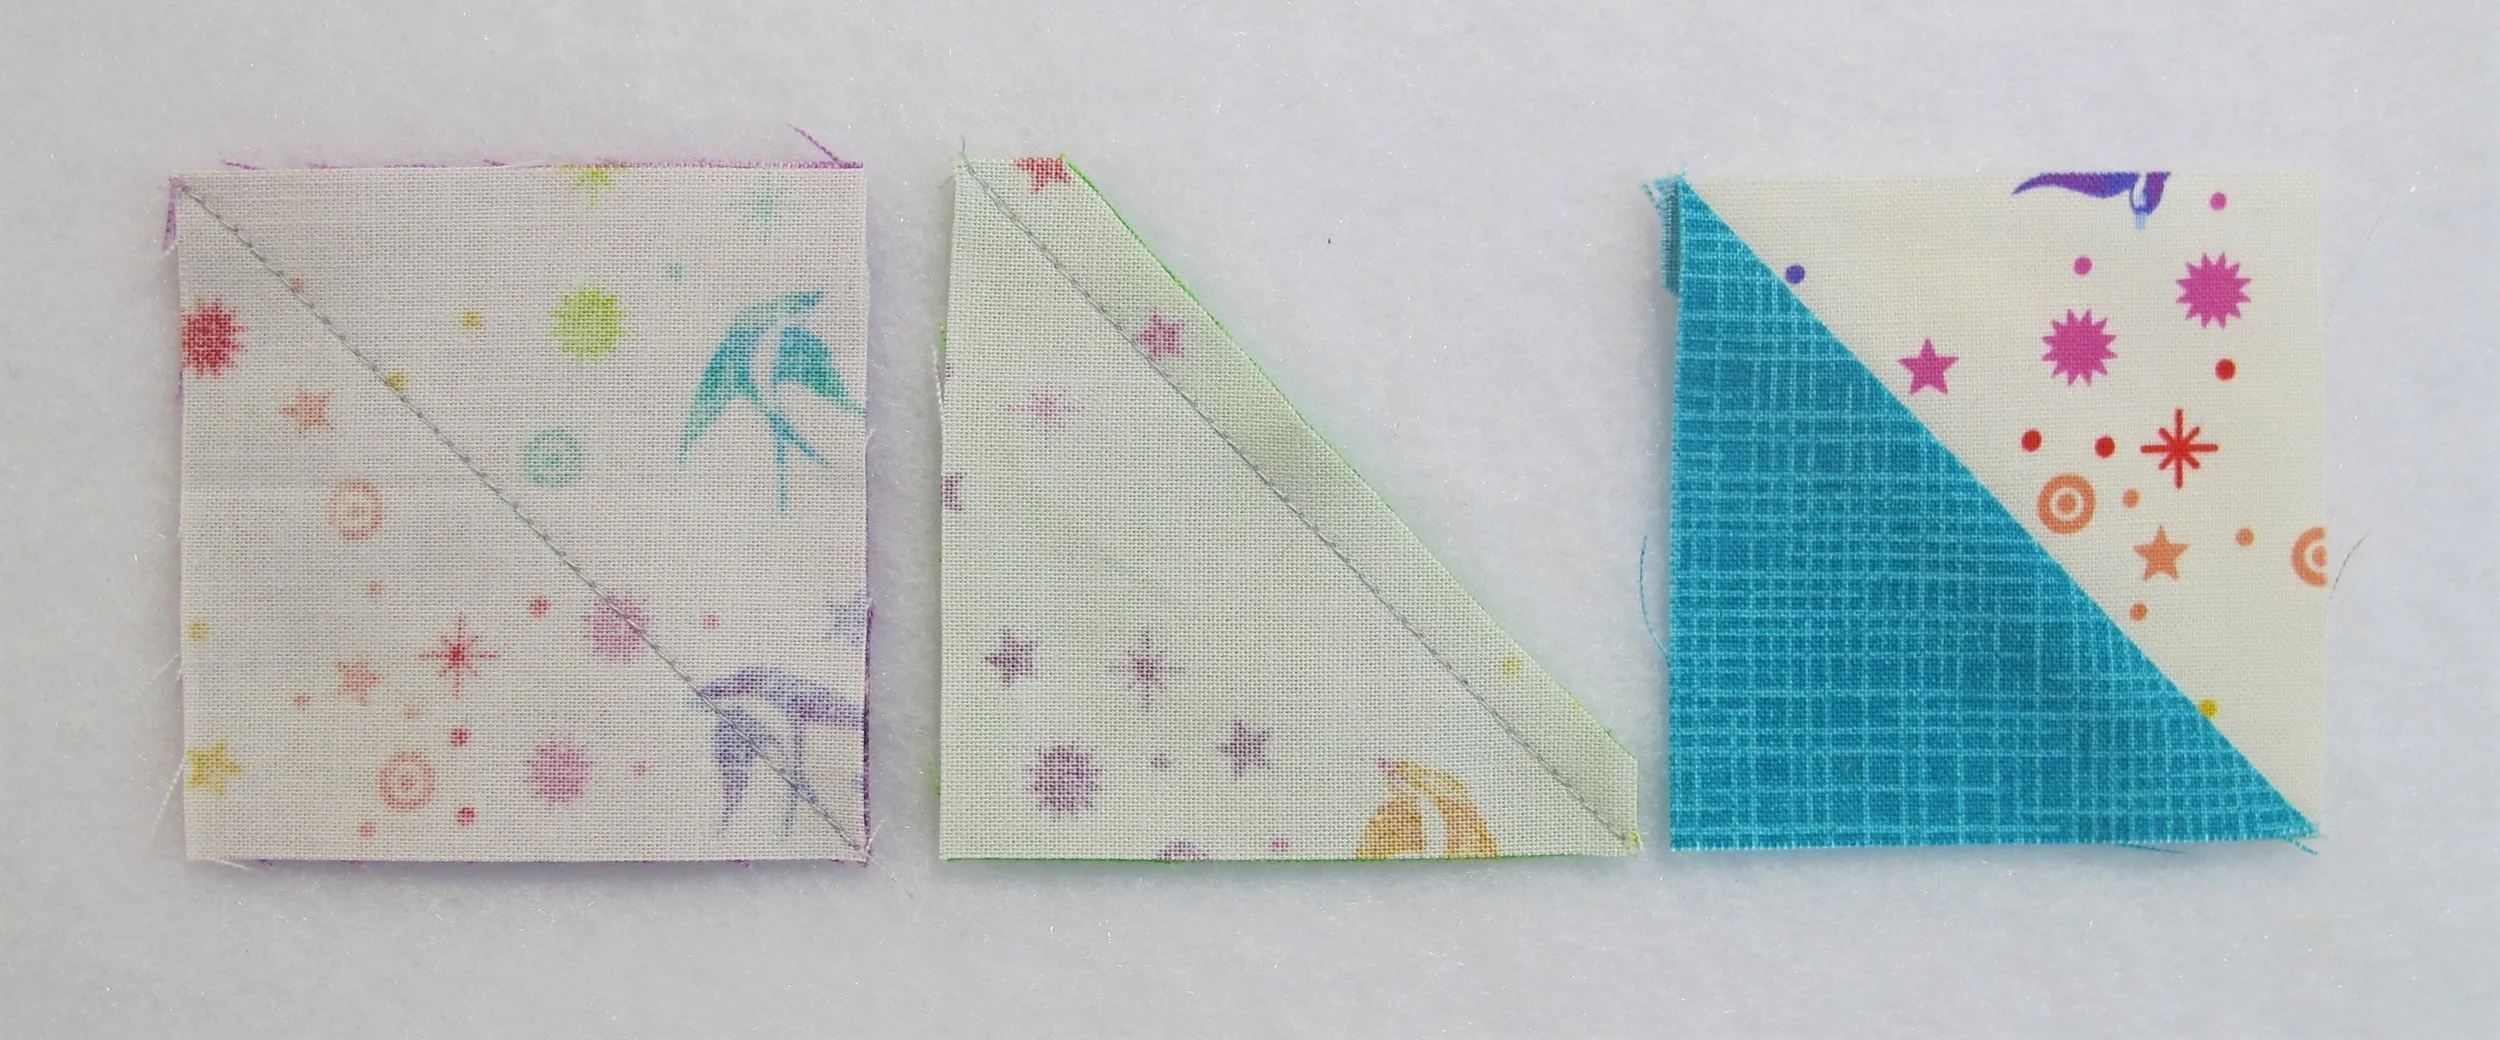
Clue 10: Grab the bag with four 2 ½” background squares from Clue 2 and the four 2 ½” coordinate squares (one of each colour) from Clues 3, 4, 5 and 6. Pair a background square with a coordinate and stitch directly on the line to create a half-square triangle. Press seam toward the coordinate and trim seam allowances to ¼”. Put them back in the baggie for later.
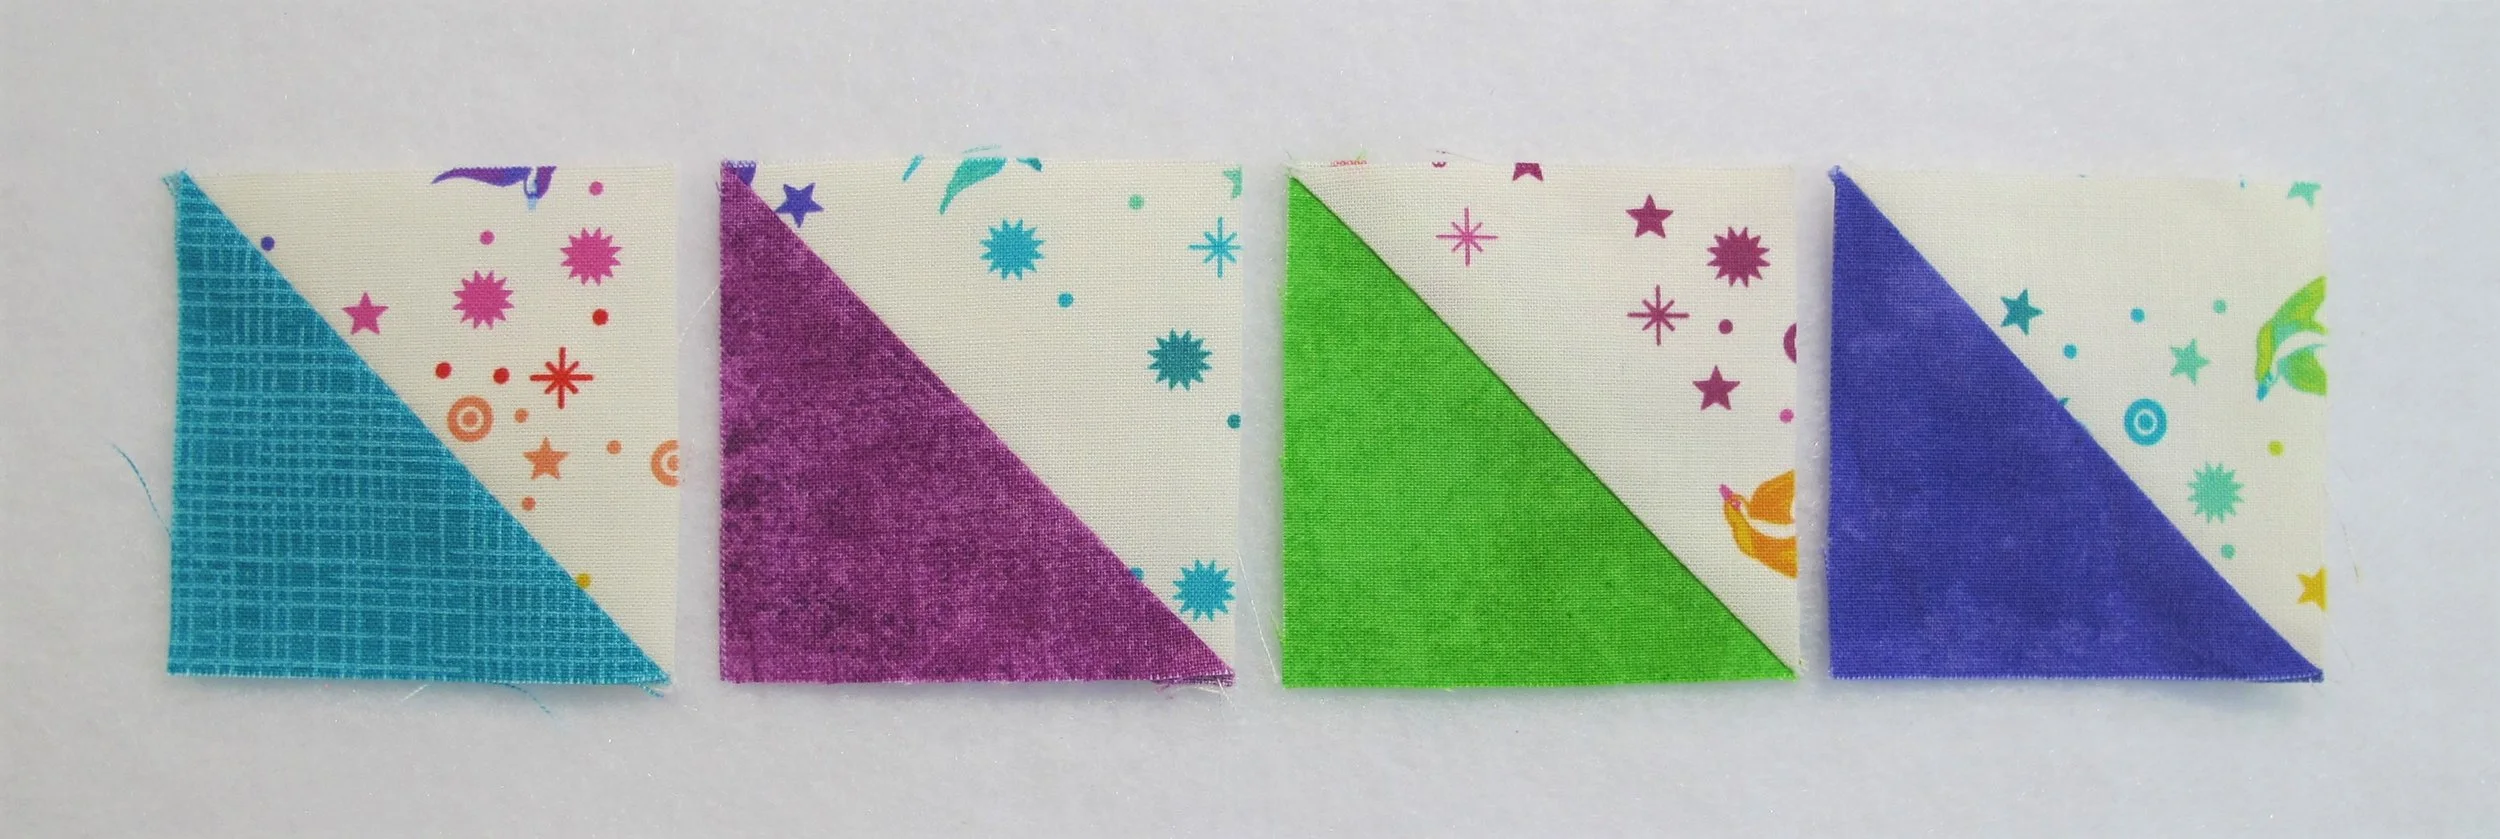
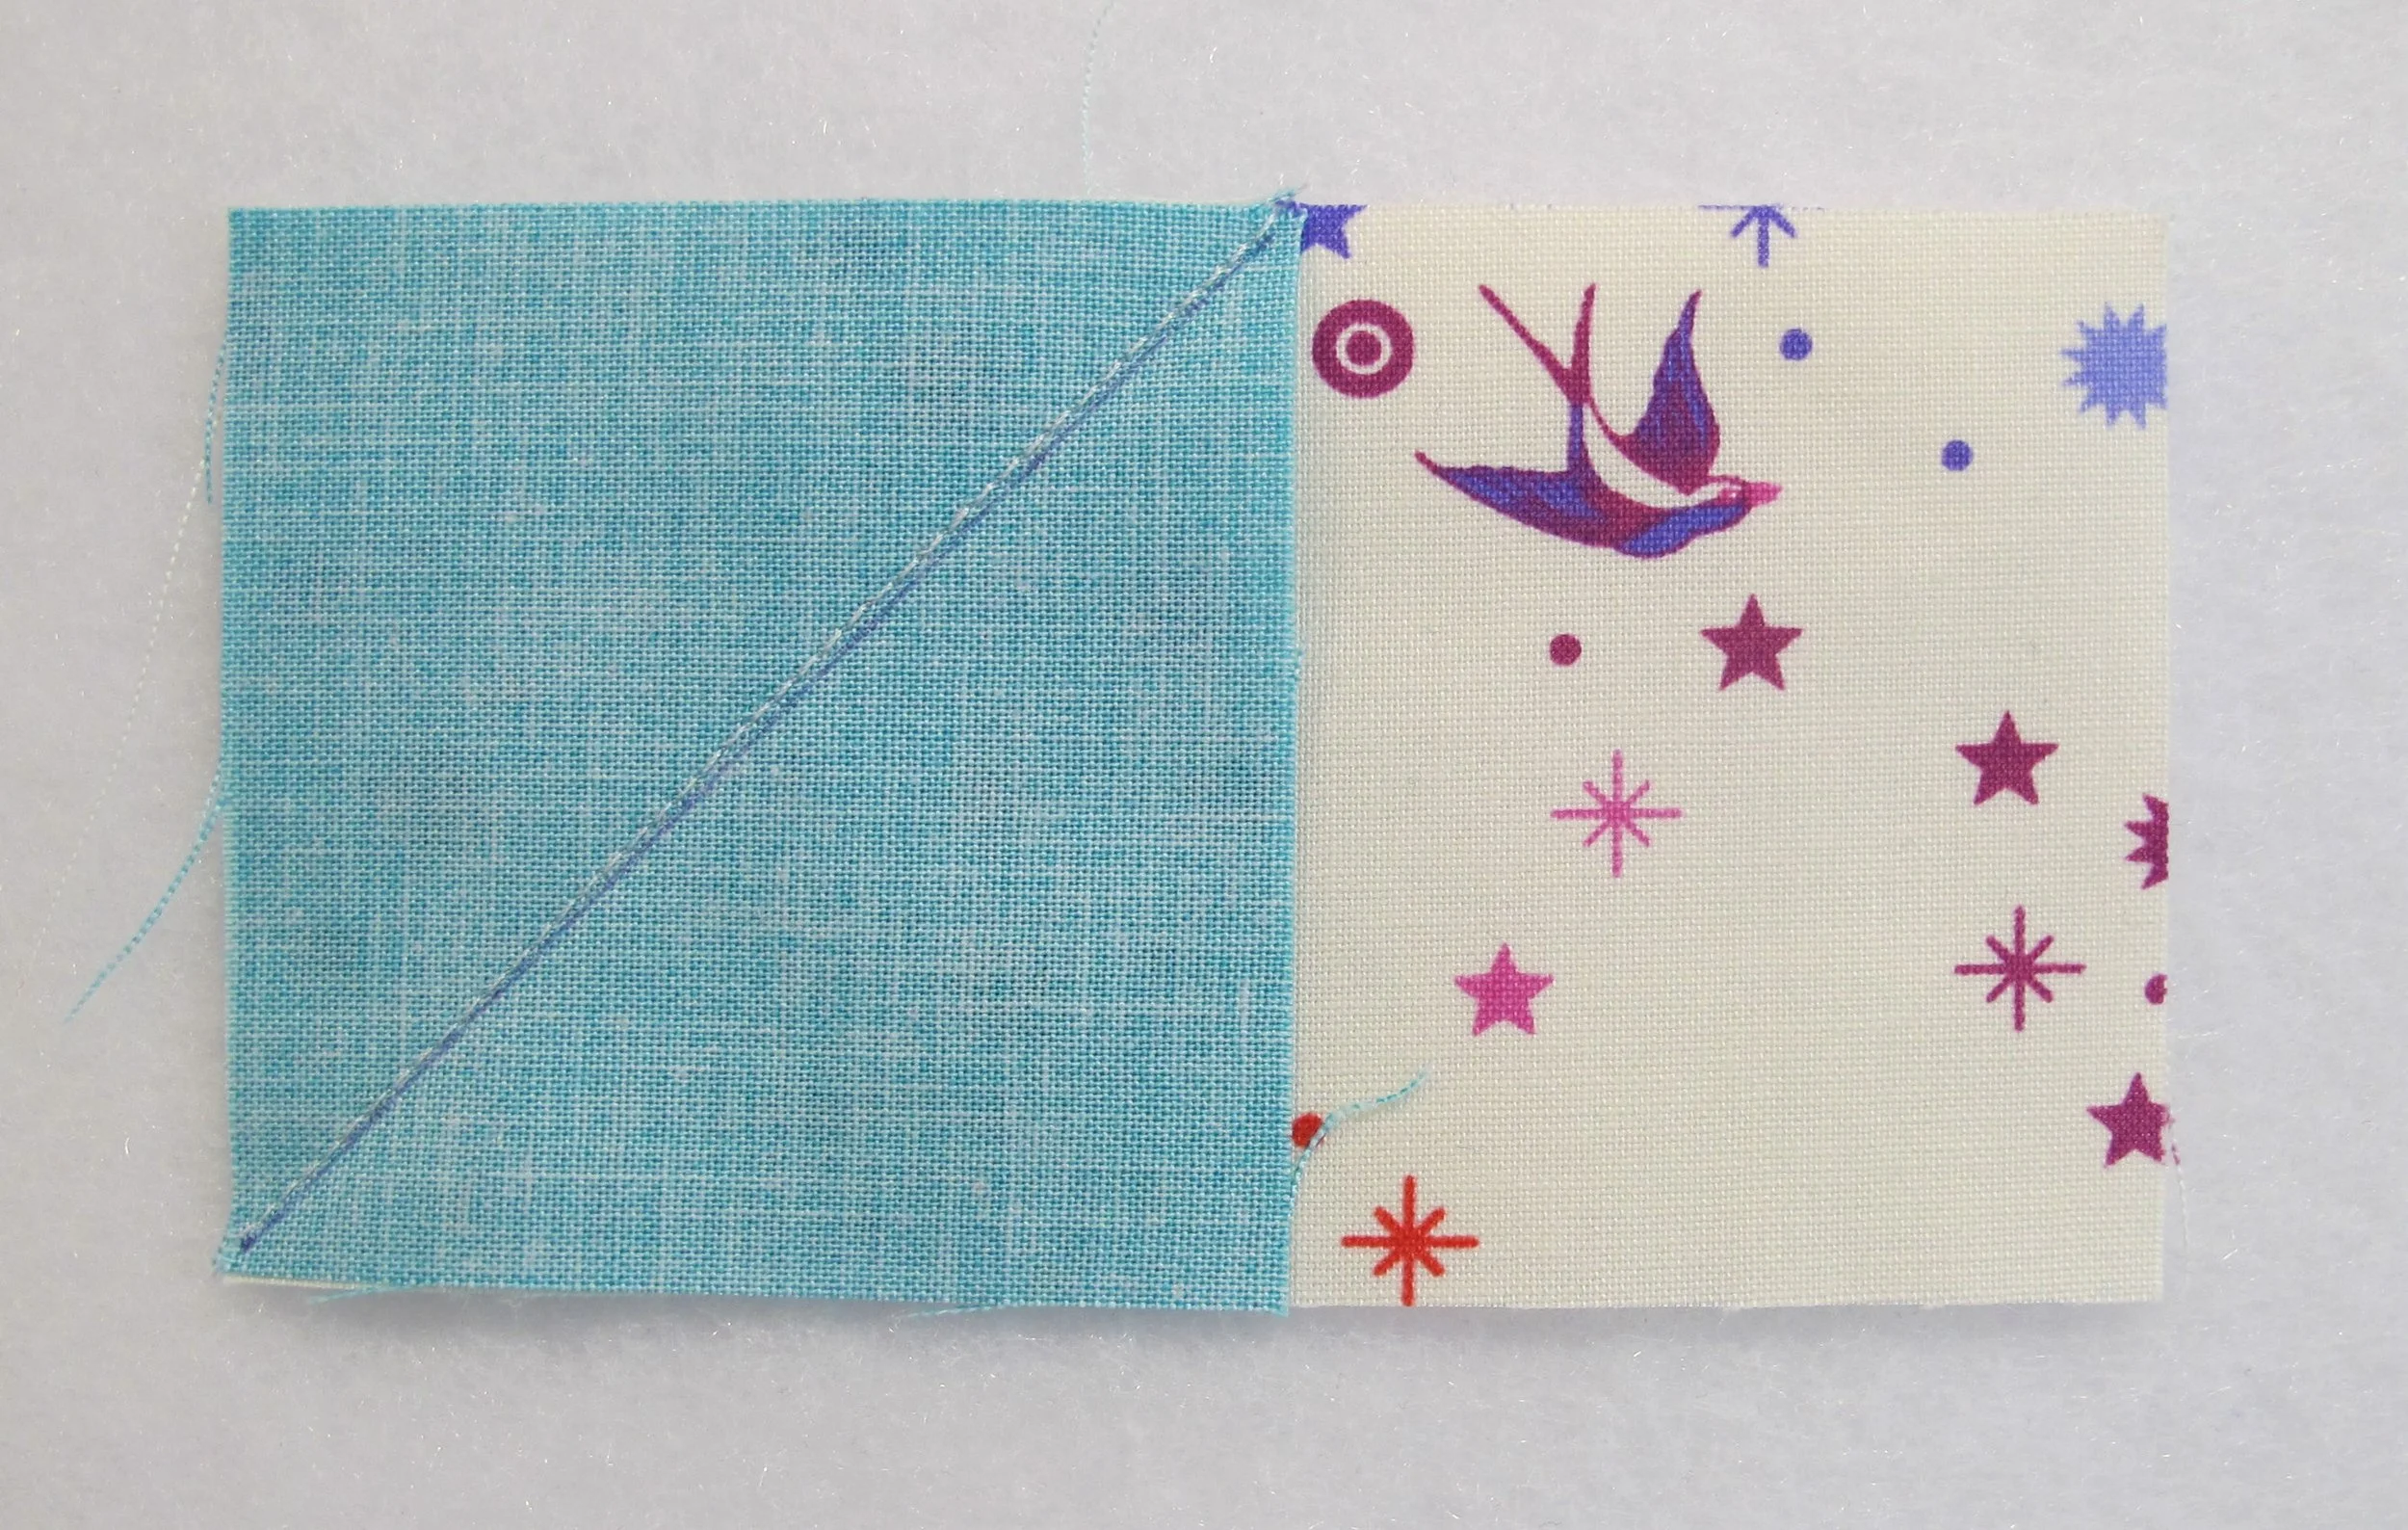
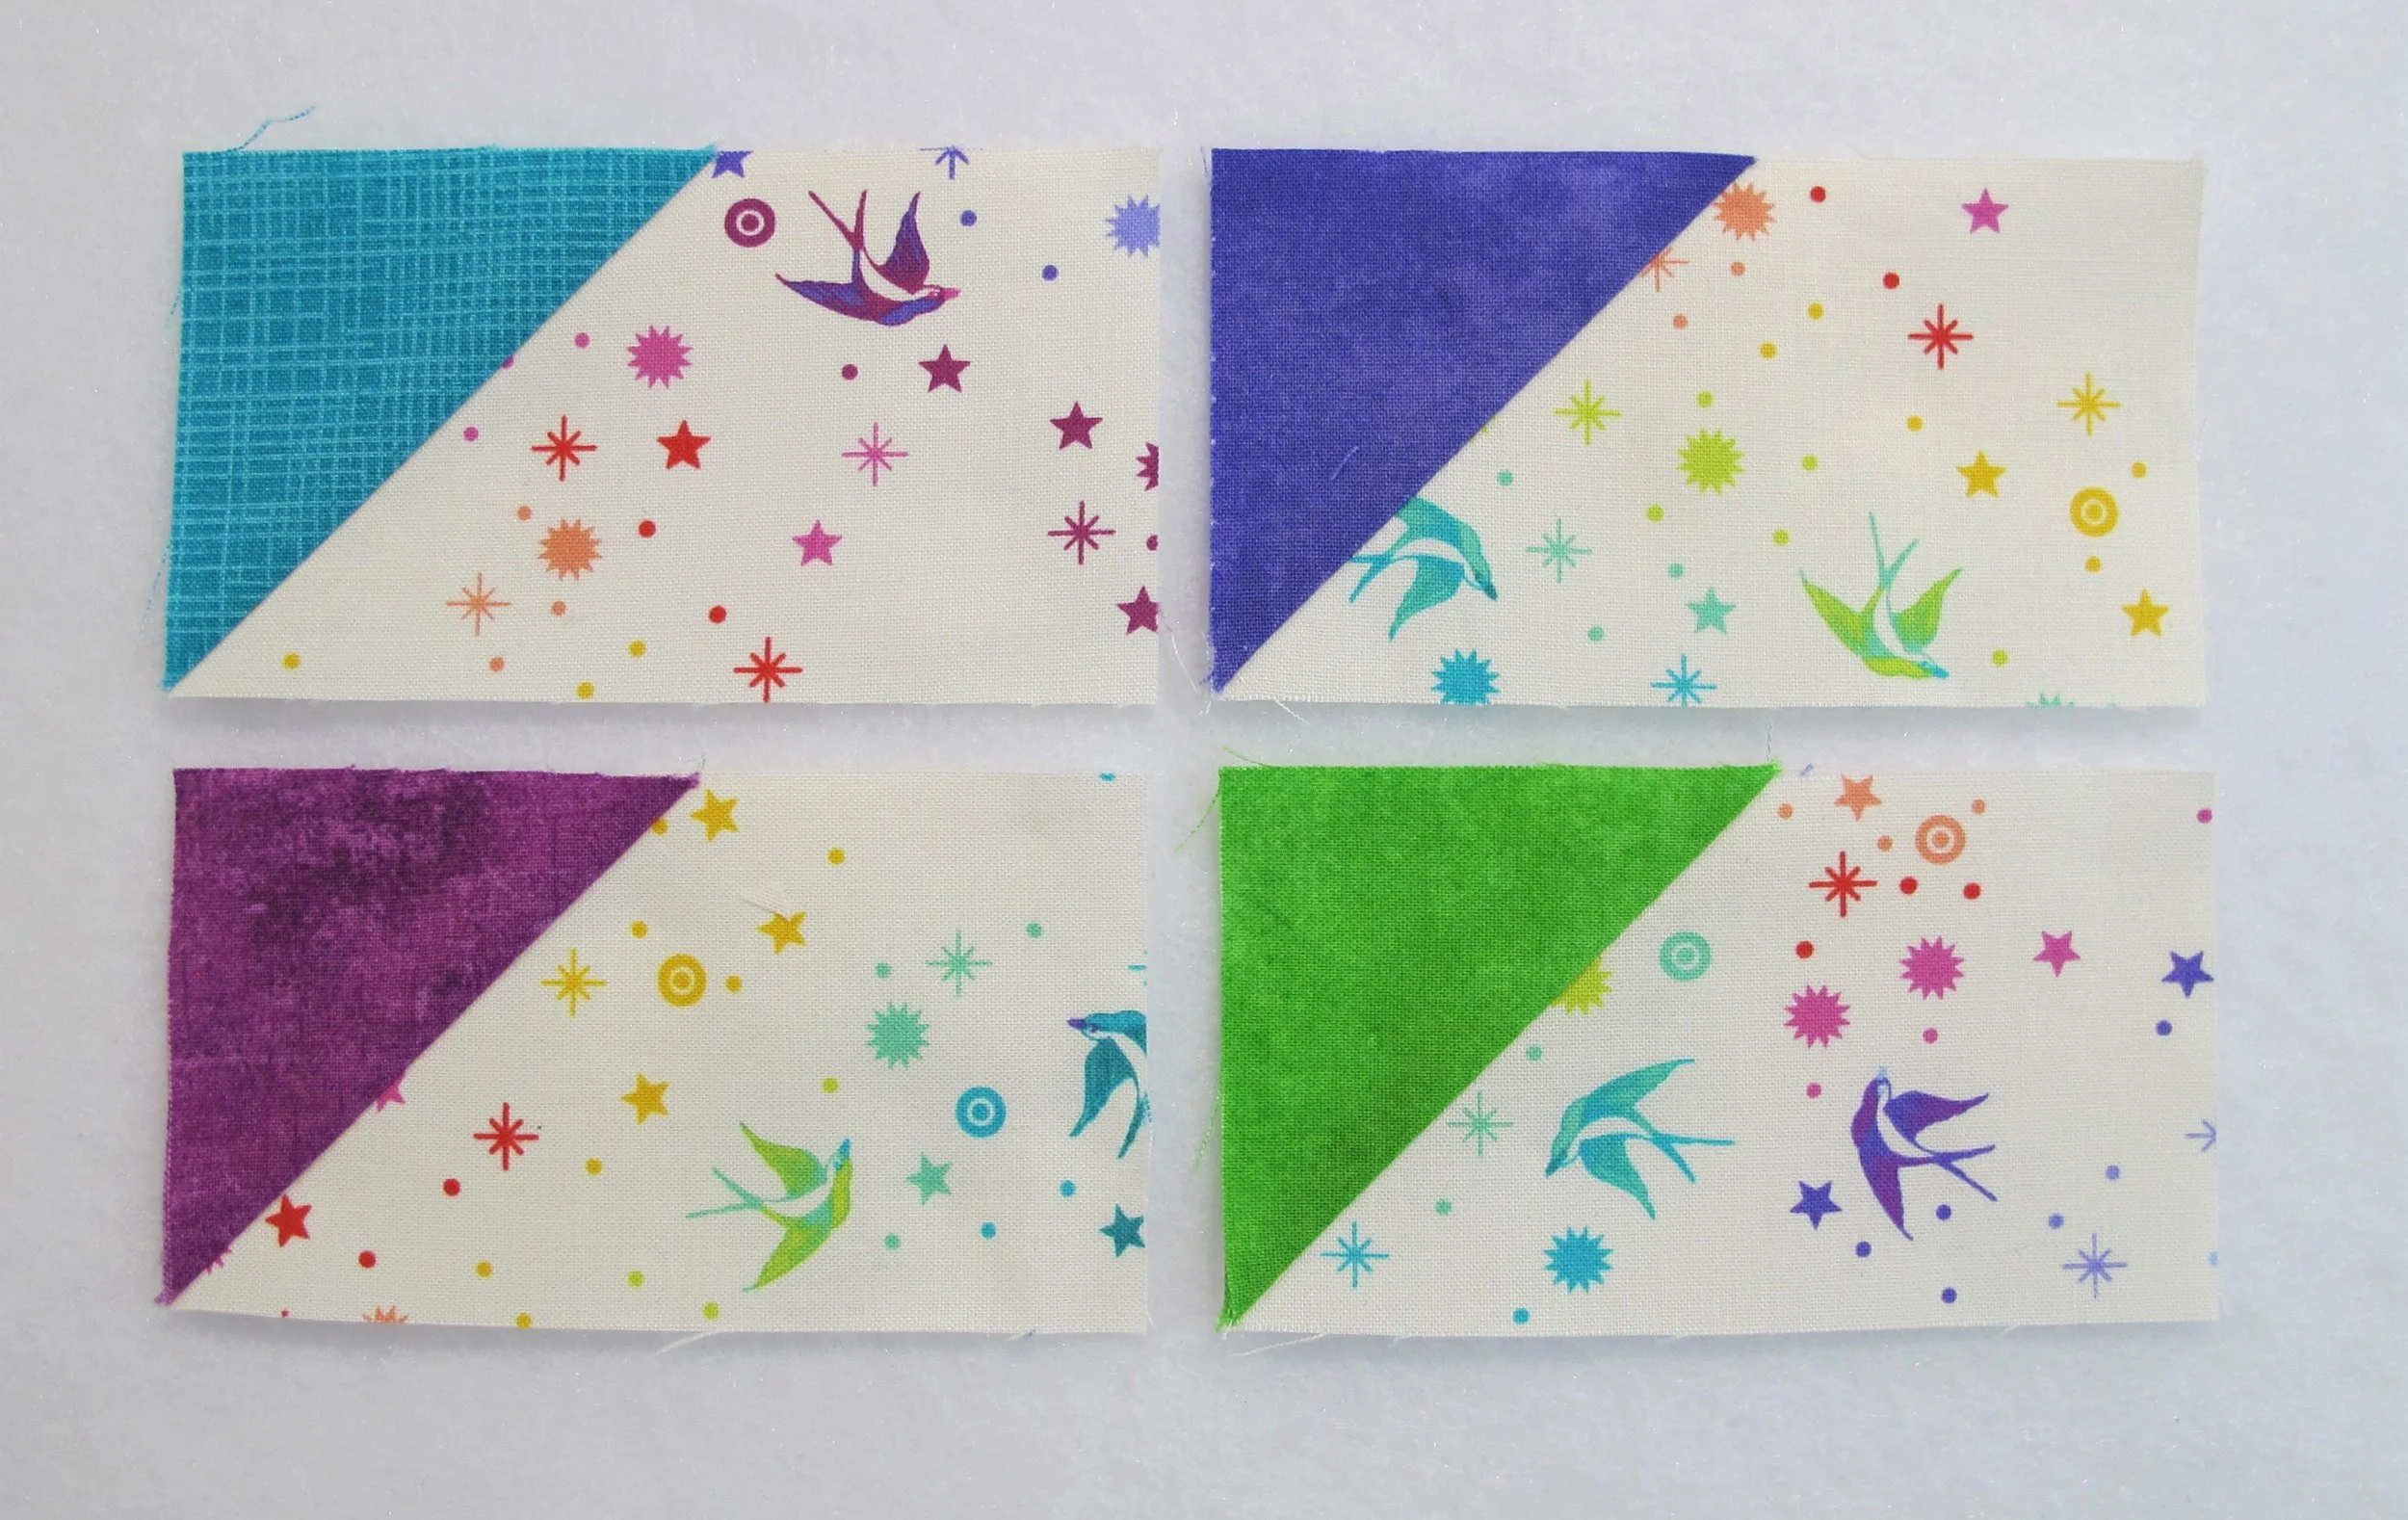
Clue 11: Lay a 2 ½” x 4 ½” background rectangle right side up horizontally on the table in front of you. Place a coloured square wrong side up on the left hand side of the rectangle with the drawn line going from bottom left to top right. Stitch just inside the line closest to the corner, press the square toward the corner and trim the seam allowance to ¼”. You will need the same number of segments for each of the four coordinates (L-12, T-24, Q-42).
Things are coming together beautifully! See you next time for more clues…