
What is "Fudging"?
Fudging #1
I’ve been at this sewing/quilting thing for a very long time, and sometimes, even though we work really hard at being precise, things don’t always go our way. For years and years my students have been hearing from me that there is a lot of “fudging” that can be done to fix our small mistakes, or at least make them not so noticeable.
Fudging Technique #1: Occasionally when cutting out the components for your quilt blocks you might have a piece left over at the end of a strip that is slightly too short. In other words, you needed 2 1/2” squares cut from the strip and at the end you only have one 2 3/8” piece left over. This is an easy fudge. Just place the squares together as usual but place the smaller piece on top so that it falls within the seam allowance and stitch the seam using the bottom piece as your guide for the regular 1/4” seam allowance. Once the seam is pressed and turned over, no one will ever notice that they’re not identical in size. I’ve used this fudge so many times. I’ve even used it when the piece is up to 1/4” smaller by leaving 1/8” on each side, but be sure to make your stitch length slightly shorter so the pieces are less likely to pull apart. It also works well when you’re trying to make a dent in the scrap pile and pieces are just a tad too short for the piece needed.
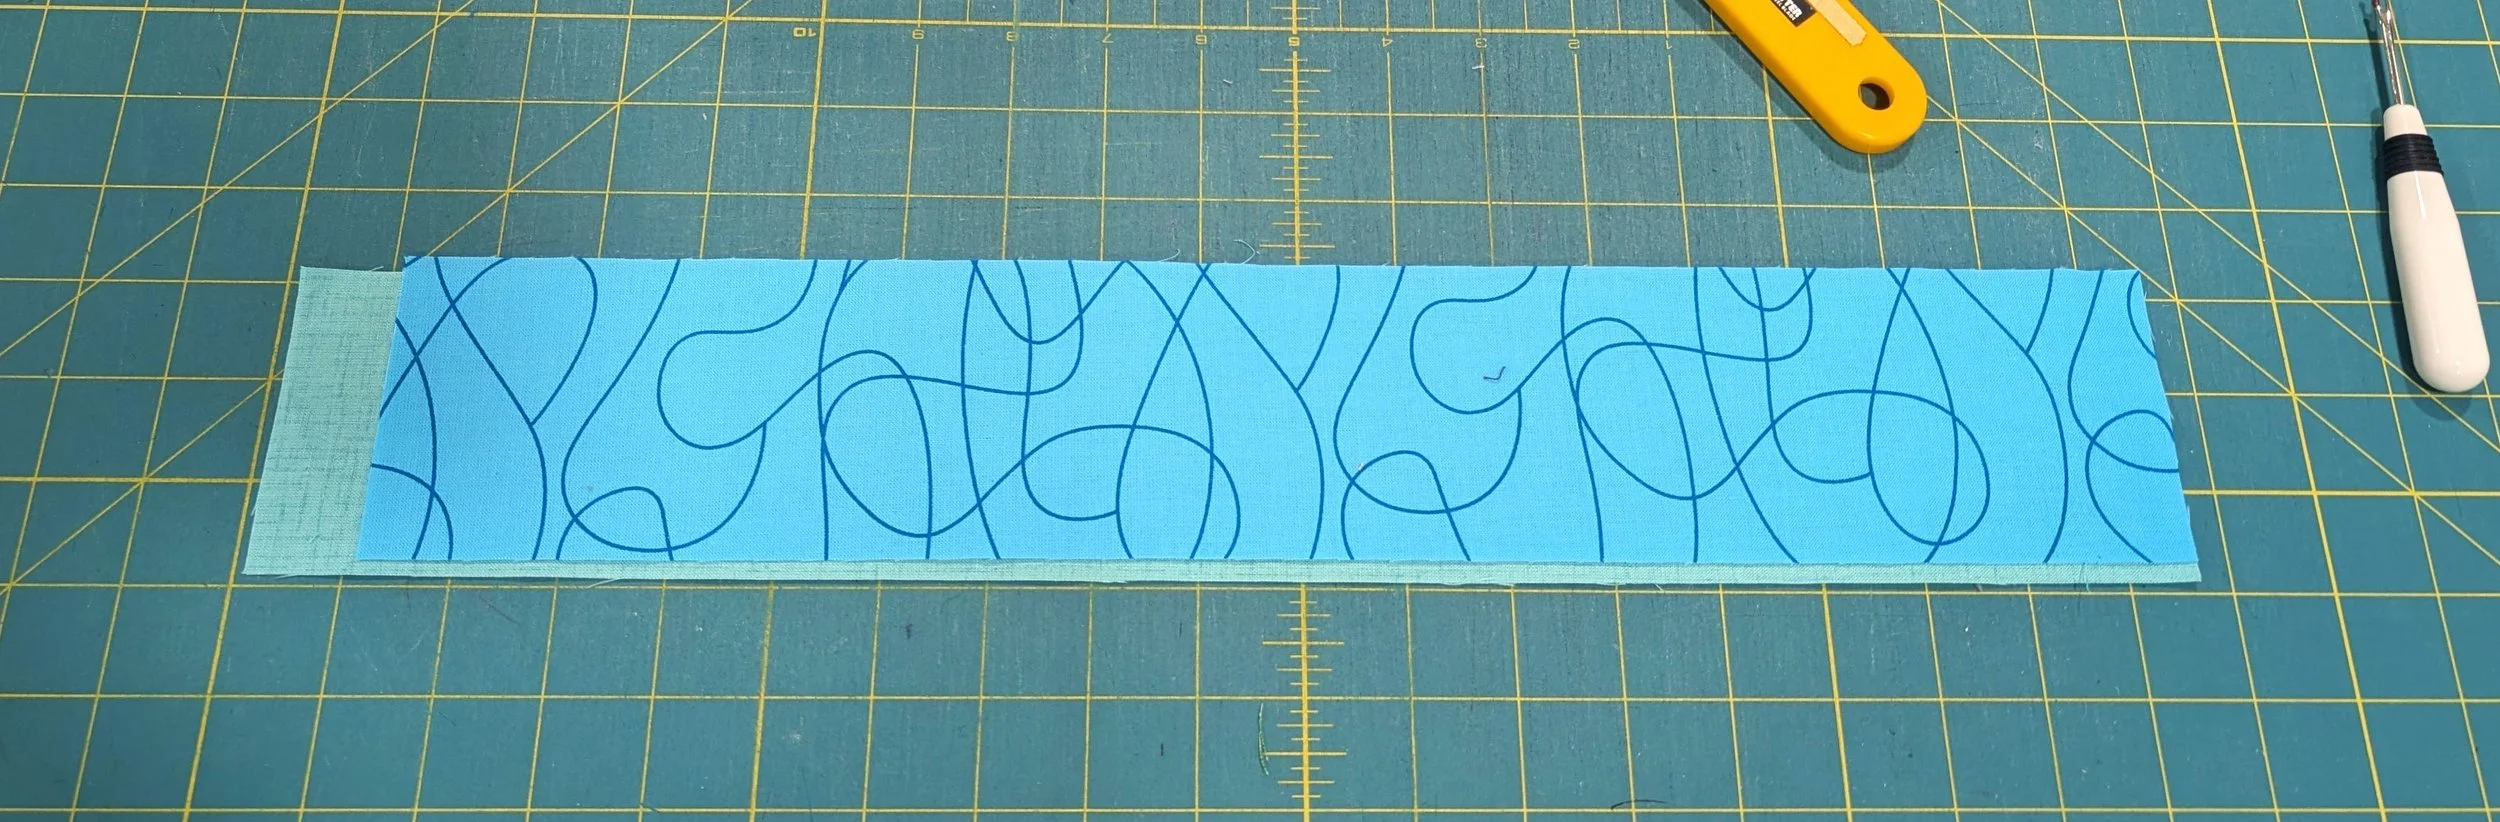
Fudging Technique #2: One of my favourite fudging techniques is the “big bottom”. Sometimes two components, two blocks, or two strips have to be sewn together, but one is slightly longer than the other. Easy peasy…put the biggest (longest) piece on the bottom as you sew them together and the feed dogs will ease in the extra fabric on the bottom. I sometimes use a long pin to help shove the excess fabric on the bottom toward the needle. I have greatly exaggerated the difference in the two strips below as an example to show how well this technique works. I rarely pin anything together, but I definitely do while using this particular technique, especially when adding borders.
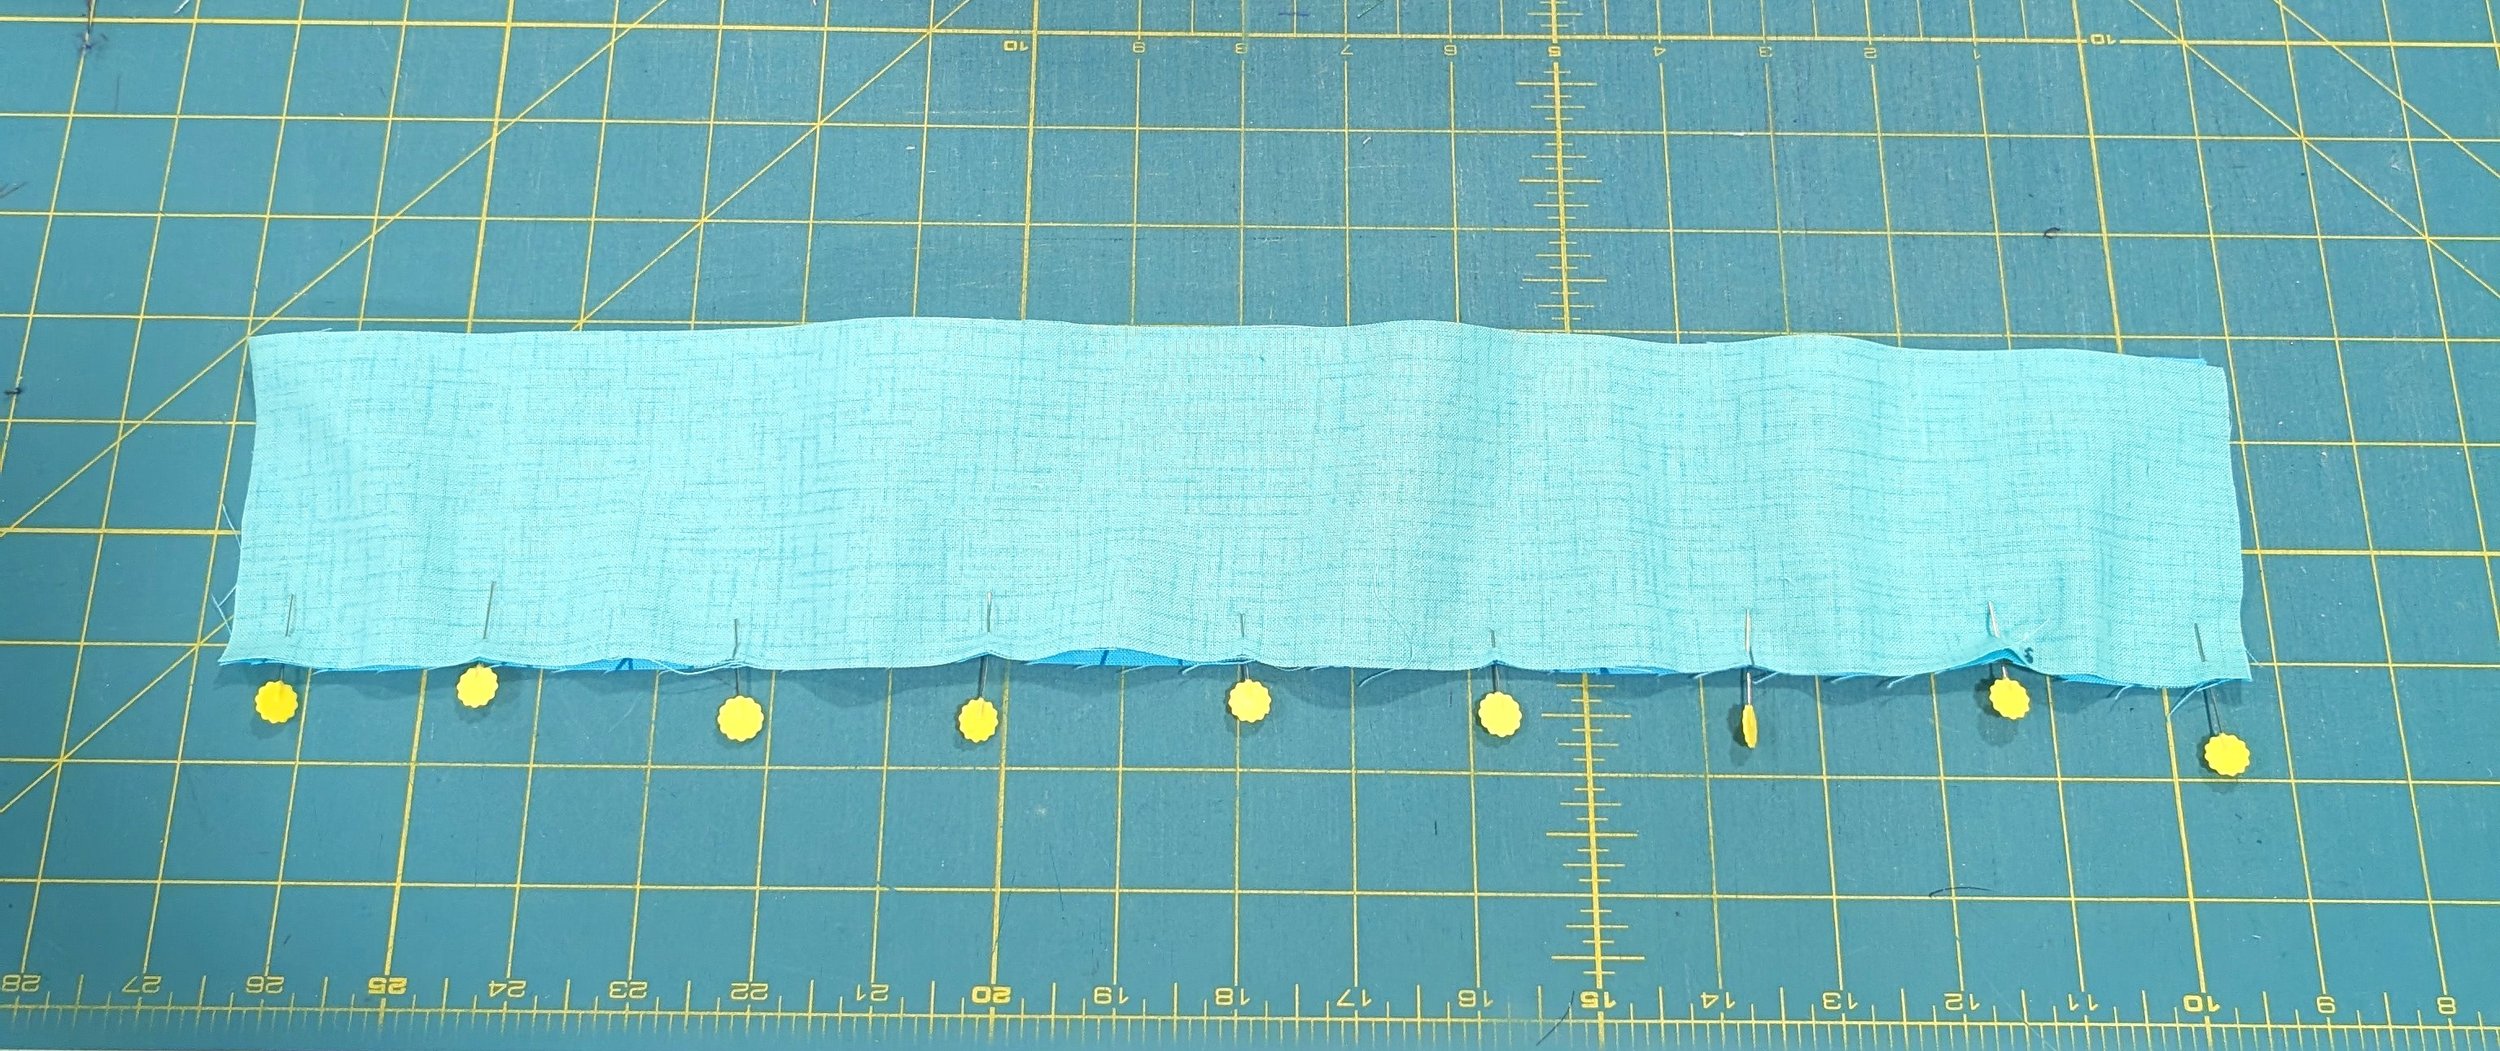
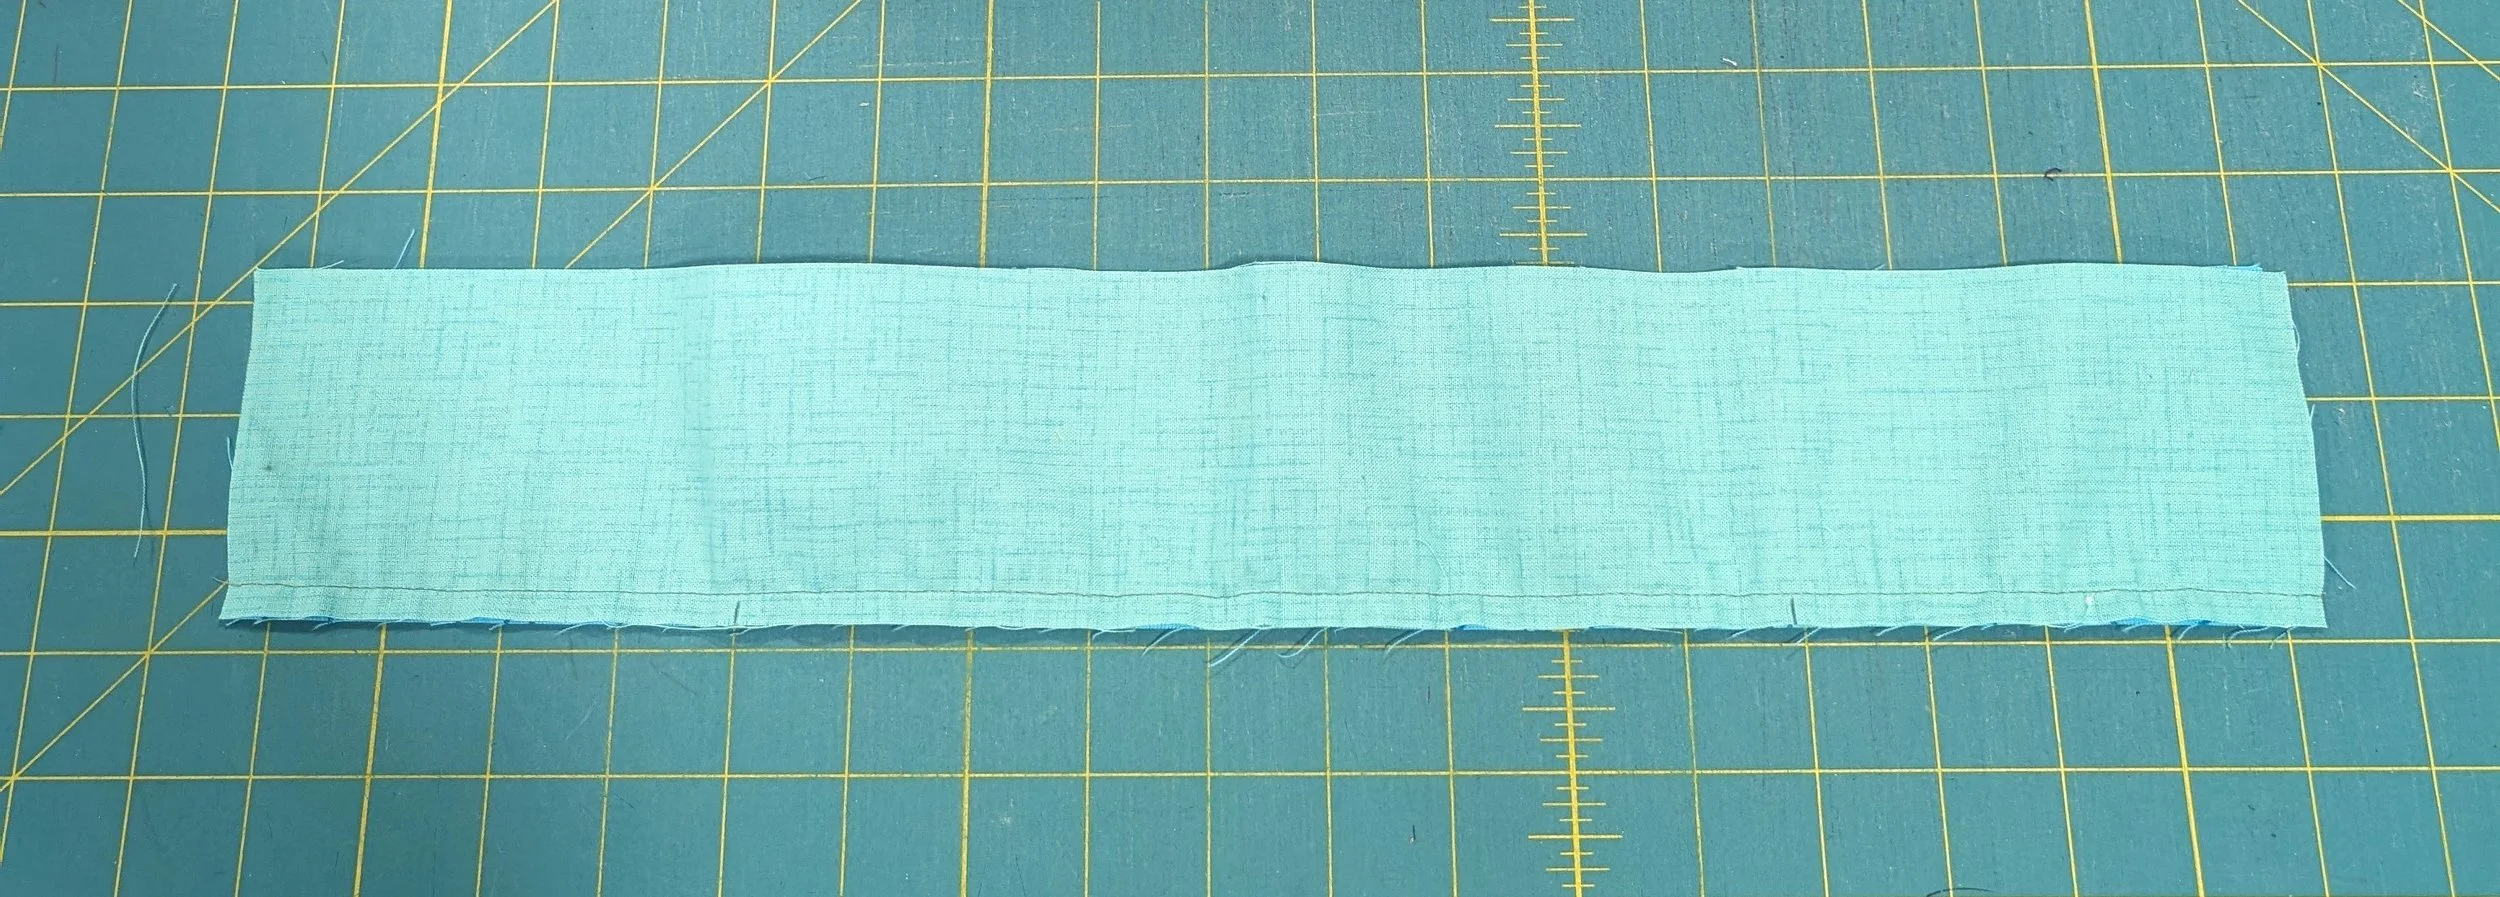
When I say they were exaggerated I really mean it…the strips below were cut at 17 1/2” (turquoise) and 18 1/2” (pale green), so a big 1” difference in length in a relatively short distance. You will notice that the centres and quarter marks were pinned as well as the eighth marks. This allows the excess fabric to be distributed evenly along the strips. Make sure that the big one (in this case, the pale green) is on the bottom and stitch the seam as usual. Notice that there is lot of waviness, but absolutely no puckers.
This technique is particularly helpful when adding borders onto our quilt tops. If you’ve had wavy edges on your quilts in the past, it’s because the borders have been added before measuring the length and width of the existing quilt top before hand. Check out a previous blog post, Wave Good-Bye to Wavy Borders, for more information.
Fudging Technique #3: Often there are times when borders are not added to the quilt top. In cases where points are at the edge of the quilt it’s very important to be aware of not lopping off the points of stars or other designs when adding the actual binding. If you plan on adding the binding to the front with a regular 1/4” seam allowance, turning it to the back and stitching by hand, it may not be an issue at all. I rarely do my bindings that way. I always stitch the binding to the back using a 3/8” seam allowance, bring it around to the front and stitch it down by machine. In a case like this I trim the quilt top about 1/8-1/4” from the edge of the quilt top into the batting and backing. This ensures that there is still “filler” in the binding area, but the points remain intact. If you’d like to check out my favourite binding technique click here.
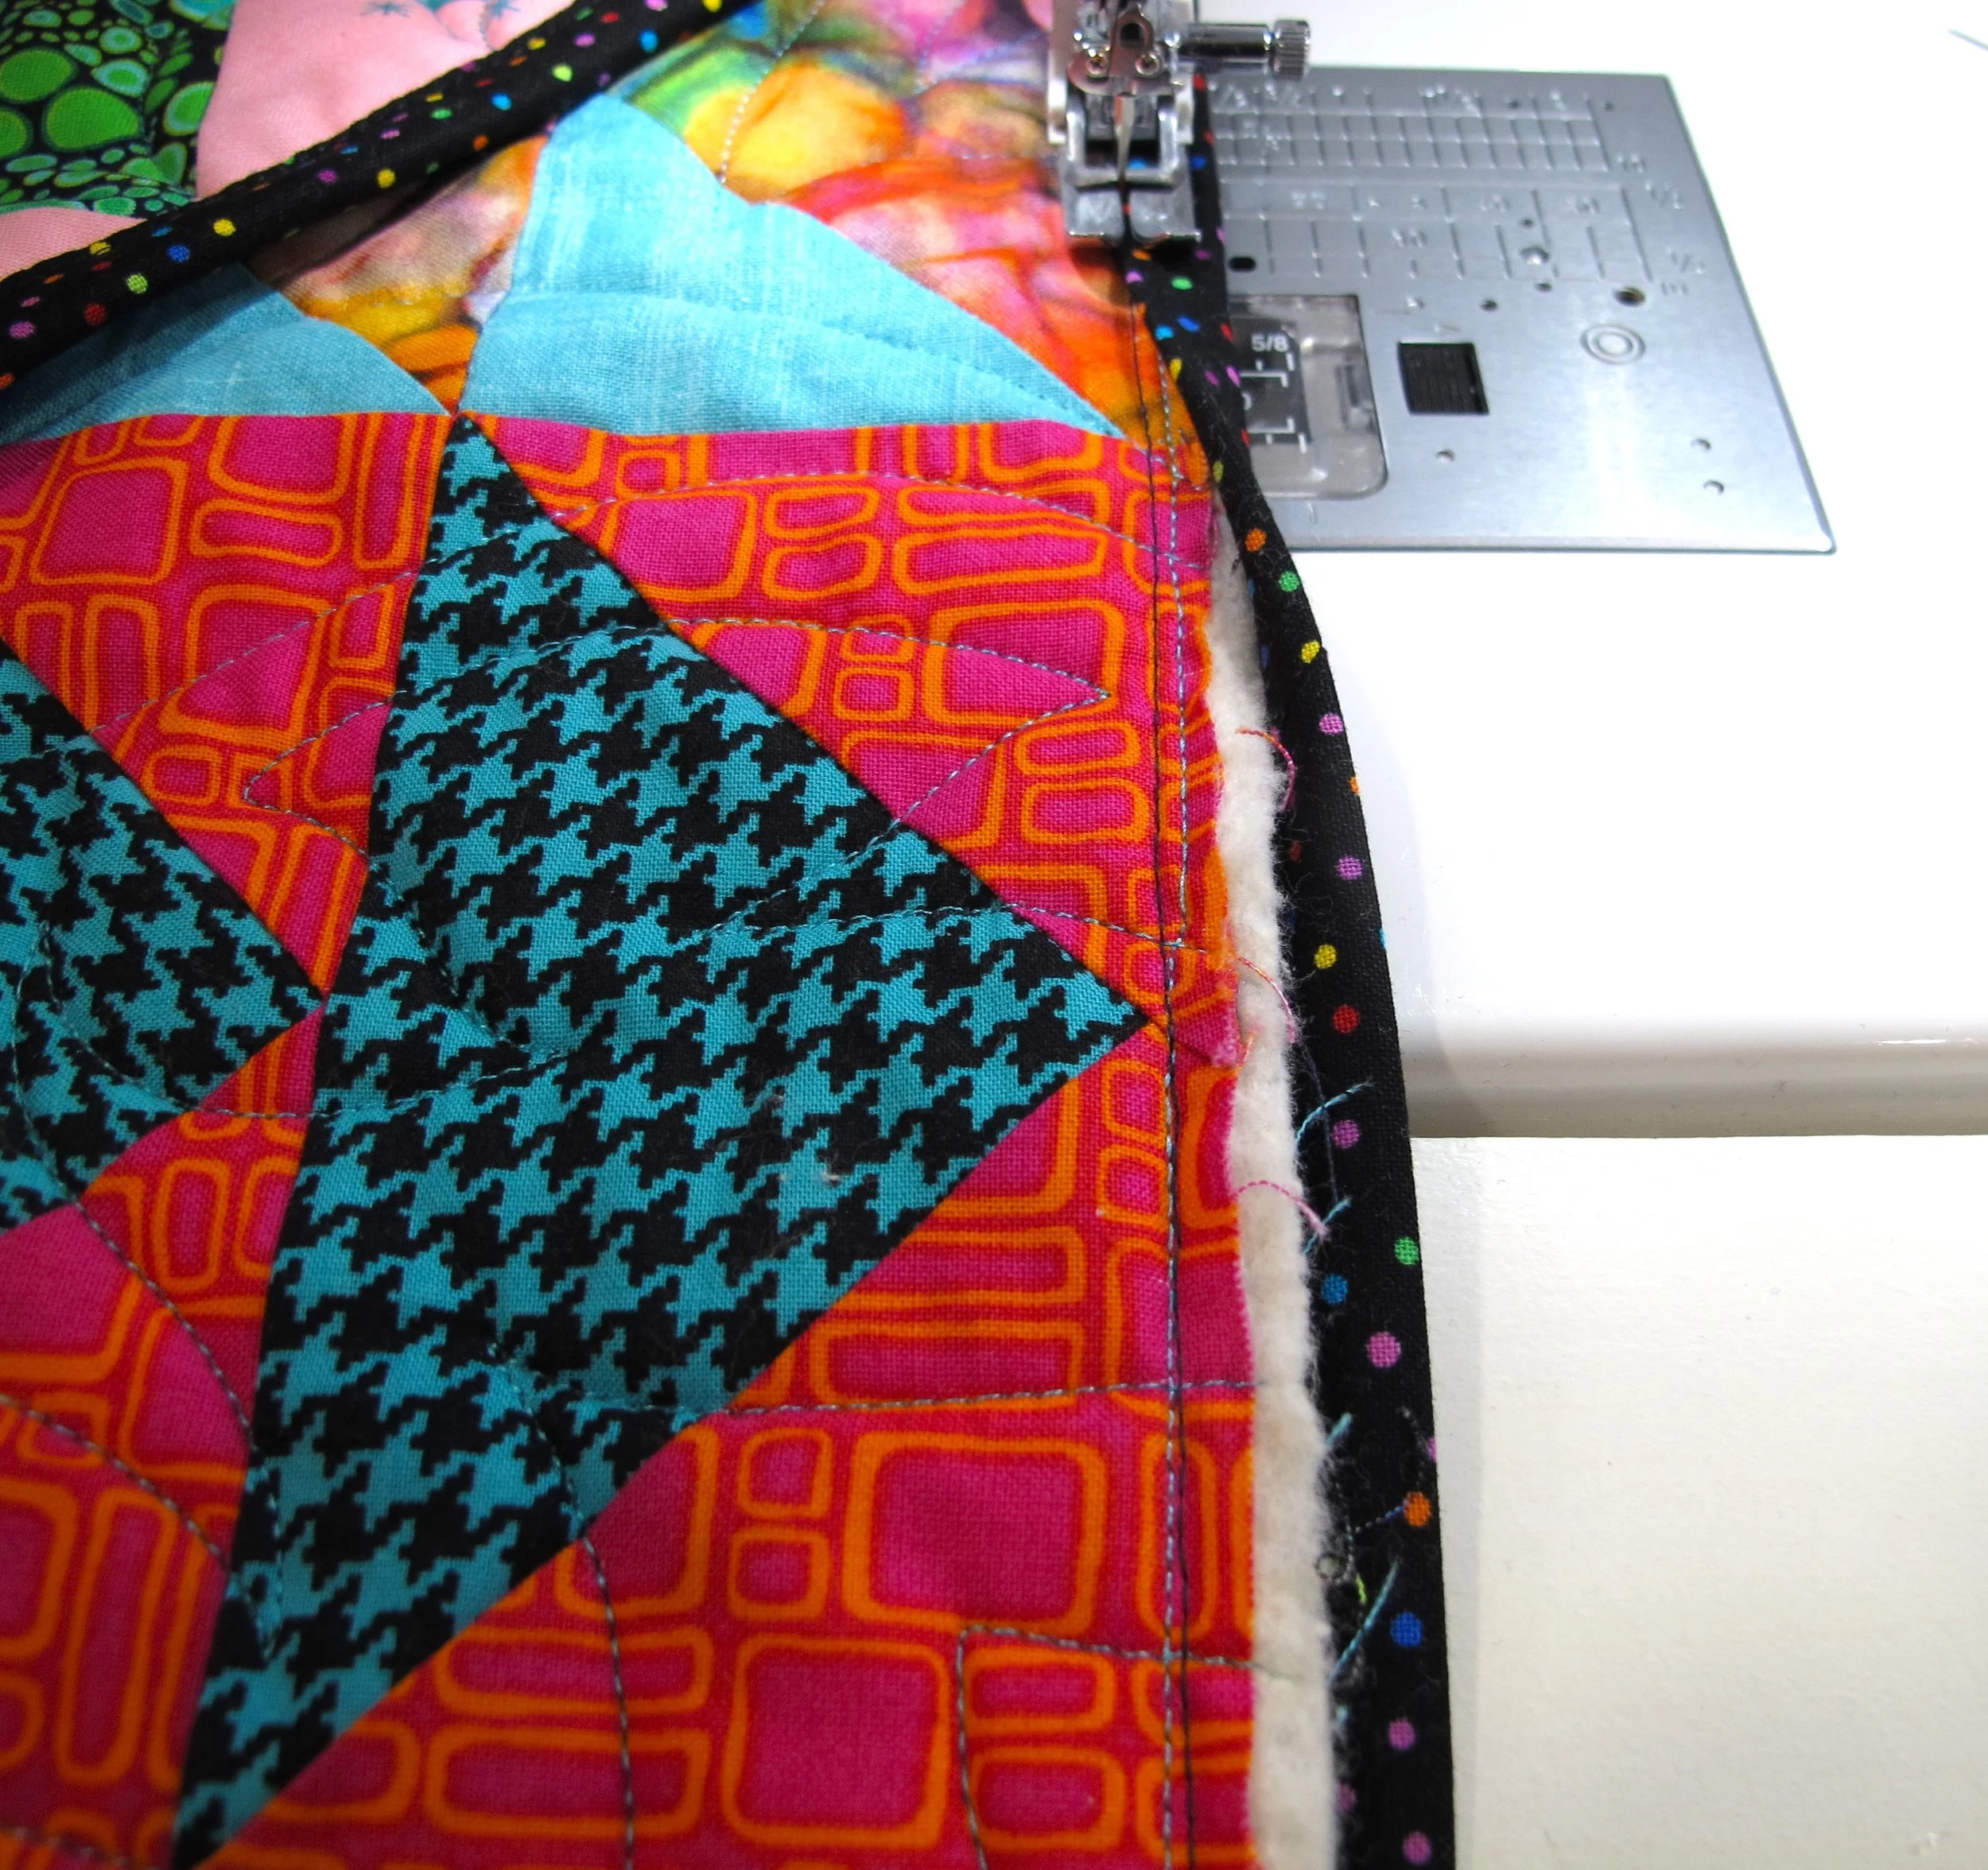
extra batting and backing in the seam allowance
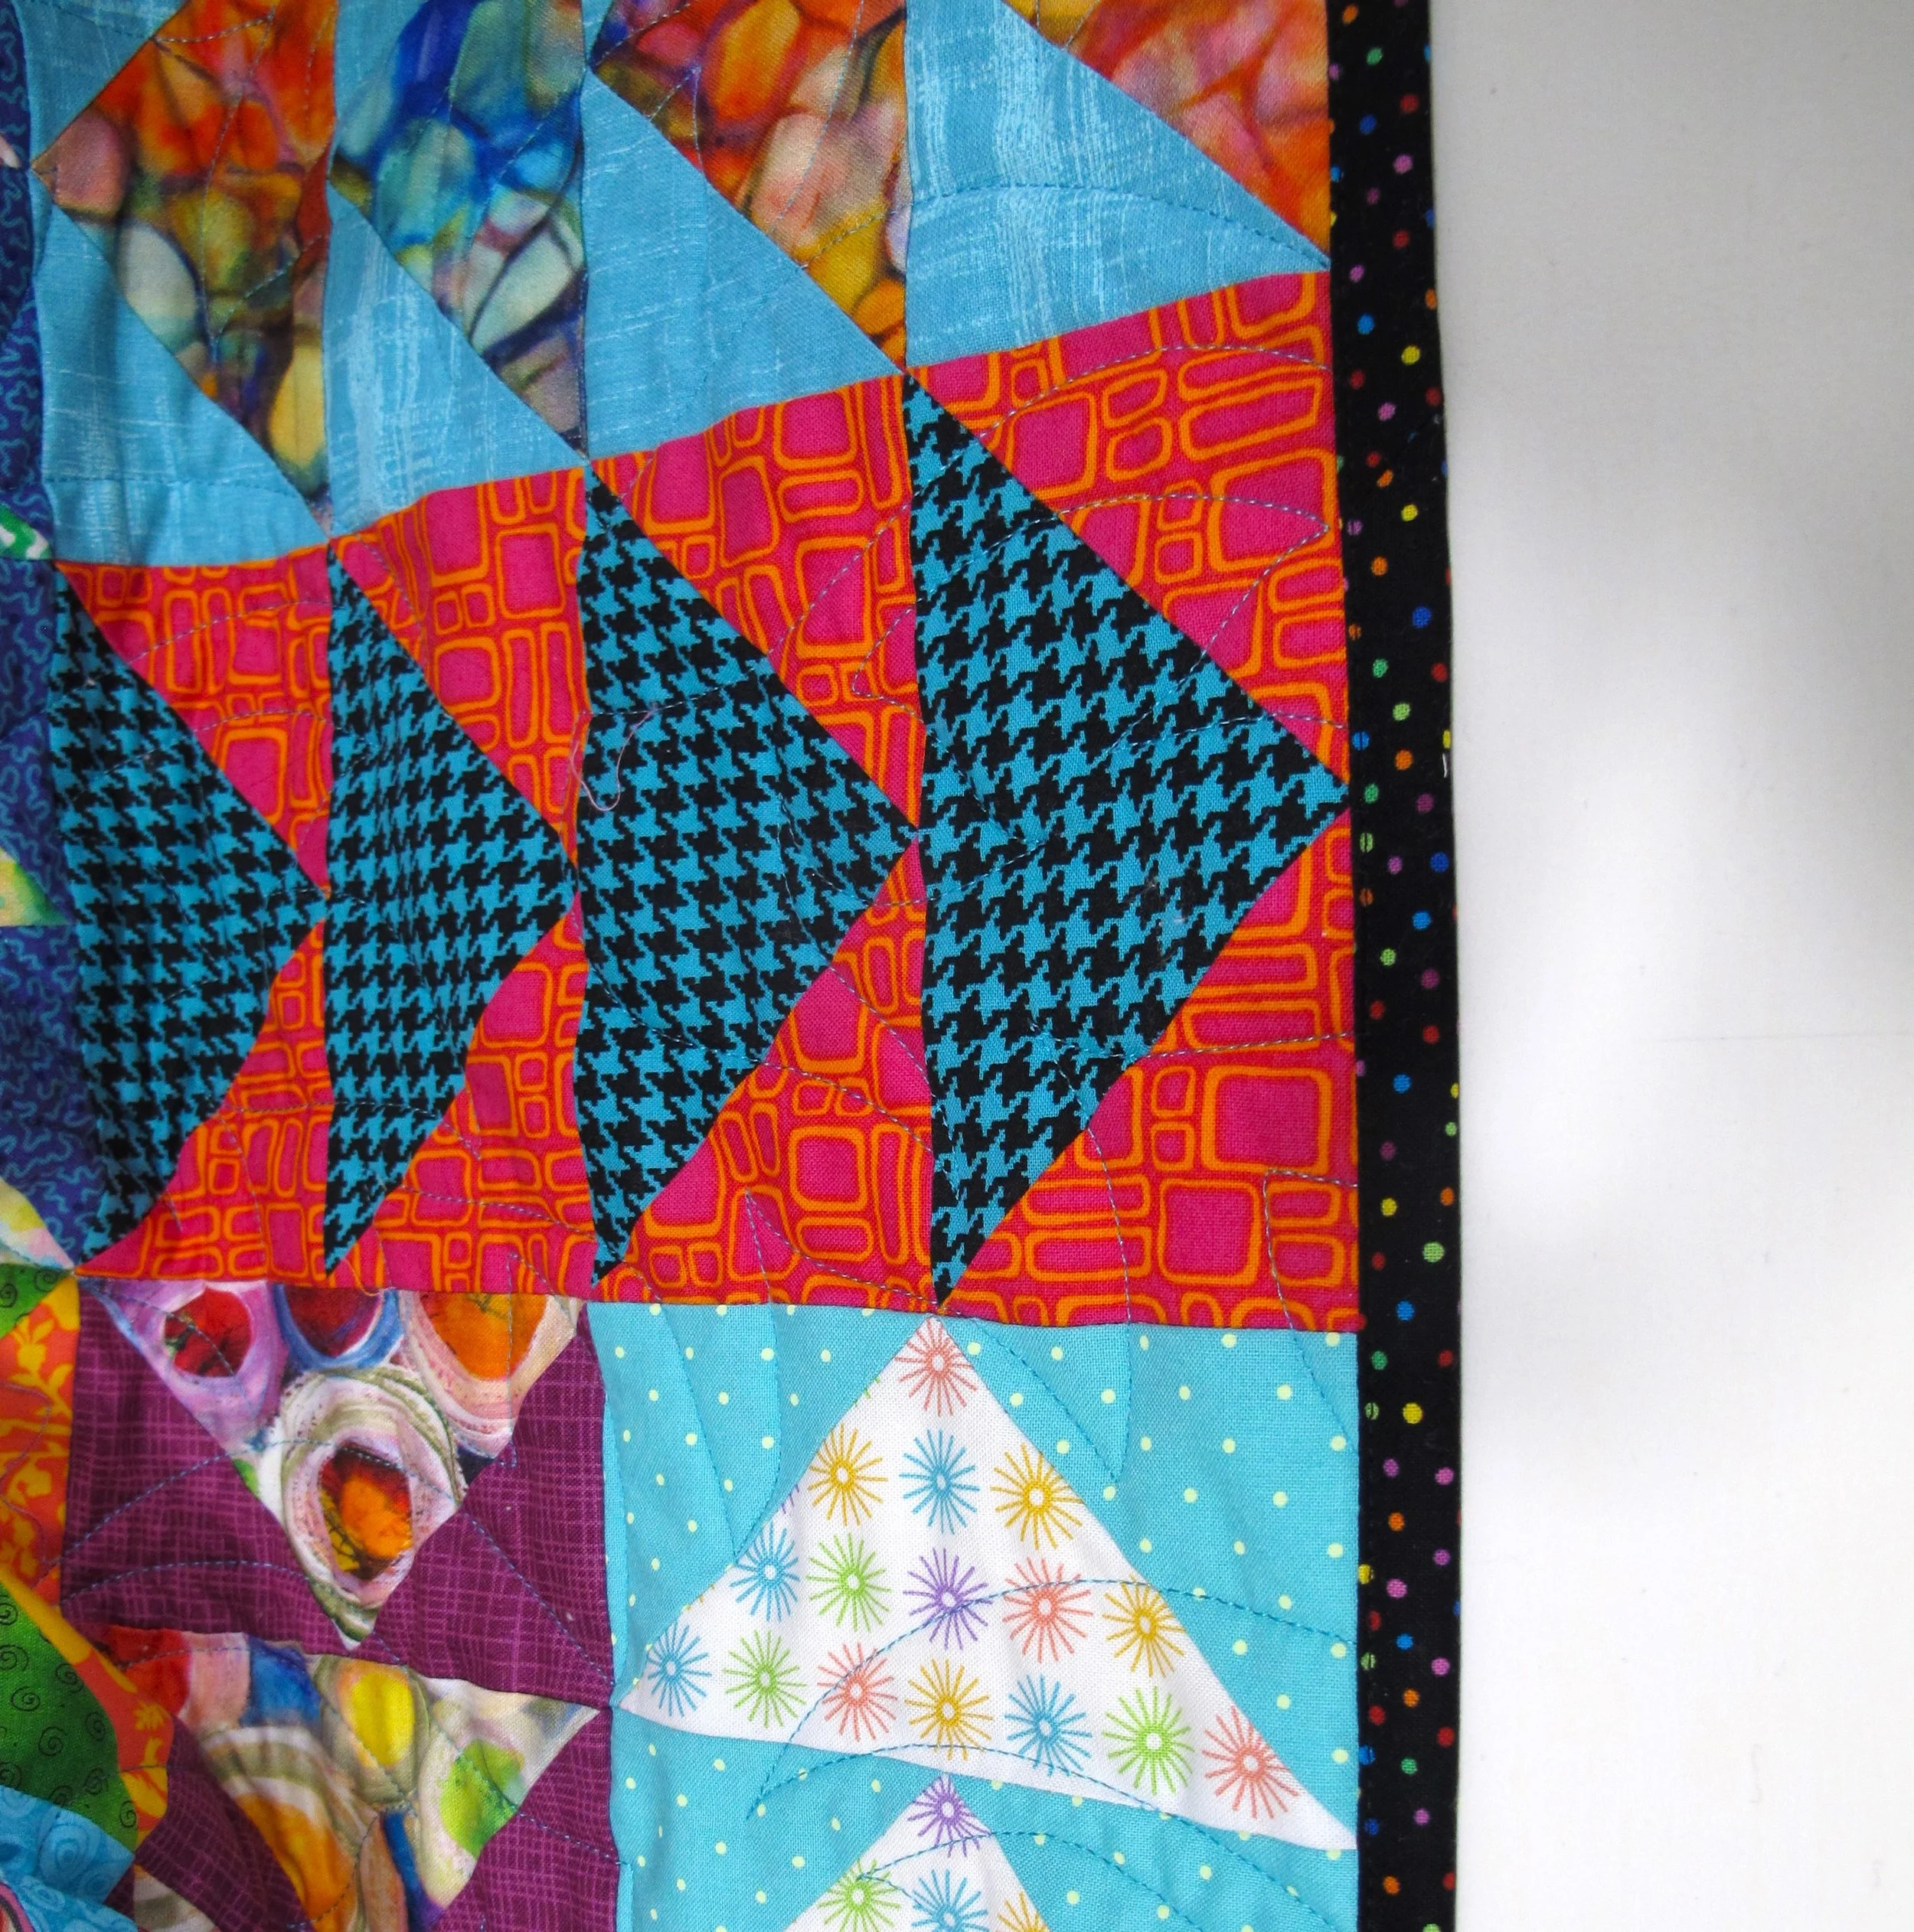
no lopped off points!
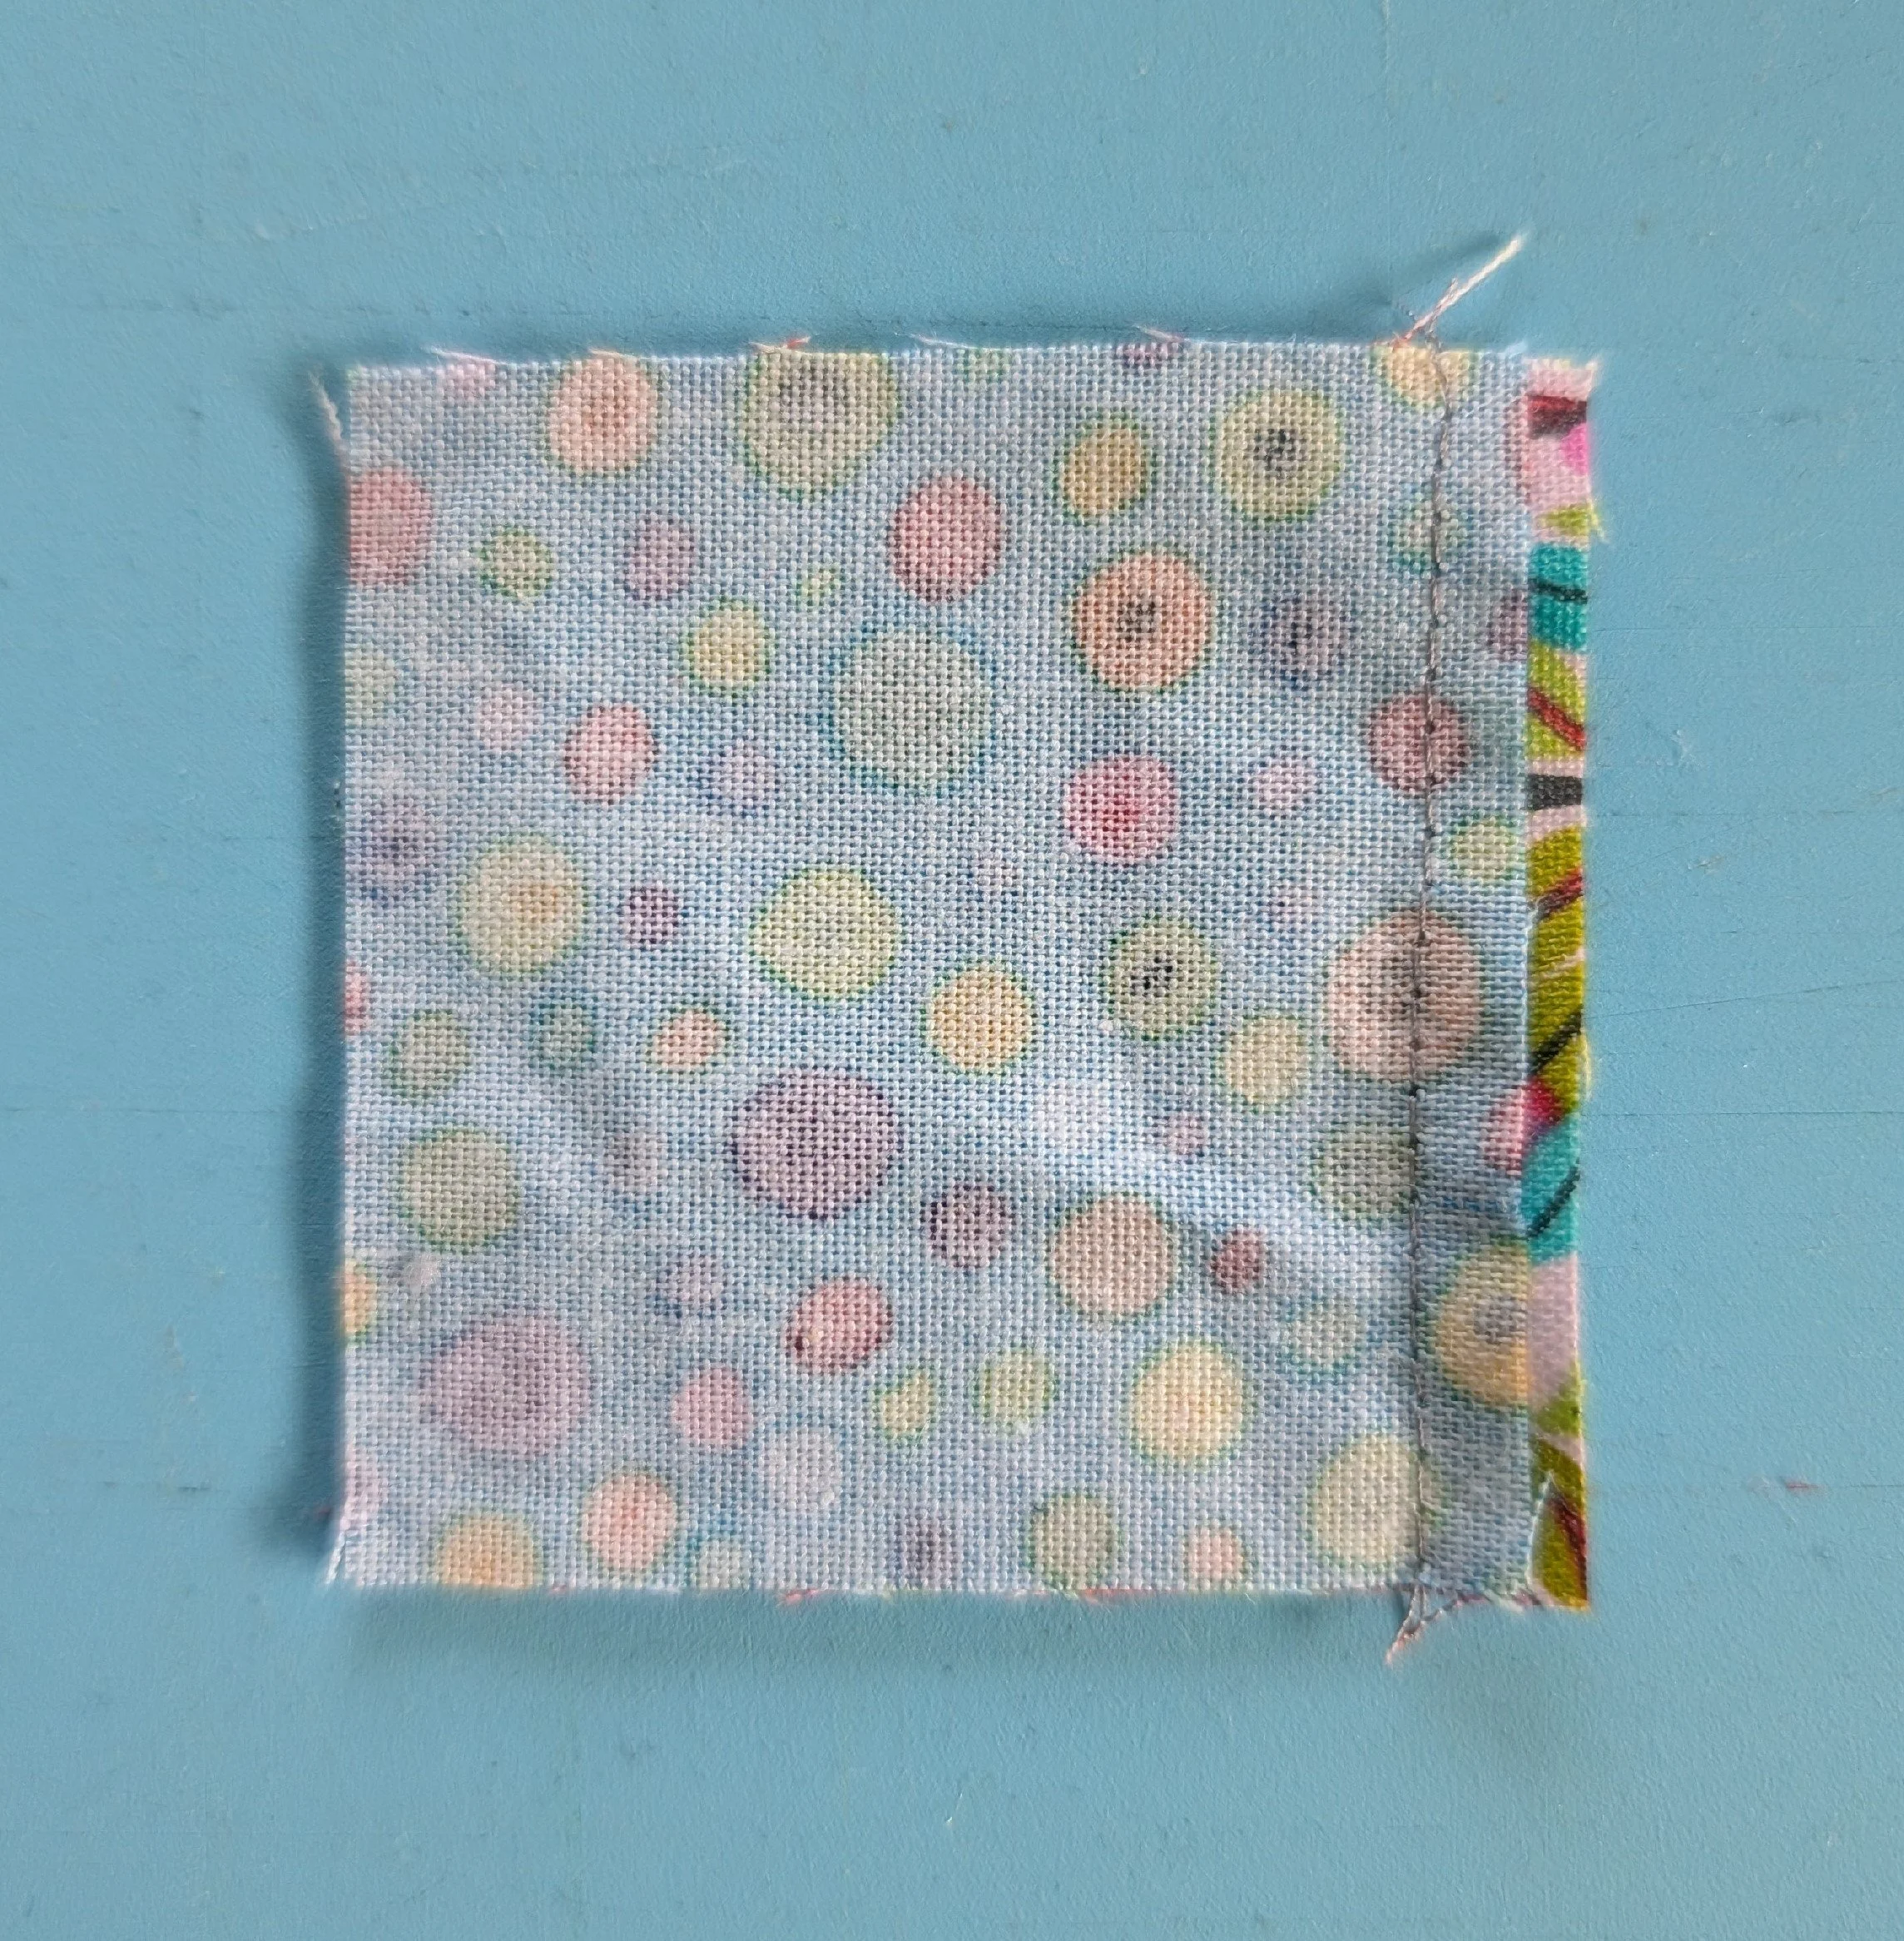
Patti’s bag corner fudging
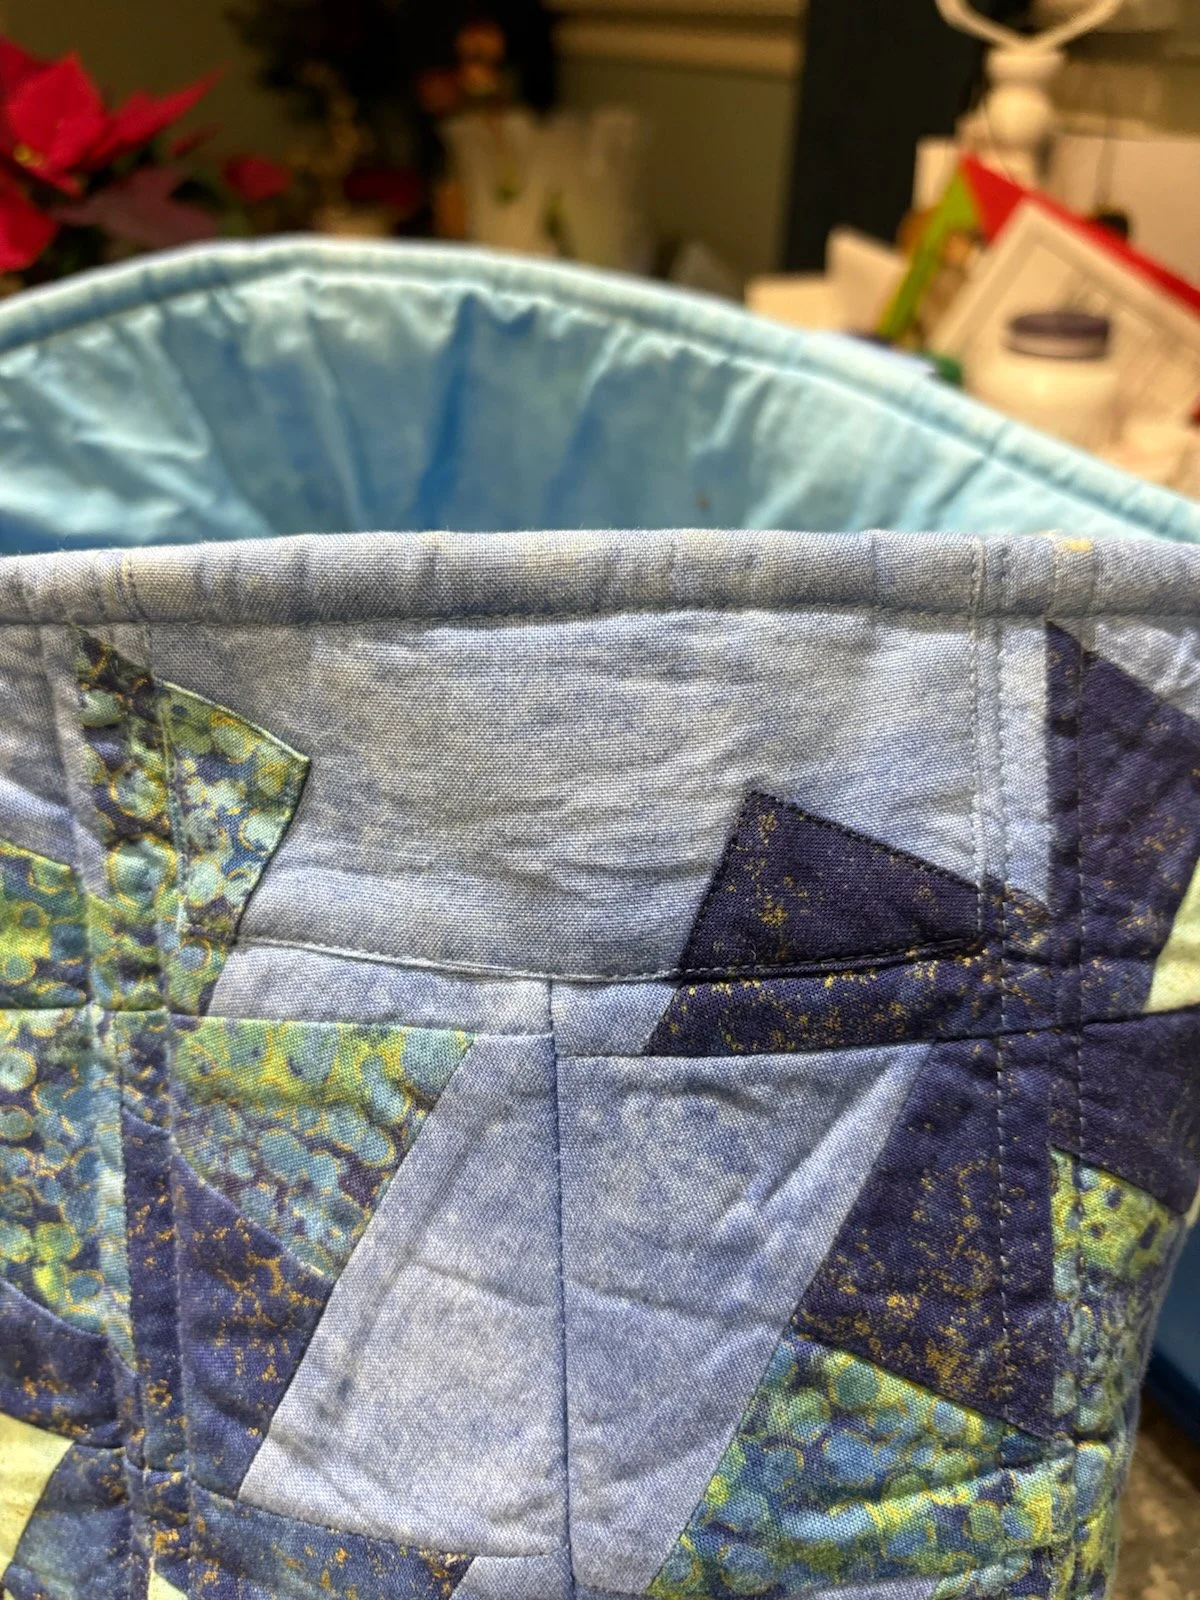
Every once in a while, something happens that makes you say “what the H-E-double hockey sticks did I just do?! This happened to Patti in one of my classes a few years ago. We were working on tote bags using the Simply Charming Twister Tote pattern and L’il Twister Tool when she accidentally cut the corner square for the box corner from the top corner instead of the bottom. She thought her bag was ruined, but we were able to fudge it so it was hardly noticeable. Using some of the leftover scraps of fabric from the bag, Patti was able to piece together a section that mimicked what had been cut away. Once that was stitched on top of the missing corner, with batting fused to the back of the repair, it blended in well. You will notice that the left side of the patch blended in beautifully and the right side was only off by about an eighth of an inch, so a very successful fudge. Rarely is anything beyond repair.
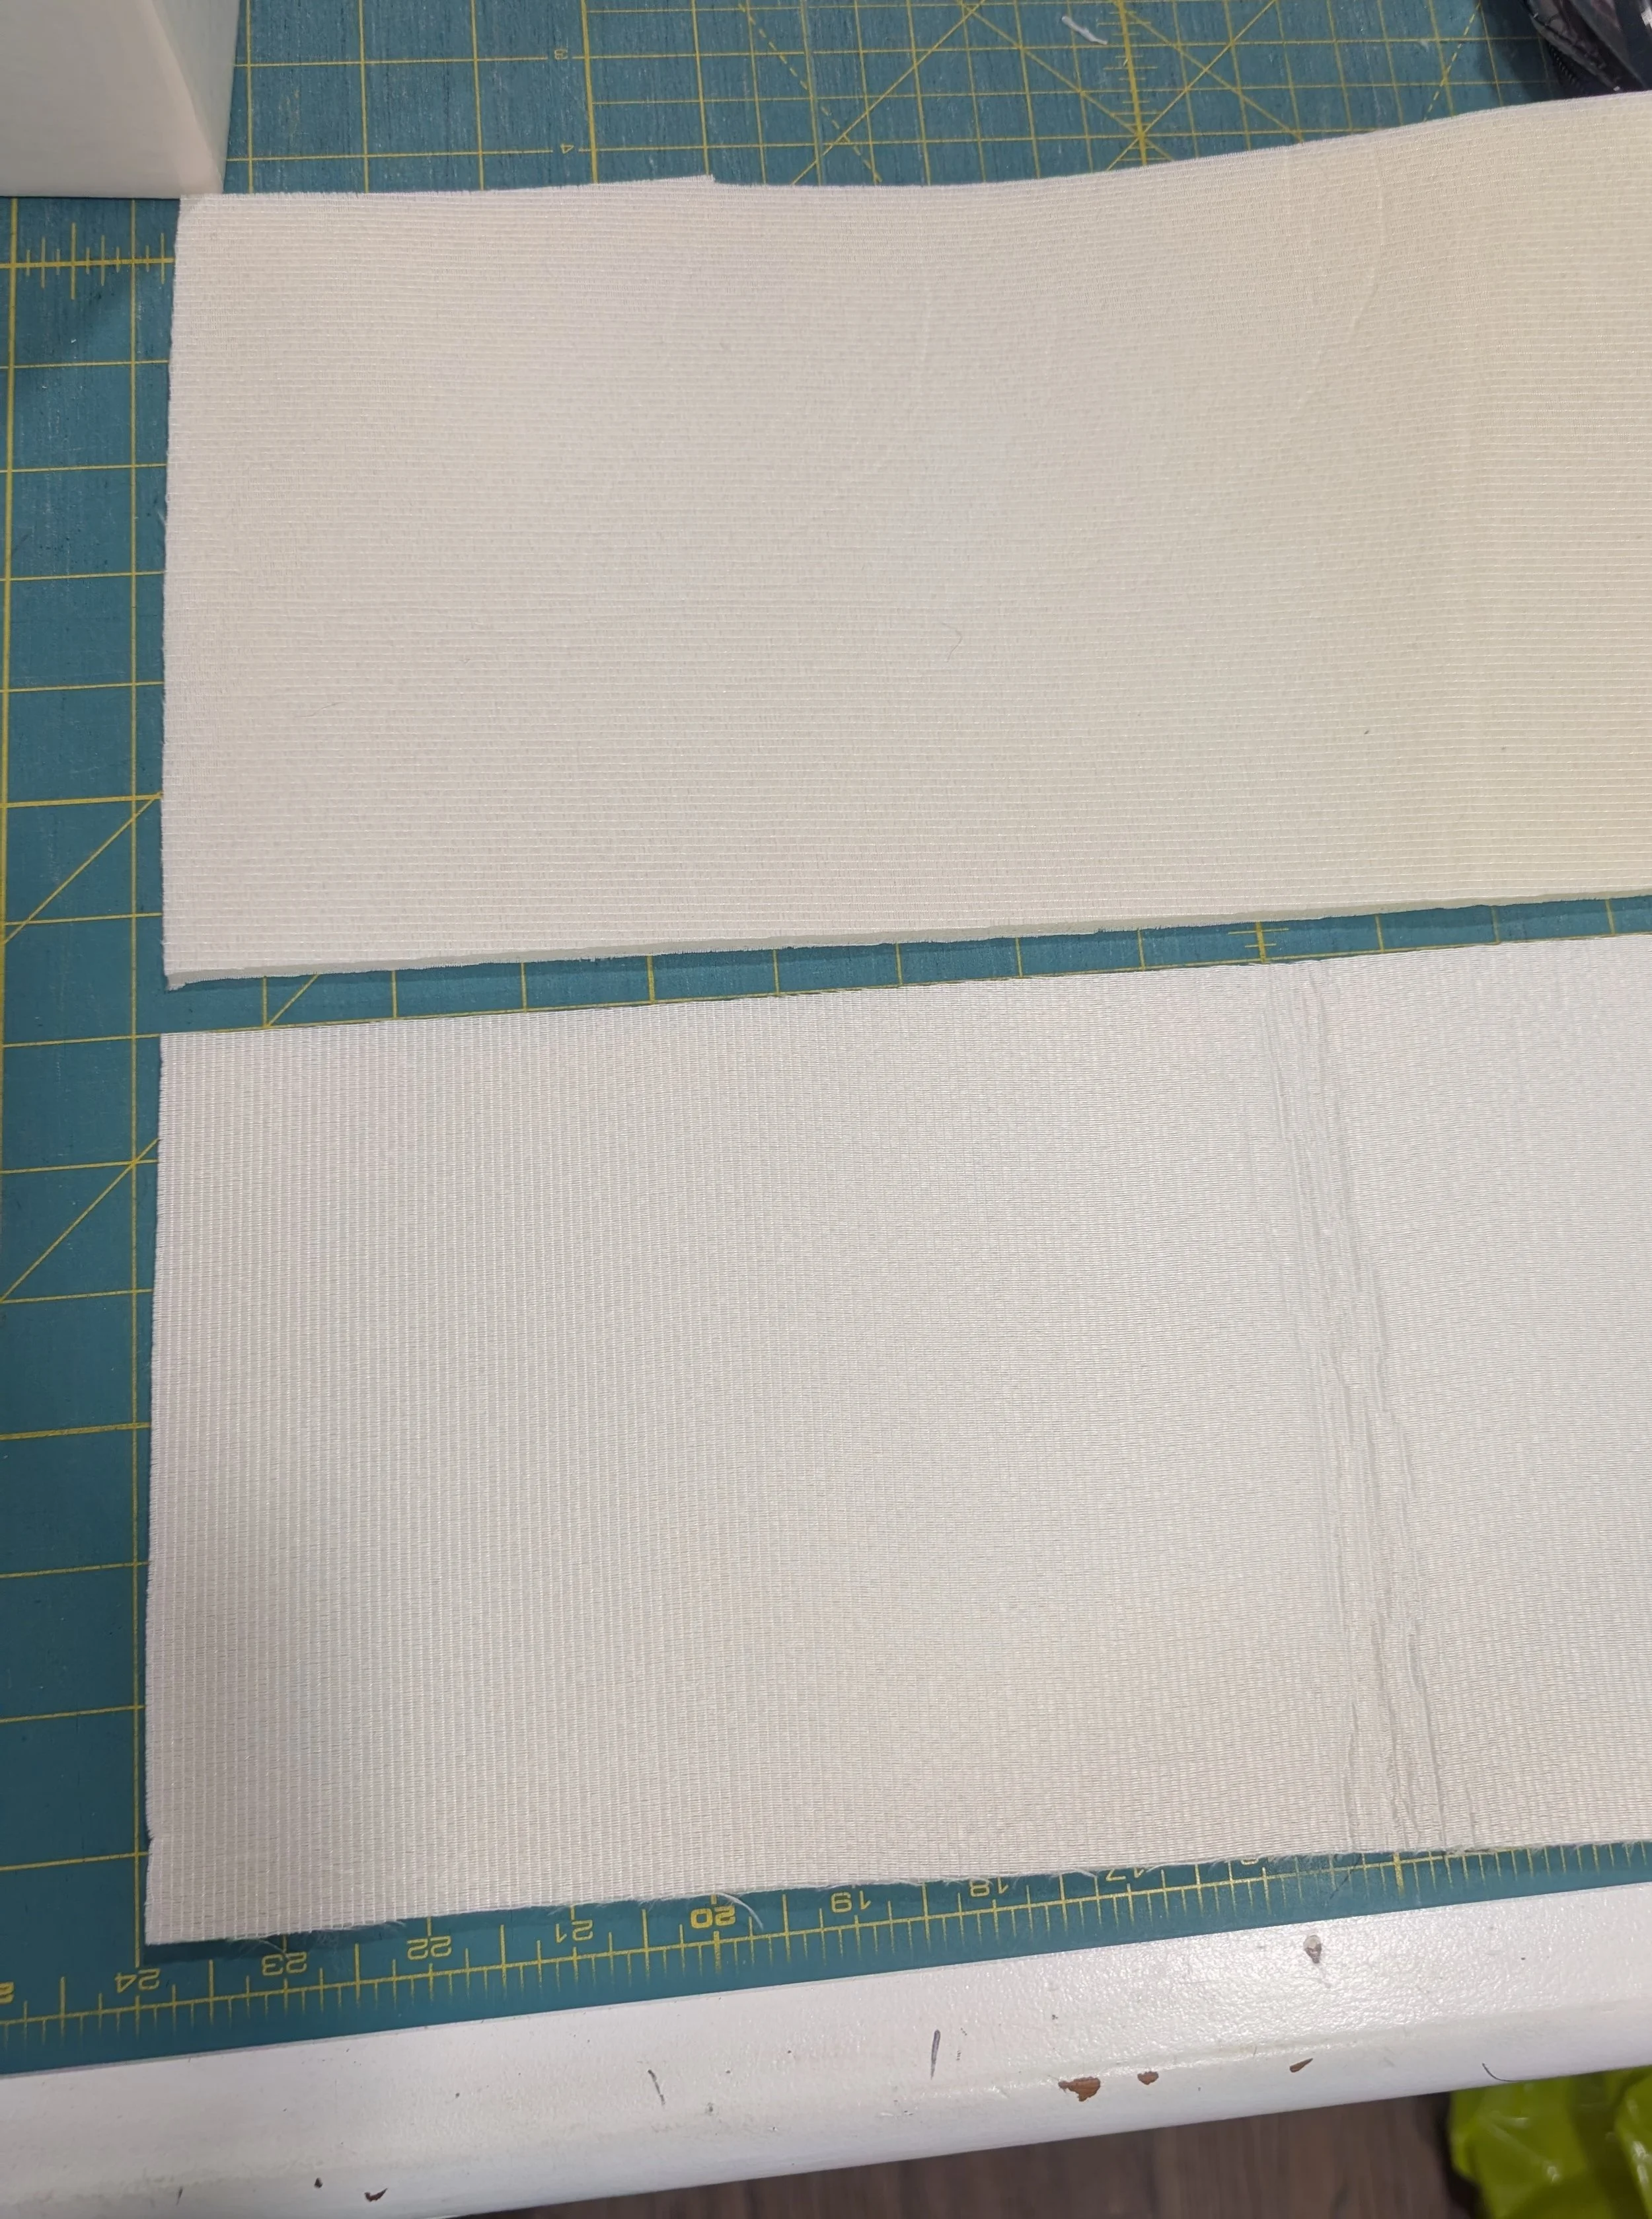
Gail and I both love using fusible batting tape for putting leftover bits of batting and foam together if the piece we need is not large enough for our specific project. We often have lots of scraps left over that we don’t want to waste and this is a perfect way to use them up. I’ve heard the term “frankenbatting” before to describe this technique.
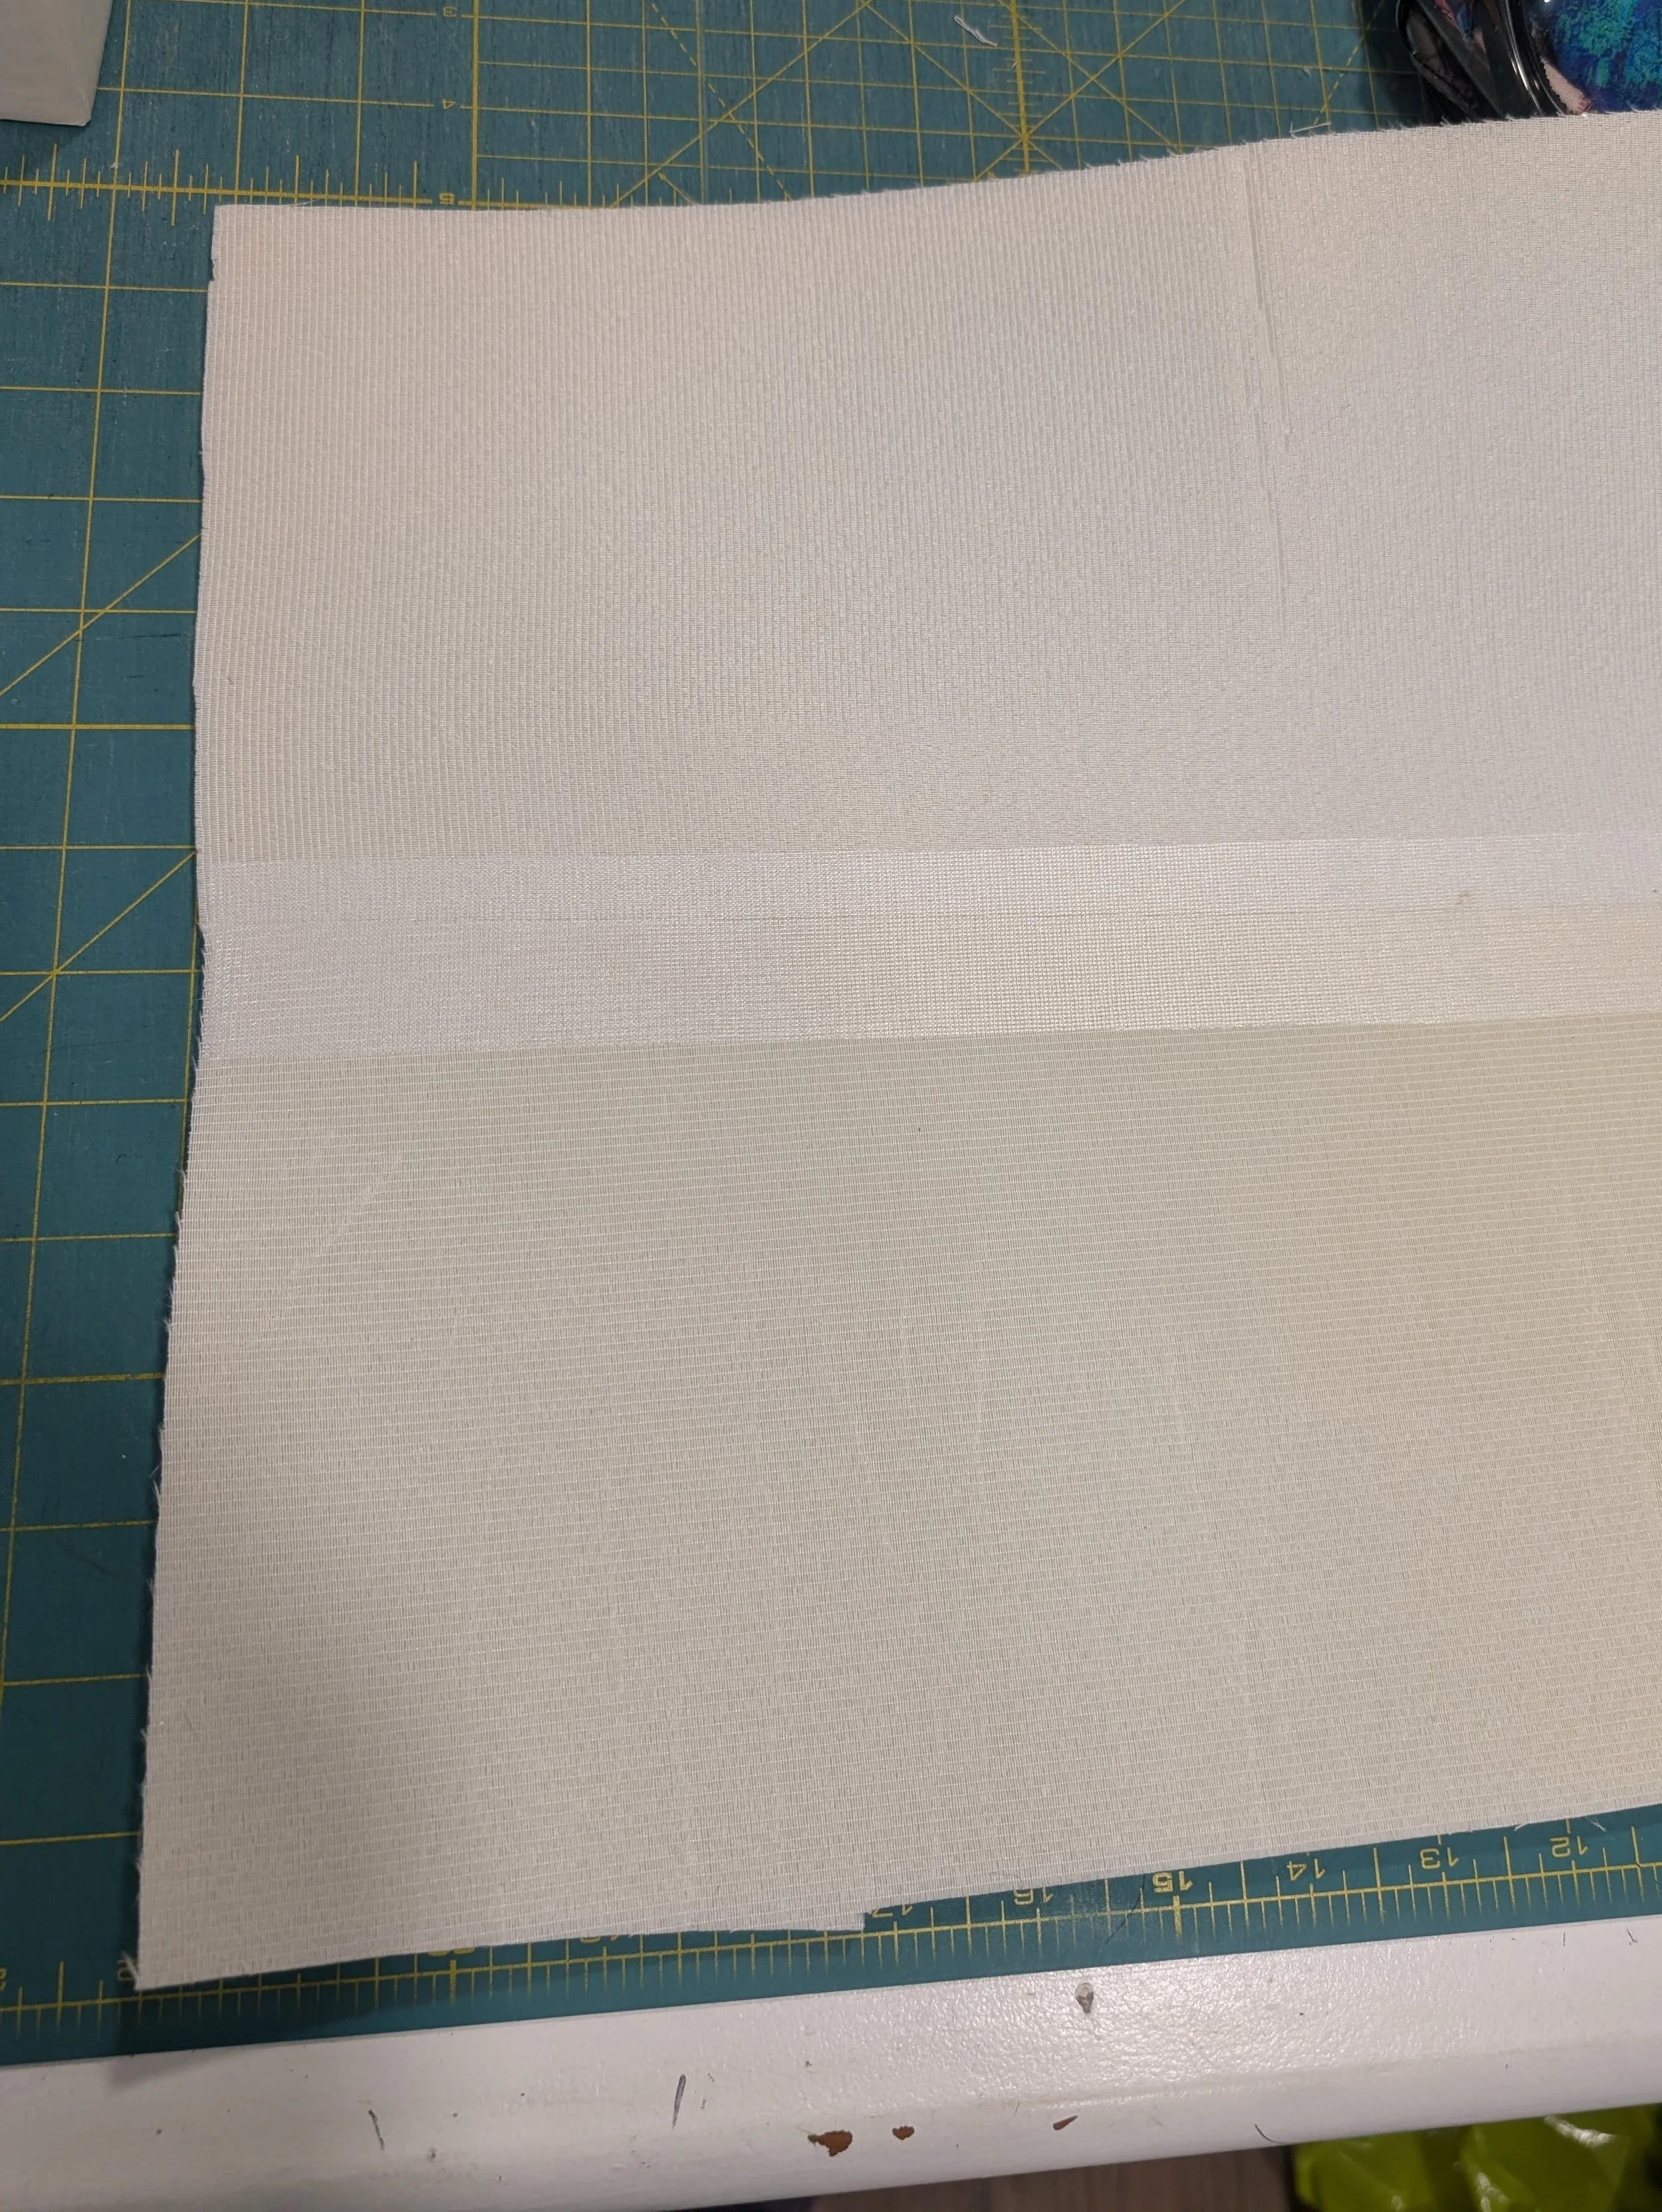
For those of you who do garment making, the batting tape is just like fusible tricot knit interfacing so it’s very fine and thin. That means there is no ridge once the pieces are fused together. Cut straight edges using a ruler and rotary cutter on the two edges that are to be fused together. Butt the edges up to one another, cut a length of fusible batting tape the same length and fuse them together centering the tape. With batting I usually only worry about doing that on one side, but foam is a little thicker so I do both sides. Be sure to use a pressing sheet or parchment paper to protect your iron and ironing board from the glue. The batting tape is white so it may not show well in the photos below showing two pieces of foam fused together.
Hopefully these little fudging techniques will help you in the future if things don’t go quite as planned. And you probably have a few fudging techniques of your own that have helped you save your own little mistakes in the past.