
Just For Newbies!
Last week, at our guild meeting just after our successful quilt show, we had a couple of new members who joined the guild as a result of attending the show. One young lady, Lynda, I had spoken to at the show as I was manning the entry table. She came in, with her baby in the stroller, all excited to see the quilts and take in the show. We spoke again as she was leaving and she said she was inspired by our work and was looking forward to coming to our meeting to learn more.
At the meeting Lynda sat with us at our table and, after speaking to her for a while, we found out that she is a true beginner never having quilted before. But that didn’t stop her from already shopping for some adorable fabrics for her soon-to-be-started baby quilt! We spoke about the tools she had already purchased and I gave her a couple of other recommendations, and that’s when I realized it must have been a little overwhelming for her to be in a room where the majority of others were well beyond the beginner stage.
All I can tell Lynda, and you other newbies out there, is that a quilt guild is a great place to go to learn from others who have been exactly where you are now and are more than willing to share their knowledge. Not only that, but joining a guild will give you access to a great library, demonstrations about techniques and tools, and the opportunity to see trunk shows and Zoom presentations by other, more well known quilters. For you new quilters, a trunk show is like a big Show & Tell of that particular quilter’s work.
If you have a local quilt store, it’s also a great idea to take a beginner course there. You will learn all about cutting techniques, proper pressing and sewing geared to quilters using a 1/4” foot and a walking foot. For years I taught a Beginner Quilting course at the Ultimate Sewing Centre and it was so exciting to see the completed lap quilts made by my students. The look of pride and satisfaction on their faces when they held up their very own finished quilt was so fulfilling for me as their instructor. It was even better when they asked “what’s the next class I can take?”. Then I knew they were hooked!
So, if you’re in the same position as Lynda, just at the beginning of learning this incredible hobby (and skill), I want to give you some guidance about the tools that I think are necessary for you to be successful as you start out. Yes, you will need to part with quite a bit of your hard earned cash to outfit yourself with the proper tools (like starting any new hobby), but once you have them you’ll have most of them for years to come. I still have an Olfa cutting mat and the original style Olfa rotary cutter that are over 20 years old!

18” x 24” self healing cutting mat: My favourite is the Olfa brand mat because it is a little softer than a couple of other brands therefore it’s a little easier on the rotary blades. The reason I recommend this size is that a full width of fabric from the bolt can easily be cut into strips without refolding the fabric.
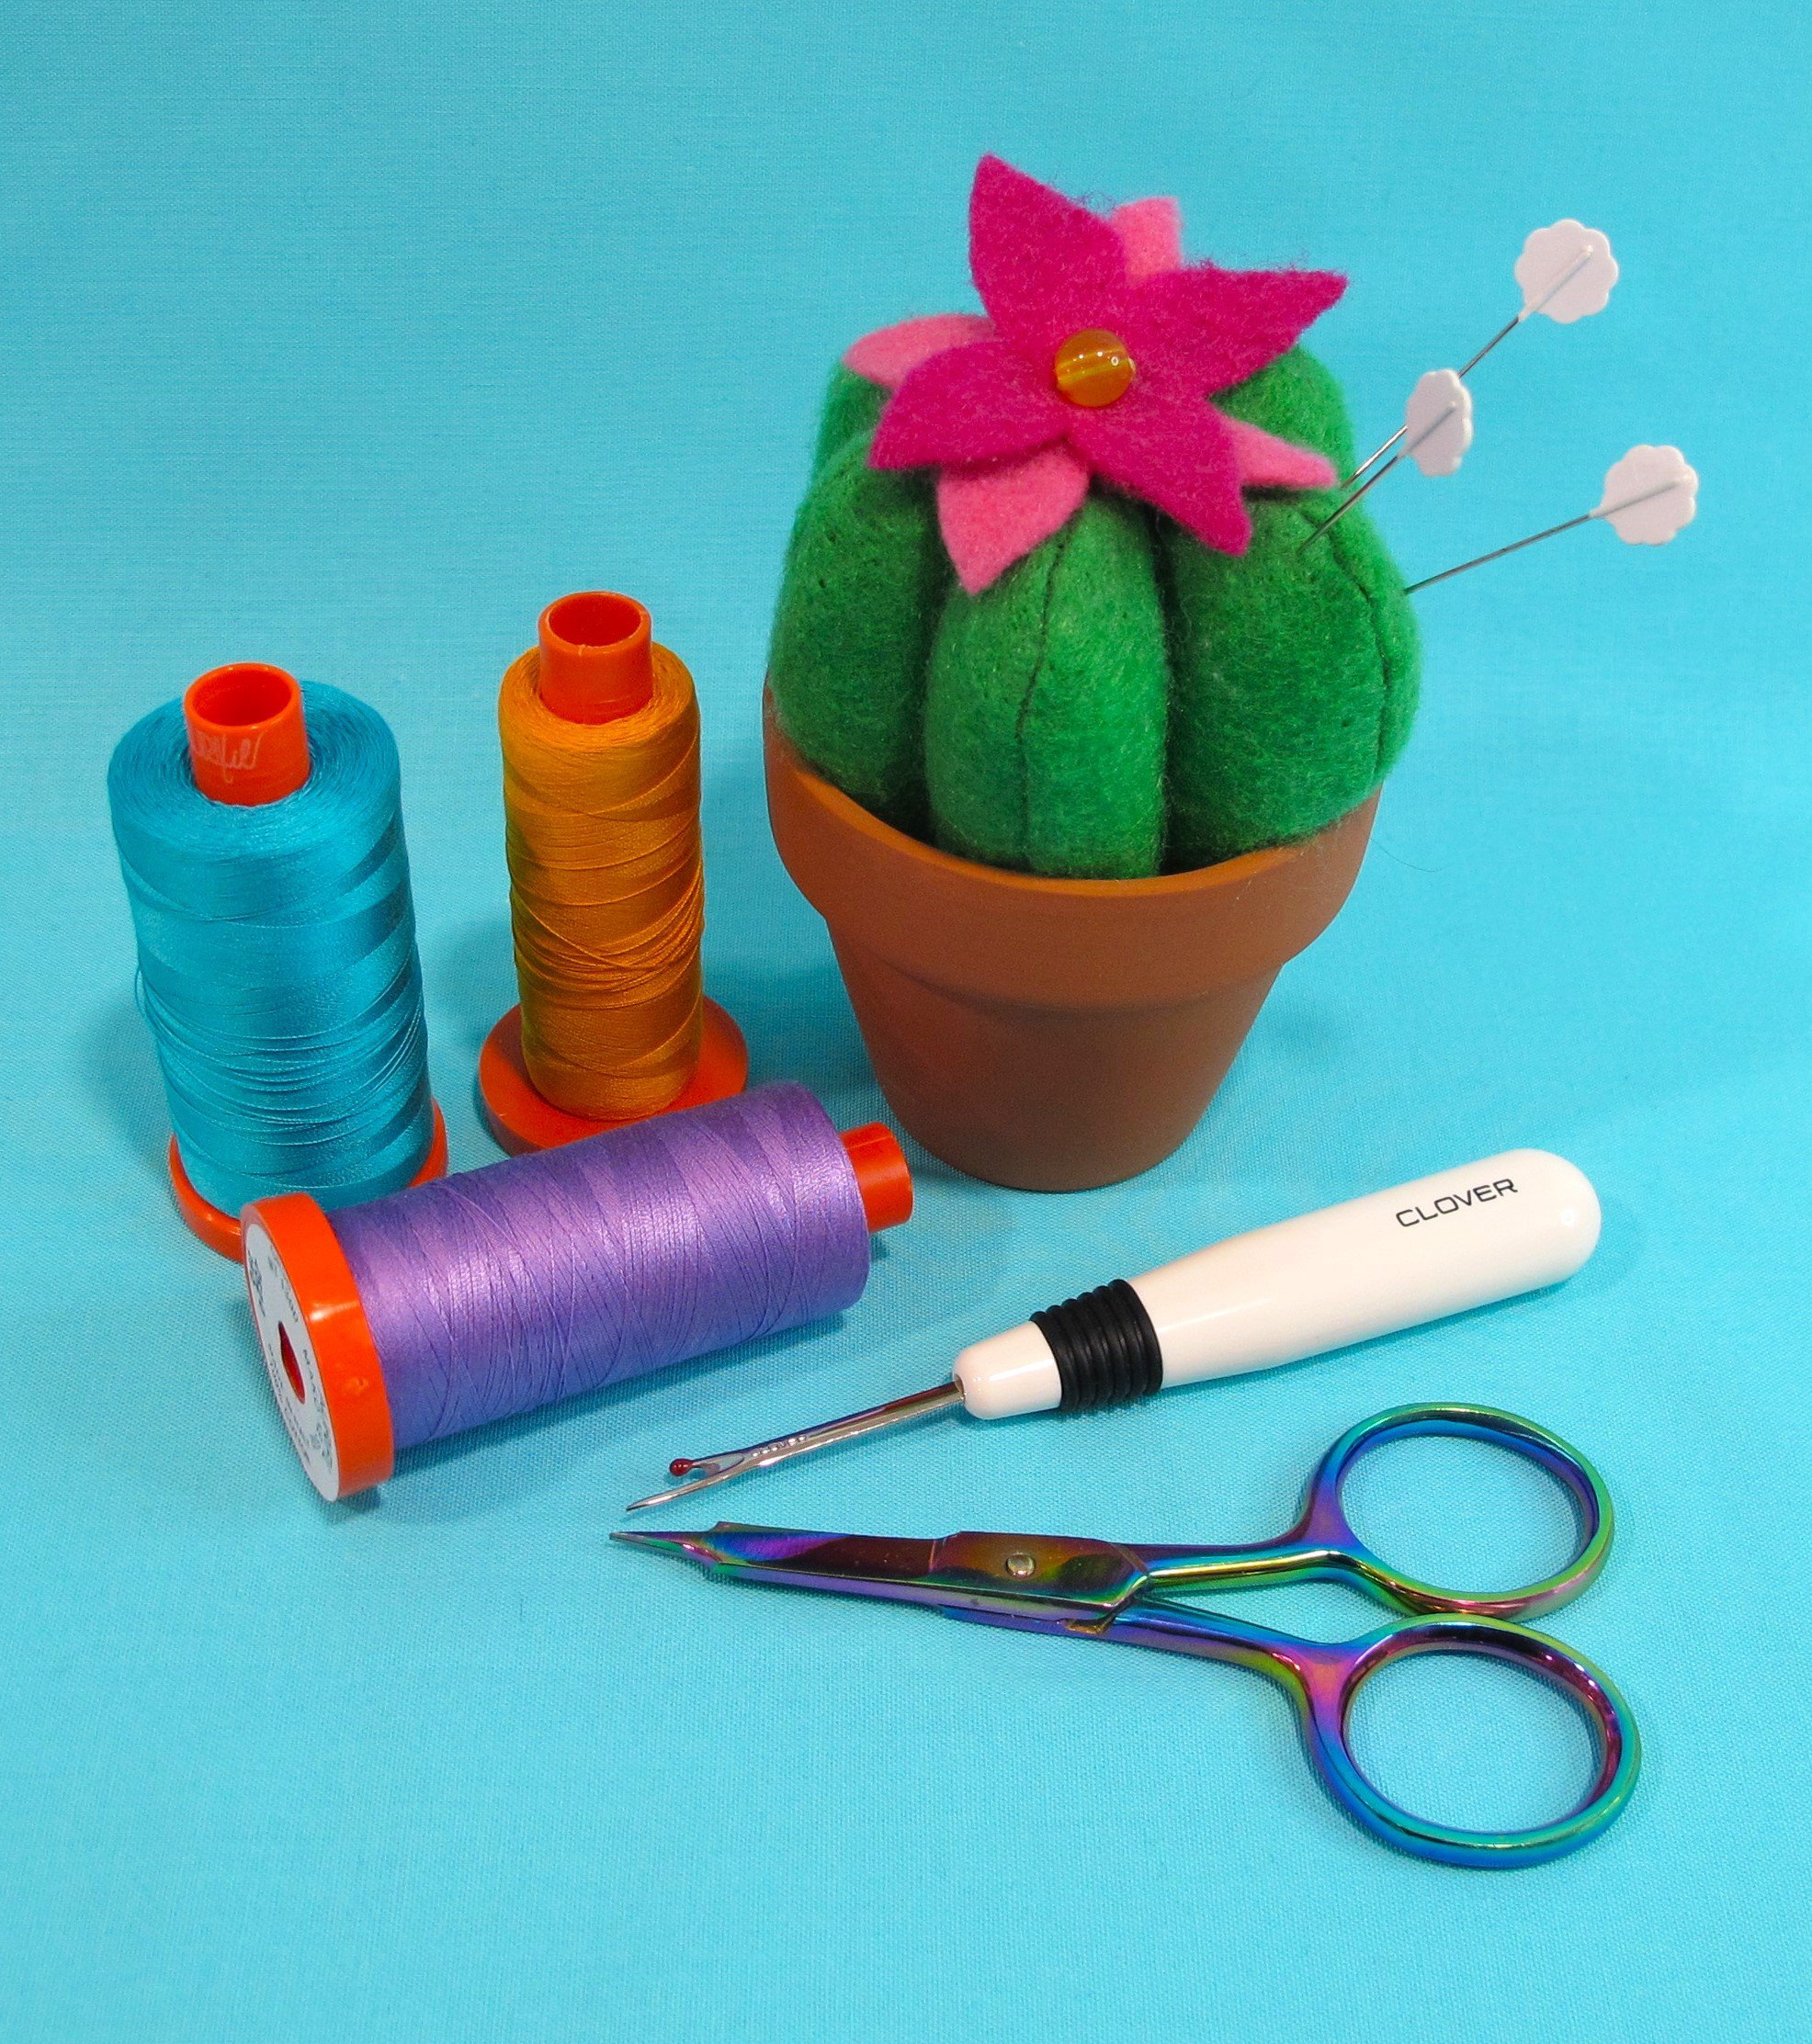
45mm rotary cutter: My favourite (again!) is the Olfa brand ergonomic rotary cutter. The reason I love this one so much is not only because it feels really good in my hand while cutting, but I also love the safety feature with this one. The blade only comes out when you grab the handle to cut and then goes back in once you release it. It’s also wonderful for those of you with young children, or cats that like to jump on your cutting table, because the blade can be put in the locked position when not in use. A lot of my beginners in class changed from the original style to this one when I yelled at them too often in class to close their blades! ***the blade can be moved to the other side for lefties.
6” x 24” or 8” x 24” ruler: I’m partial to the Creative Grids rulers, but there are many brands on the market that each do the same job. I have the 8 ½” x 24 ½” ruler (CGR824) which is wonderful for cutting width of fabric strips and borders. The other one I use all the time is the 6 ½” x 12 ½” (CGR612) because it’s not as cumbersome as the larger one when subcutting smaller units. ***Depending on the brand, occasionally the ½” is added to both width and length of the ruler.
seam ripper: Making mistakes is a regular occurrence for most of us and a good, sharp seam ripper is a necessary evil. I love the Clover seam ripper because of its sharp blade and thin point. There are many others on the market and I know you’ll eventually find your favourite too. Seam rippers do have a shelf life…if you find it more and more difficult to remove stitches with your current stitch ripper, then it’s time for a replacement.
a small pair of trimming scissors: Constantly clipping threads while sewing is made a little more enjoyable by a pair of great, sharp scissors. There are so many trimming scissors on the market, and I own at least five, but my favourite pair has to be the Tula Pink ones that my friend, Gail, got for me a couple of years ago. The other day I dropped them on the floor, feared for the worse, and was so happy that they were OK. Whew! Anyway, I have a back-up pair just in case I wreck them someday!
good quality 50 weight cotton thread for piecing: Because we are usually using 100% quilting grade cotton for our quilts it’s important to use a good quality cotton thread because they play well together. I’m very partial to Aurifil thread because of its quality and very little lint while sewing, but if you find a brand that works well for you and your machine stick with it. Read my post here about why I’m a thread snob!
good quality sewing machine needles: Sewing machine needles are incredibly important for the quality of your machine’s stitches. If you’re having stitching issues it’s more than likely that you have a dull or burred needle. In the big scheme of things needles are relatively inexpensive so if it needs changing it’s not a huge financial investment, but it is an investment in the quality of your work. Read this post about my favourite machine needles for piecing and quilting.
straight pins: There are so many different brands of straight pins on the market that you may have to test a couple out before finding your favourite. I’m partial to the Clover flower head pins for a couple of reasons. First, I love the long length of this pin…it doesn’t distort the layers of fabric like shorter pins can. Second, if I have multiple layers to cut I can insert the pins into my fabric and still use my ruler on top of them because they don’t wobble like traditional pinheads do. Third, they are nice and sharp and tend to stay that way. Please, please, please do not purchase straight pins from the dollar store or in those big packs of sewing tools that are geared to beginners! They are badly made and have many burrs on them that can catch the fibres of your fabric.
Hopefully you newbies have found this list to be helpful. And I know that once you get started you will find quilting to be an incredibly rewarding and satisfying hobby to be involved with. I know that I’m addicted and you soon will be too. Have fun!