
Proper Pressing Techniques
Pressing is one of the most important steps for quilting, and actually for sewing in general. If you've ever done garment sewing you already know of its importance and you've probably already heard the term “press as you go”. Each step along the way benefits from the pressing done in the step before. Garments not only look more professional, but it makes lining up corresponding seams much easier if they are well pressed.
Hopefully you've noticed that I've used the term “pressing” and not “ironing”. Ironing is something grandma did to her sheets...forcefully pushing the iron around trying to get the wrinkles out. Pressing, when it comes to pressing seams for quilting, is more of an up and down motion that doesn't distort the fibres of the fabric or move the seams out of alignment.
Traditionally seams were pressed in one direction because back in “olden times” batting was made by hand by carding and combing the cotton or wool fibres. These fibres had a tendency to migrate between the stitches in seams and sometimes through loosely woven fabric. This is called “bearding”.
Nowadays, we usually press to the darkest fabric so there's no shadowing on the lighter fabric, but of course, just like with anything else, there are exceptions to every rule. If there are multiple intersecting seams, many quilters prefer to press seams open. Occasionally how the block goes together will determine pressing direction for individual units within the block. In the big scheme of things there's no real right or wrong way...sometimes just personal preference.
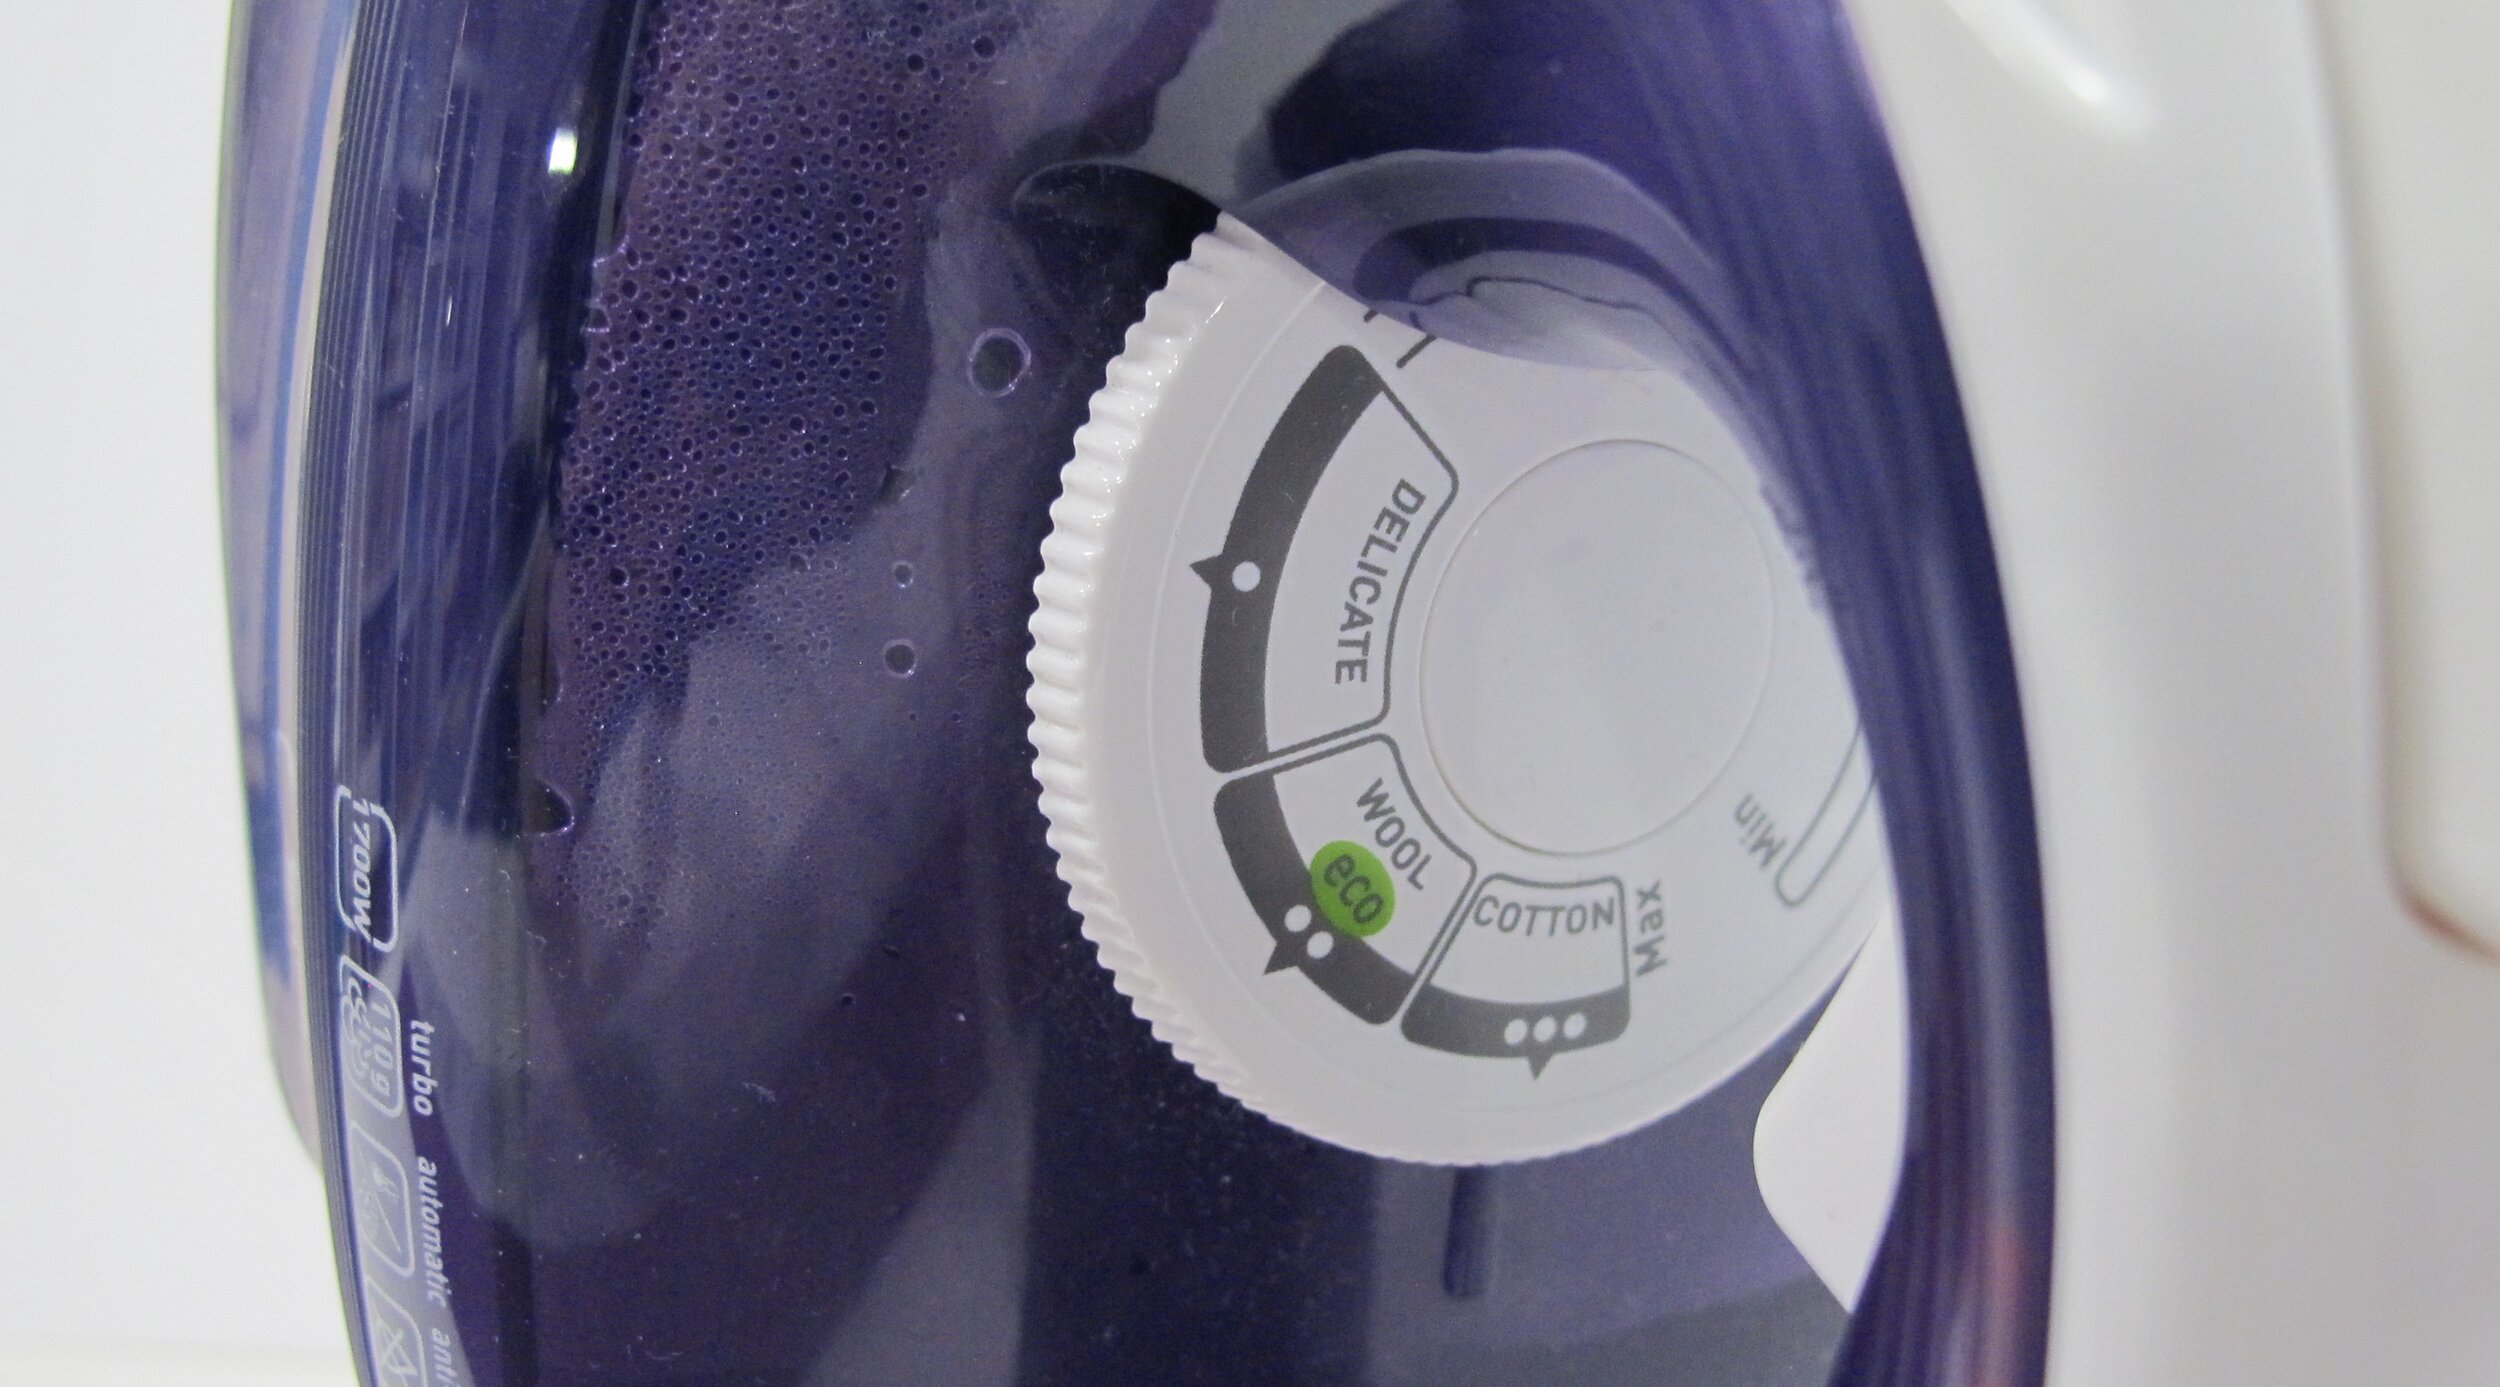
When pressing cotton fabrics for quilting use the cotton setting on the iron which is quite a high heat. There is a debate among quilters as to whether or not to use steam. I usually do use steam...I find it really gives a crisp, flat seam, but units should be cool before being moved to prevent distortion. Just remember to lower the setting if you start working on something with polyester...you don't want to melt your dress pants!
Follow along below showing the steps used for pressing a seam in a long strip set. After that pressing for half-square triangles will be demonstrated.
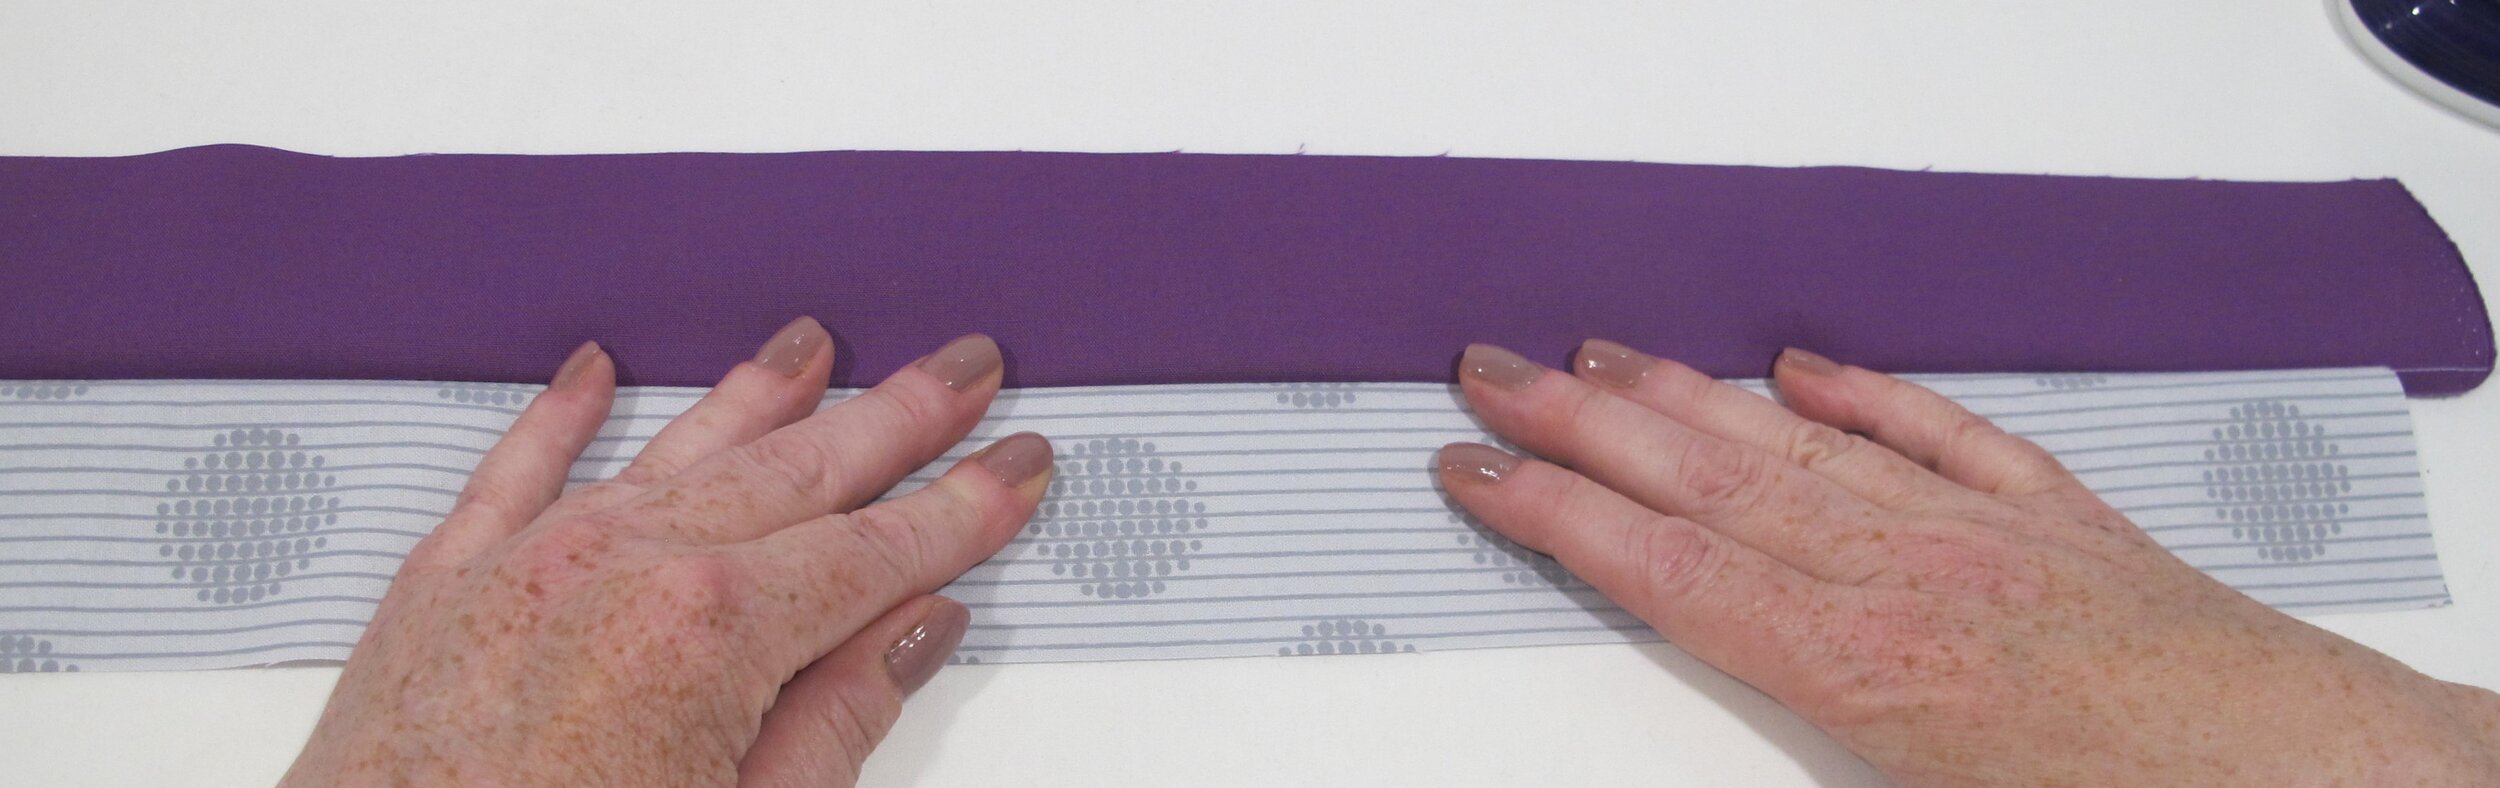
First, lay the strip set out as straight as possible and set the entire seam by pressing it as it was sewn. This flattens the stitches, allowing them to sink into the fabric, but it can also help with tension issues by smoothing out puckers or wrinkling. Notice that the darker fabric is on the top because the seam will be pressed in that direction.

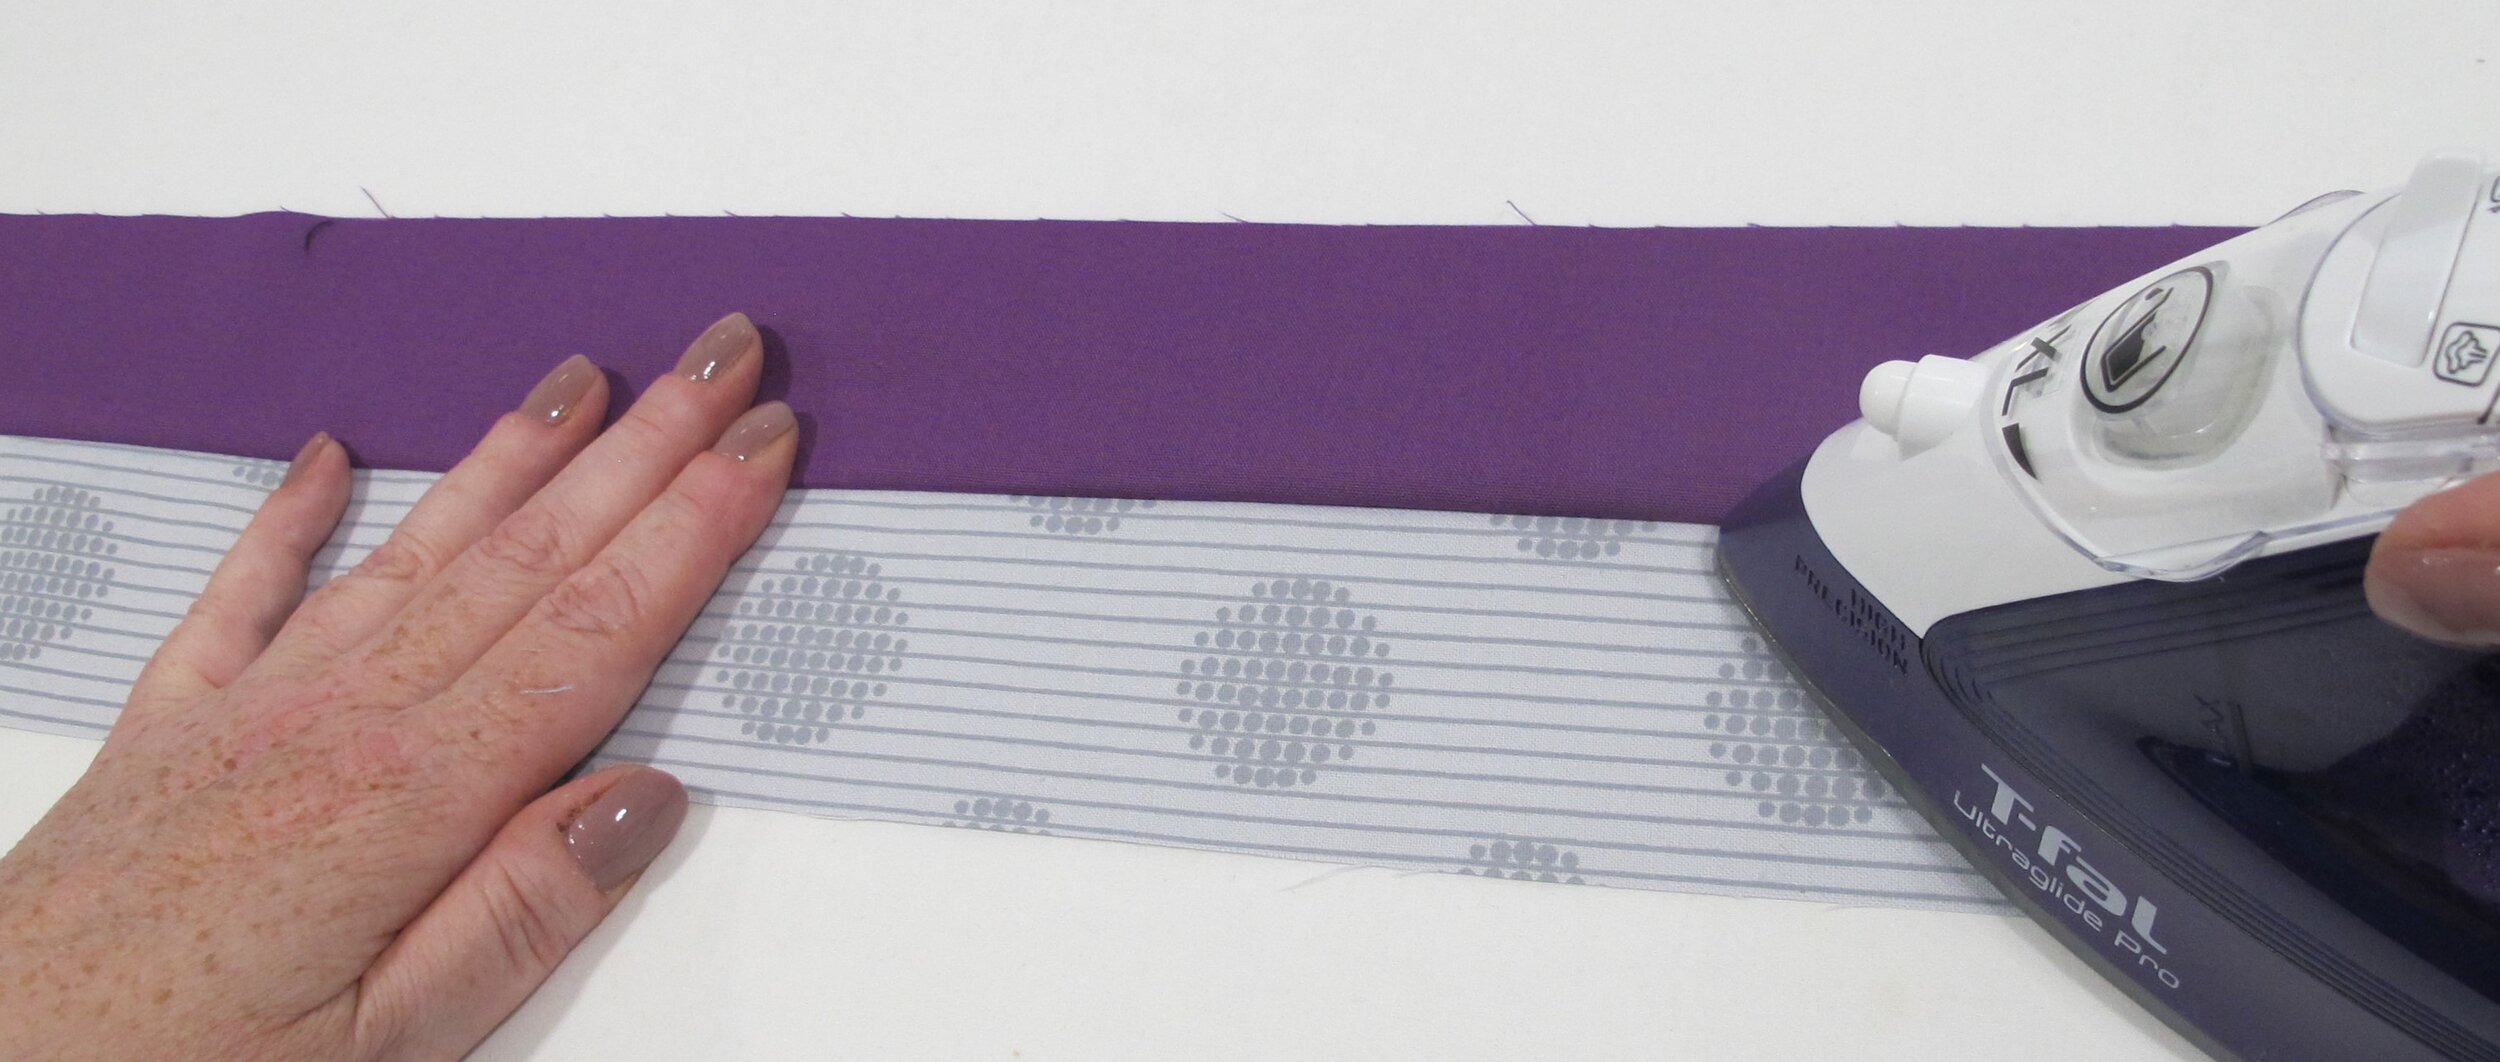
When pressing seams to one side for quilting I always press from the right side of the fabric. I find that if I do this I don't get that little “pleat” that sometimes forms at the seam line. Believe it or not, but if that little pleat happens in multiple units it could mean that seams won't line up properly or your quilt could be off by inches in size. The only time I press from the wrong side is when I press seams open.

Finger press the dark strip away from the light strip. This sets you up well for pressing with the iron, it gives a crisper seam, and also helps to eliminate that pesky pleat. Some quilters like to eliminate this step because it takes longer, but the end results, in my humble opinion, are definitely worth it.
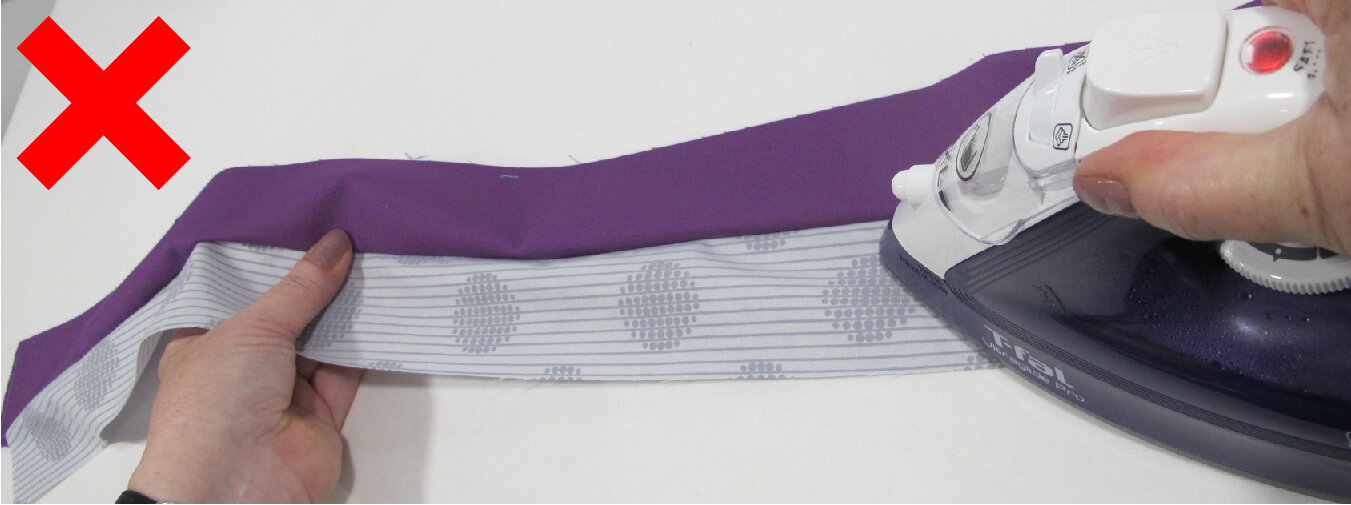
While pressing be sure to hold the strip set flat and straight with your non-pressing hand. Gently slide the iron alongside the seam and “nudge” the seam flat. Let strips cool before you move them...again, it prevents distortion.
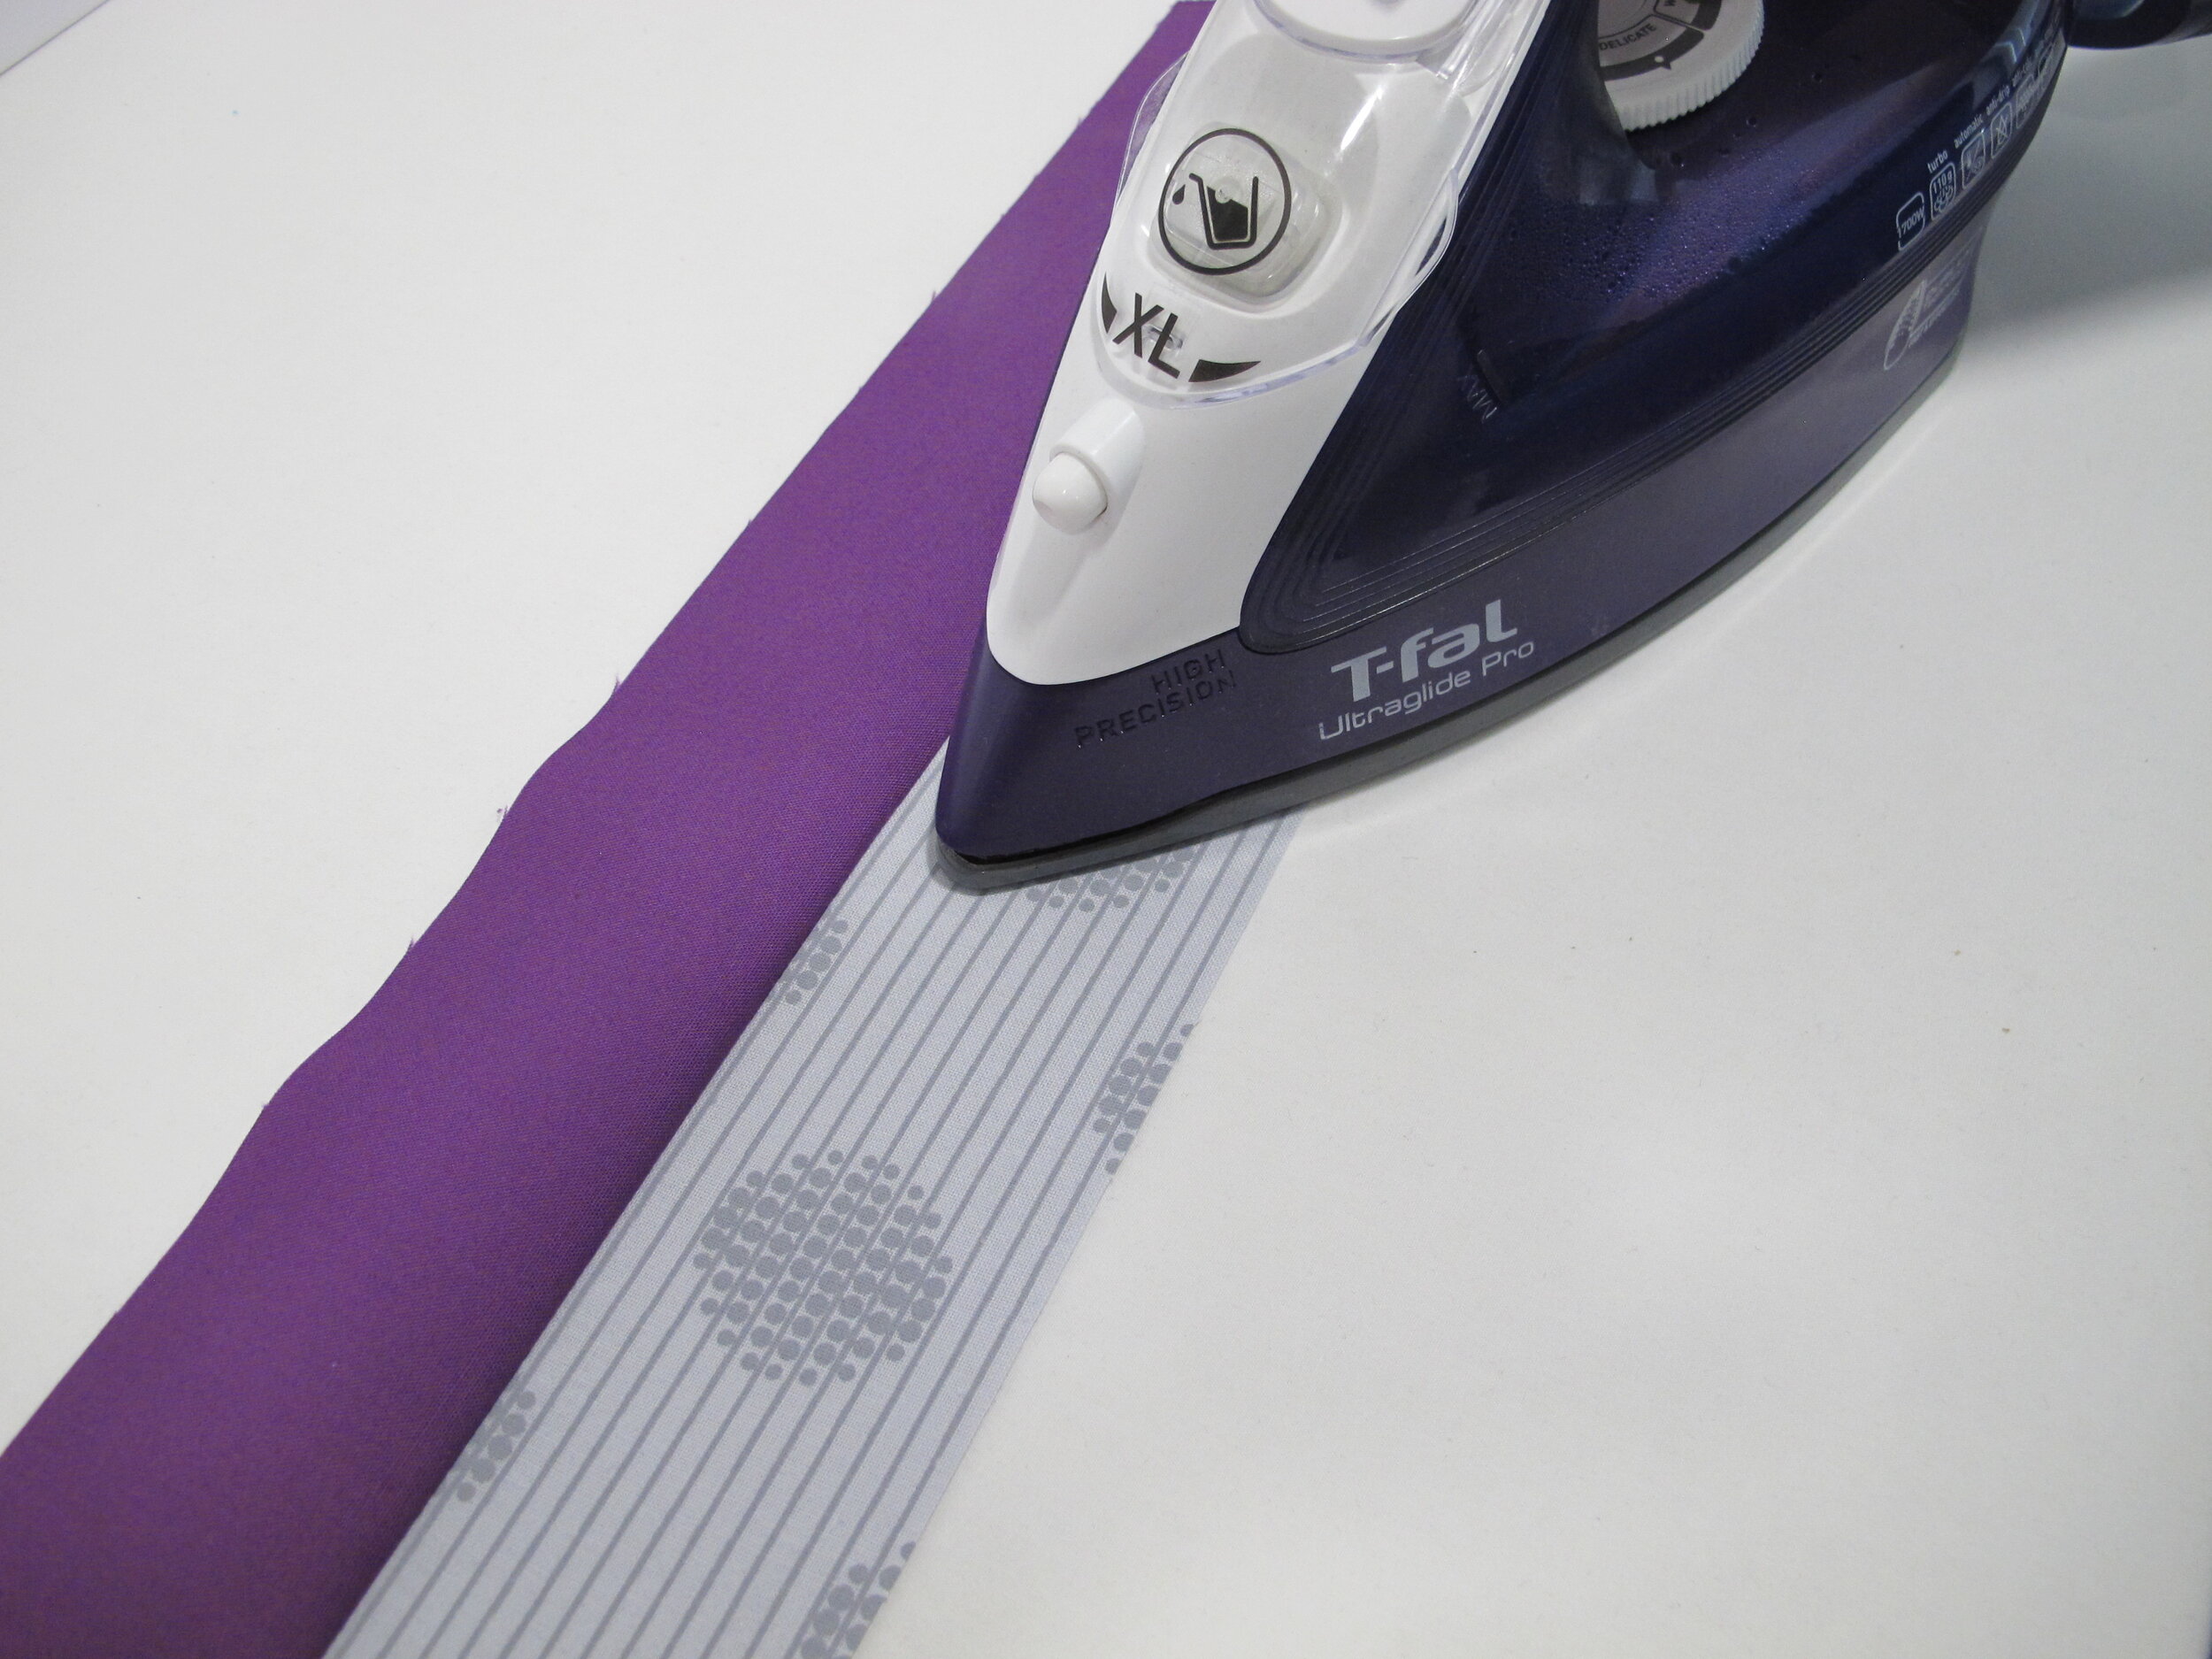
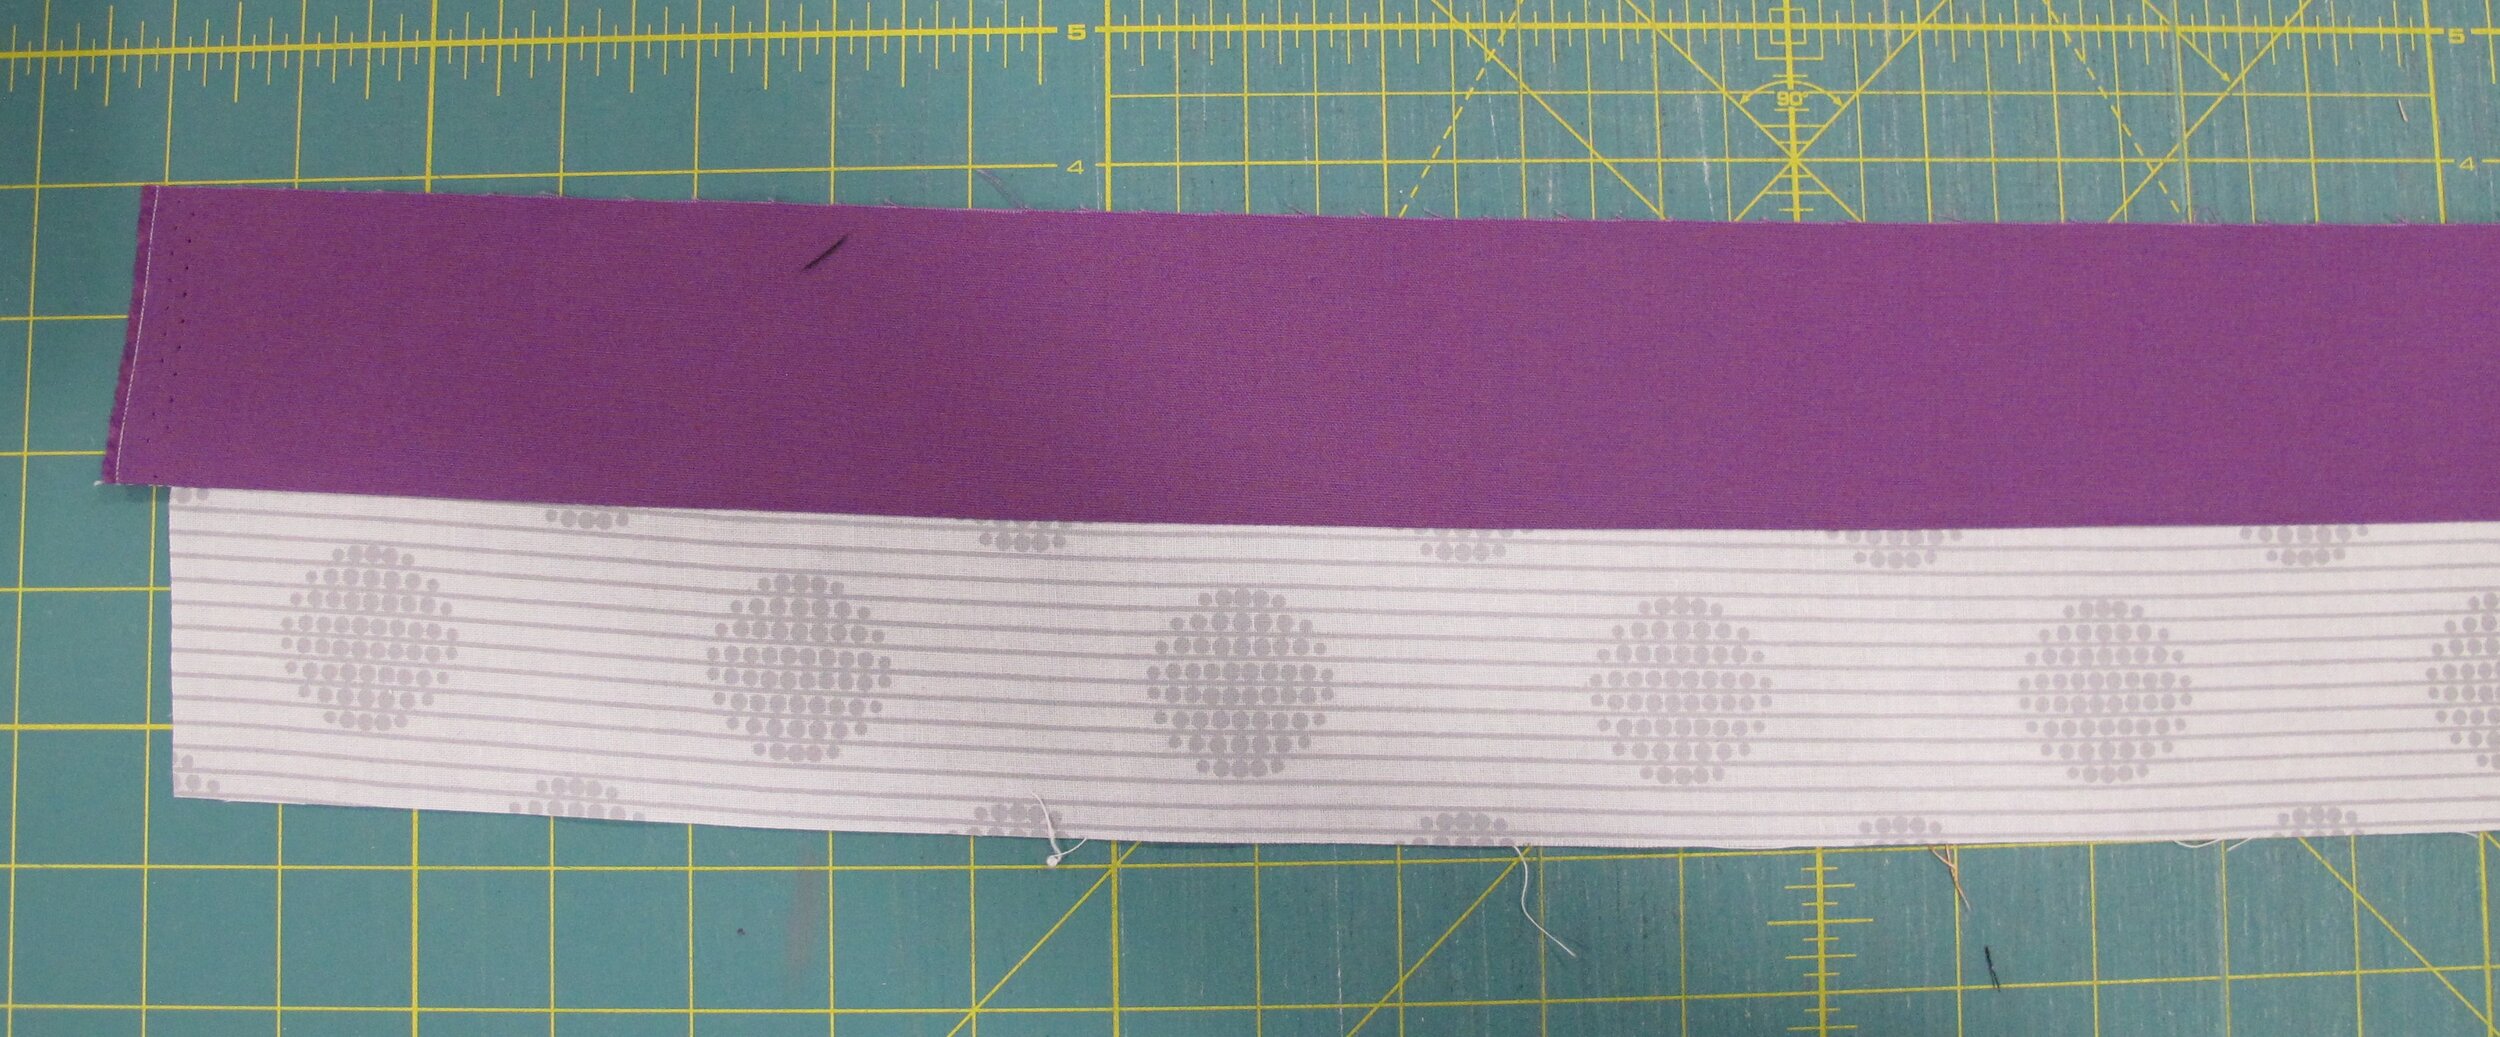
I've seen too many newbie quilters pulling and tugging the strips as they are pressing...all that does is distort them. This is the result of pulling fabric while pressing. On the right hand side the strip is straight to the lines on the cutting mat while on the left it starts to “wing” up in the direction of the pulling. If this happens to you, reset the seam and try again. Fabric is very forgiving and you can often beat it back into submission!
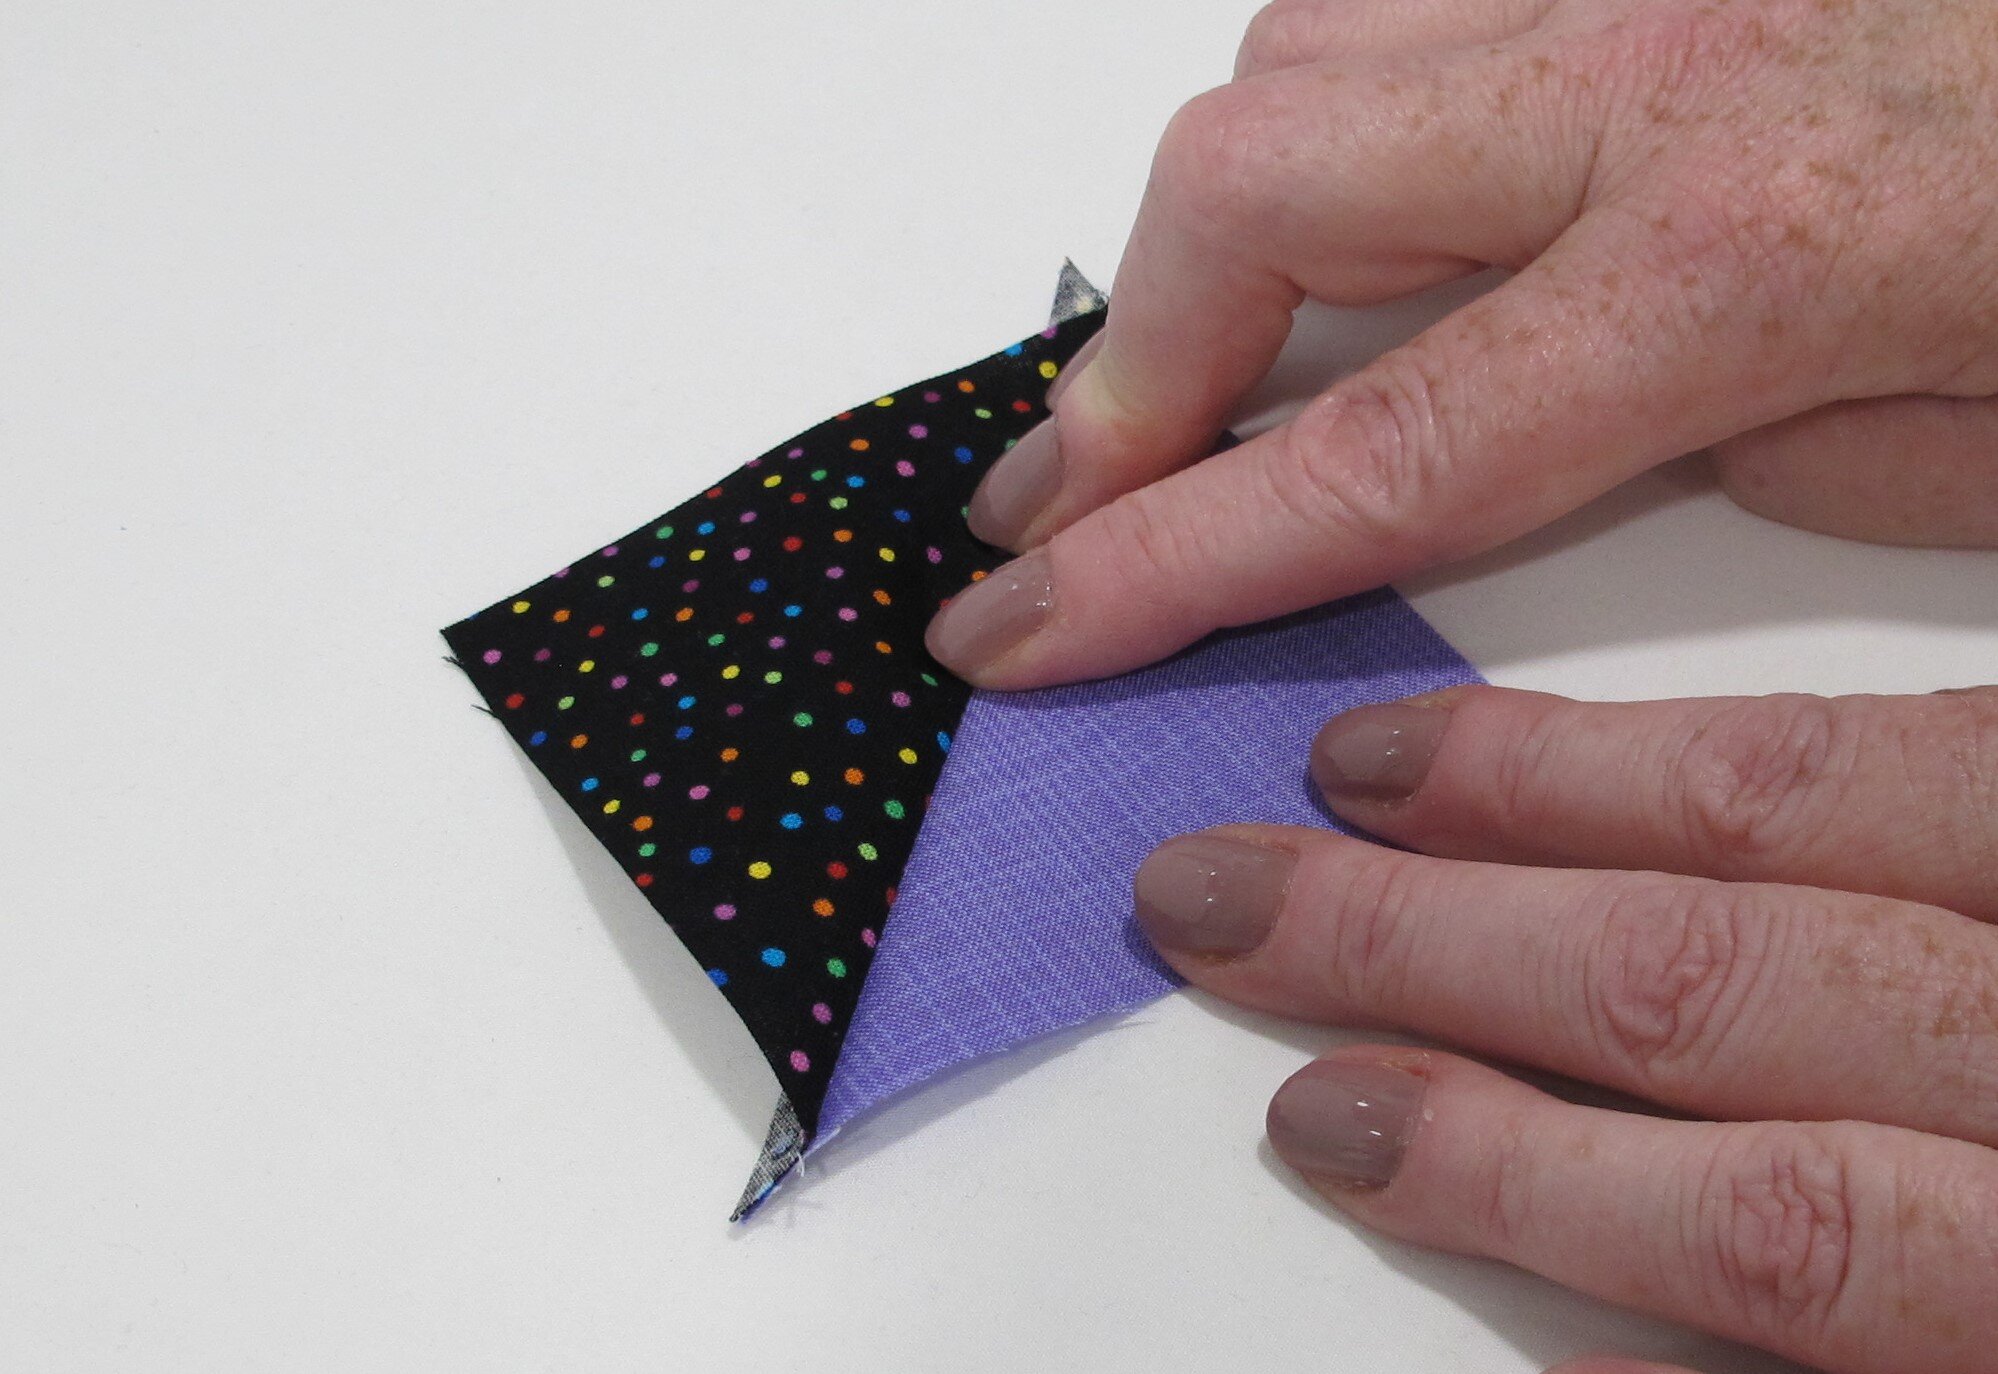
Extra care should be taken when pressing seams that are on the bias as in half-square triangles. These are really easy to press out of shape so finger pressing first is key. Notice that I'm holding the bottom corner of the half-square triangle as I do this to keep it square.
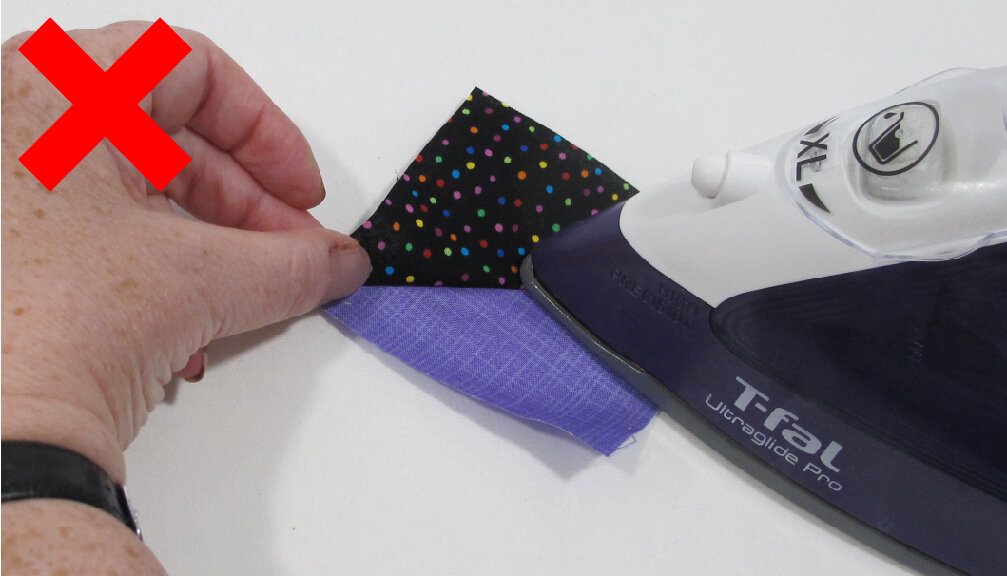
Again, set the seam, finger press and then gently press the seam toward the darker side. Do not pull the corner of the unit while pressing...I see this happen way too often in the classroom and then students are frustrated that their units aren't the right size.
The half-square triangle on the left was finger pressed and stabilized, the one on the right was pulled while pressing...which one would you like to work with in your quilt?!

Let's recap:
set the seam
finger press
“press” don't “iron”
don't manhandle the fabric!
patience...take your time
be proud of your new skill