The Elvis Costello Quilt
original photo by Zach Cordner
In 2018, I made a quilt to honour my favourite musician of all time, Elton John. I had so much fun making that quilt that I knew I wanted to again stitch a portrait quilt of another musician I admire, Elvis Costello. Just like with the photo of Elton by celebrity photographer, Greg Gorman, I needed permission from photographer Zach Cordner to use his photo of Elvis because I knew I would eventually be sharing it with the public and wanted to give credit for his work. He was kind enough to do so. This quilt was revealed for the first time at the Twisted Stitchers Quilt Show at the end of October.
Once again, the photo was posterized to show the contrast of light and shadow to make a “map” of the photo. The technique for layering the segments of this portrait quilt was identical to that of the previous one. The major differences between the two quilts has to do with the actual quilting and the fact that I used a background fabric with some colour.
I have to admit that I really procrastinated with this quilt (plus I got pneumonia just after I started it!) so it was done in a very short timeline…just under 4 weeks…in time for my guild’s quilt show. It took me 4 months to do Elton and I think part of the reason why it didn’t take me nearly as long with Elvis was that the learning curve came with the first one.
My daughter, Kate, originally printed off a large scale poster of the photo for me to use, but it ended up being too large and the material the poster was made from made it too difficult to trace. So I ended up using the grid method to make my pattern. I determined the finished size, marked off a grid on a printout of the posterized photo, and painstakingly transferred the lines to a 1” gridded paper that I already had at home. Just making the pattern took about 12 hours!
posterized face
posterized hand
The fusible web I chose, Misty Fuse, was fused to the wrong side of the chosen fabrics. I love this brand of fusible web for this type of project because it is very fine, drapes beautifully and doesn’t gum up the needle like some other fusibles do. Unlike other fusibles, it does not have a paper backing on which to draw the designs before fusing, therefore another method for tracing has to be used. Back to my garment sewing days…I used a tracing wheel and tracing paper to trace my design segments on to the wrong side of the fabric and then cut them out using my trusty Olfa scissors. It’s a very slow-going process, but very effective and precise.
Each of the segments of the photo were made separately and then put together once all were completed according to the photo “map”…hand, face, hat, jacket, scarf, and guitar. Once the whole figure was assembled it was then positioned and fused to the background. Then the whole thing was layered as usual ready for quilting.
the majority of the hand
the start of the face
the head almost complete
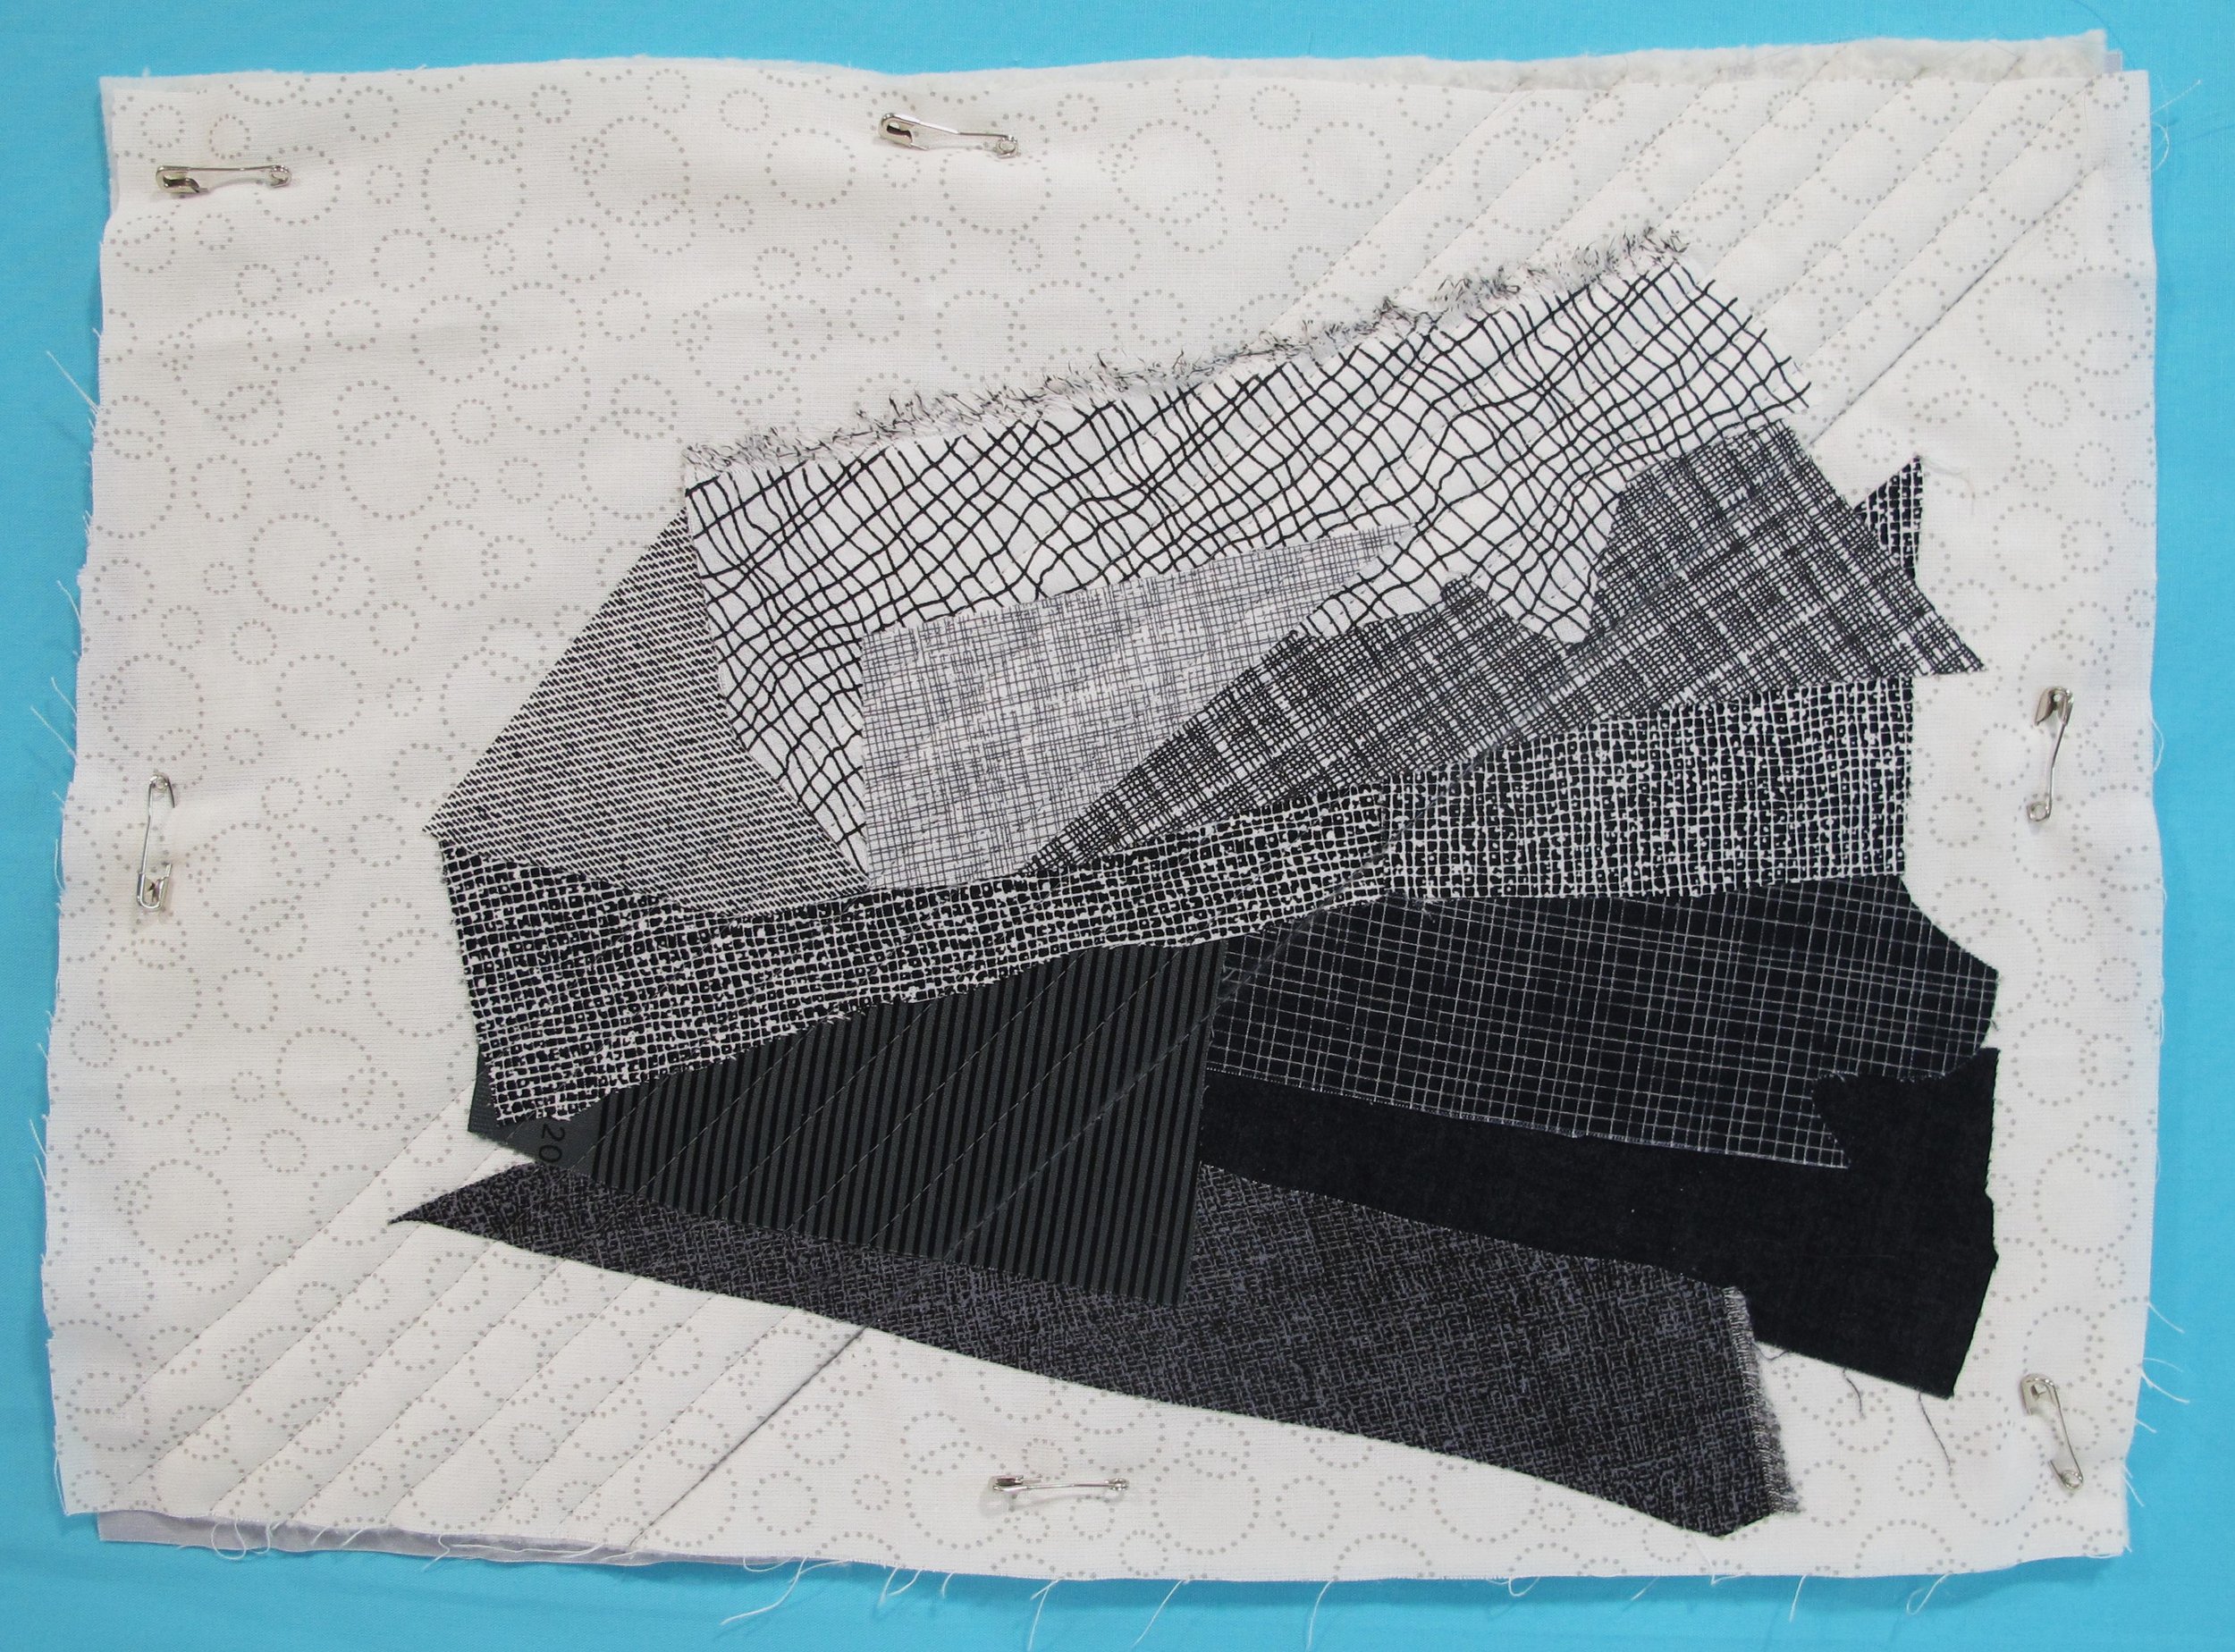
Most of the fabrics used in the project were fused together onto a cotton base and layered for quilting for thread and stitch length testing. I do this sample testing with most of my projects…it’s better to know ahead of time what really works before starting to stitch the finished top. I chose to go with a more modern take on the quilting itself by stitching diagonal lines 1/2” apart roughly following the diagonal angle of the bridge of the guitar. The edges of each appliqué segment were not stitched down ahead of time, but held down with the quilting stitches. Wonderfil’s Invisifil thread colour # 103 grey was used for the quilting. To the right you can see my stitch sample.
Unlike the Elton John quilt, which used only a grey scale for the entire piece, I decided to mimic the background used in Zach’s photo and incorporated a background with some colour. It added some interest and complemented the figure, allowing it to stand out. I’m really enjoying the process of making these portrait quilts, but now my dilemma is…who do I do next?!
close-up of Elvis’ face
the entire piece


