
Cutting Lengthwise Borders

Every once in a while you don't want to piece the wider outside borders on a quilt. Usually it's because you've found a great large-scale print that you don't want to cut apart because a seam will break up the design pattern in the fabric. In that case you'll want to cut borders from the lengthwise grain of the fabric (more on fabric grain here). It can be somewhat tricky because you're dealing with fabric that is much longer than the length of the ruler and cutting mat. Here is my way of dealing with this...
First you'll want to press any major wrinkles out of the fabric...if there's a ripple or tuck in the fabric it will still be there after cutting and might make the borders wonky.
Line up the selvedges together on grain without any ripples or distortion. Fold the length of the fabric in half, again keeping the selvedges lined up one on top of the other (figure 1). Fold the length of fabric once again keeping the selvedges lined up and making sure that the 2 folds are parallel to one another (figure 2). It might be necessary to “play” with the fabric a little to make this happen, but once you do it a couple of times it becomes easier.
The reason that the 2 folds must be parallel to one another is ensure that the cut border strips are perfectly straight and that there are no weird angles once they are opened up and ready to use. The same technique is used when cutting strips across the width of the fabric (if you need some guidance with doing this please check out proper cutting techniques).

figure 1

figure 2
The horizontal lines on the long ruler are perfect for making this happen. On the figure 3 diagram you'll notice that the dotted lines on the ruler show that the 2 folds are parallel to one another, and in the photo of the fabric demo (figure 4) the white line on the ruler (at the 12 ¼” line) is lined up with the first fold and the 4 ⅜” mark on the ruler is lined up with the second fold.
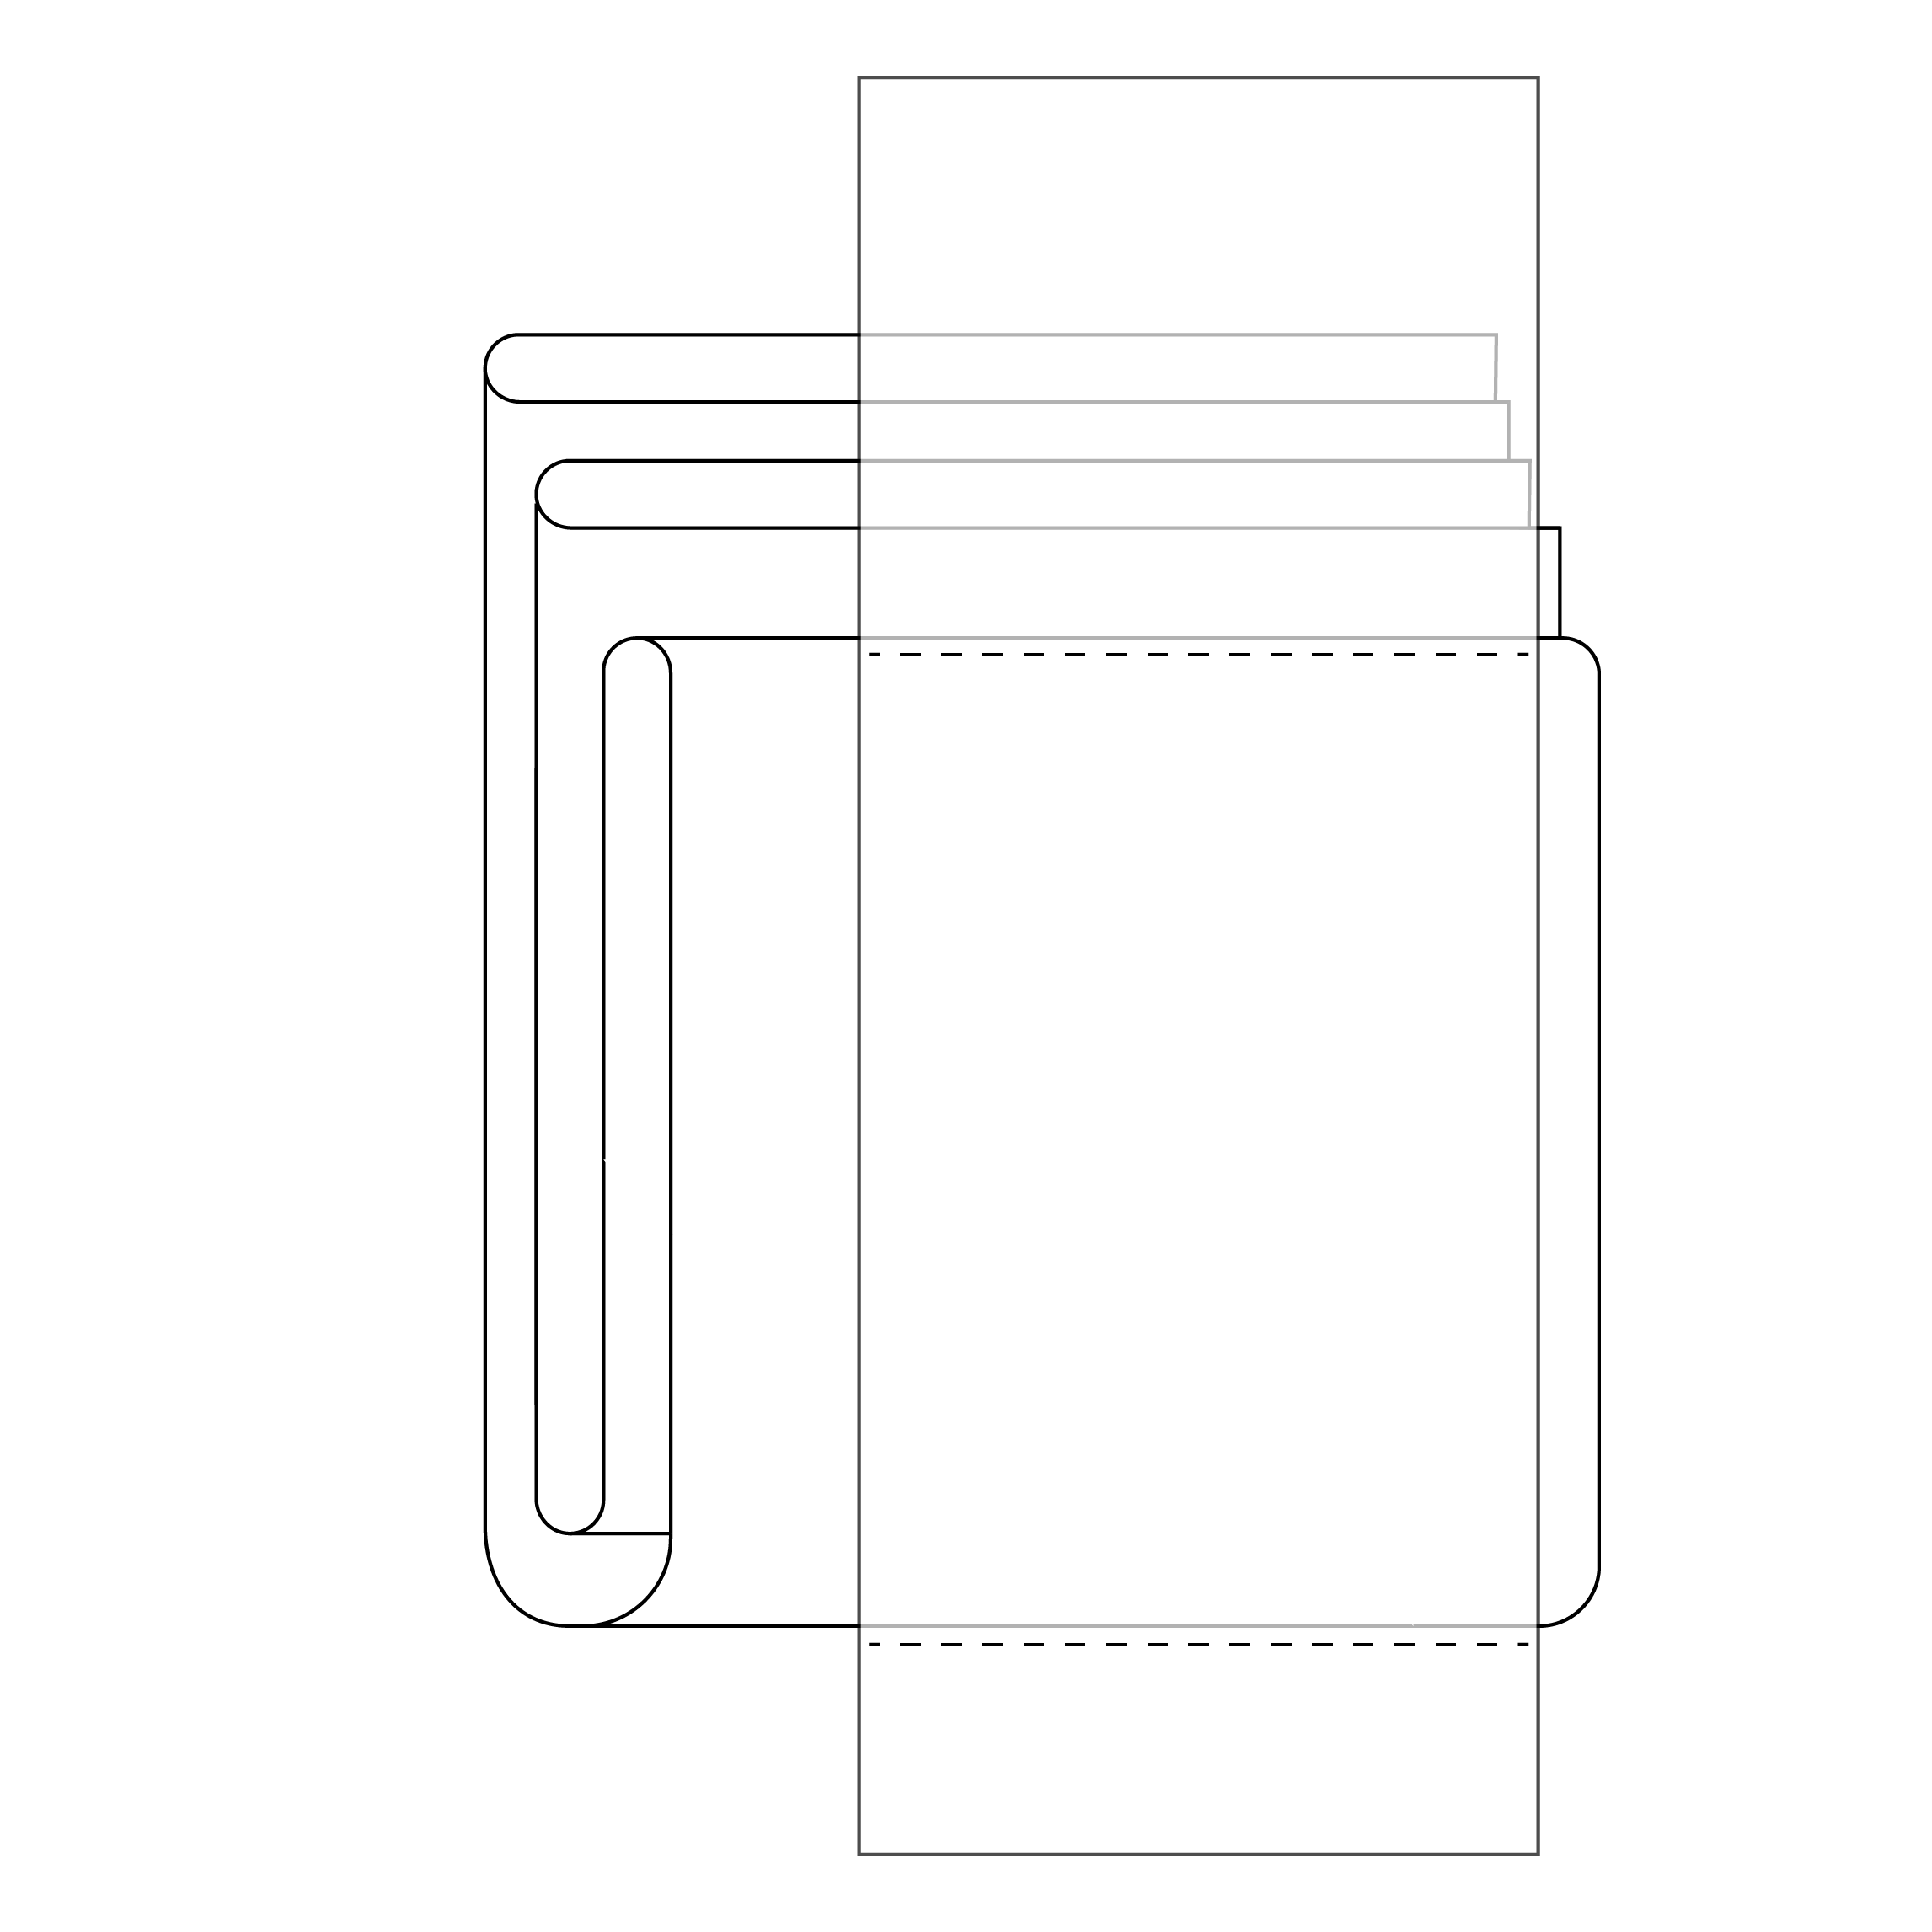
figure 3

figure 4
OK...take a deep breath and get ready to cut!
Once the ruler is lined up properly on the folds the first thing to do is cut off the selvedges. In the figure 4 photo the ruler is a little too far to the left of the selvedge so I would skooch it to the right so less of the usable fabric is wasted. After cutting off the selvedges measure what is left widthwise to see what you have to work with. Some fabrics are the full 44” wide while some might only be 38-40” wide. If you need wide borders this measurement is key. Occasionally borders as wide as 10” can be cut if you actually need them that wide.
From the fresh cut on the selvedge edge measure the width of the borders required and cut twice. Since the fabric was doubled up before you started this gives you 4 nice wide borders. Depending on how wide the borders are that are needed there may be a nice amount remaining at the fold area...enough left over to make a matching table runner or enough to add to your next scrap quilt.
Give it a try and let me know how this works for you. Be brave!

an example of a great large scale print with no seam along the length