
Proper Cutting Techniques
Two things I like to instill in beginner quilters are proper cutting and pressing techniques. I can't even begin to stress how important these steps are for ensuring success when quilting. Today we'll focus on cutting. I'm right handed so if you're a lefty these images should be mirror image for you...hopefully it won't be too difficult to follow along.
There is a debate among quilters about whether or not you can use the ruler and the lines on the cutting mat together...in other words, are they actually the same measurements? I belong in the camp where I use only my ruler for measuring strip widths because in my own personal experience I have found them to be slightly different measurements. Yes, I do occasionally use the cutting mat for measuring out larger squares (that I know will be trimmed down later) or for squaring up placemats or small wallhangings. In these instances precision isn't necessary.
My favourite ruler brand is Creative Grids. I used to own another brand of rulers, but since trying these out I have switched every ruler I own to this particular brand. The lines are thin and very clear and there are built in grippers on the back. I have the 8 ½” x 24 ½” (for cutting long strips and borders), 6 ½” x 12 ½” (the one I use the most), and about 6 others in different sizes. Of course they offer some other specialty rulers that are amazing (I own a couple of those too!).
The markings take a little getting used to, but once you figure it out they make so much sense. You'll notice that some numbers are white and some numbers are black. When measuring from the side of the ruler with white numbers the ruler shows 1” increments so if 4” strips are required for the project use the white numbers from the cut edge (figure 1). When measuring from the side with black numbers the ruler shows ½” increments so if 2 ½” strips are required for the project use the black numbers from the cut edge (figure 2).

Figure 1

Figure 2
When it comes to cutting boards I personally really like the Olfa brand. I have one that is over 20 years old and is still in great condition (model # RM-SG 9881). When looking to purchase a self-healing mat go for one that is matte (not shiny or hard) because it tends to be easier on the rotary cutter blades.
When purchasing your first cutting mat I recommend not going any smaller than 18” x 24”...this allows you to cut full width of fabric (wof) strips without a problem. I also own the 24” x 36” size for my large cutting table and the 12” turntable model which is great for trimming smaller units.
Now onto the actual cutting. Hopefully you have a nice, sharp blade in the cutter (check out my blade-changing tutorial). Straighten out the fabric by making sure selvedge edges are together and the fabric is nice and straight. Place the fabric down on the mat with the fold of the fabric closest to you. The first cut is for straightening up the raw edge of the fabric in preparation for cutting strips. Line up one of the lines from the ruler on the fold of the fabric (figure 3). This is necessary or the strip will not be straight when you open it up.

Figure 3
Before the first strip is cut be sure to check at the other end (where the selvedges are) that you actually have 2 pieces of fabric under the ruler (figure 4). When fabric is cut at the store it's not always wound fully on grain on the bolt so once you straighten it at home the two raw edges don't always meet when you straighten it yourself.

Figure 4
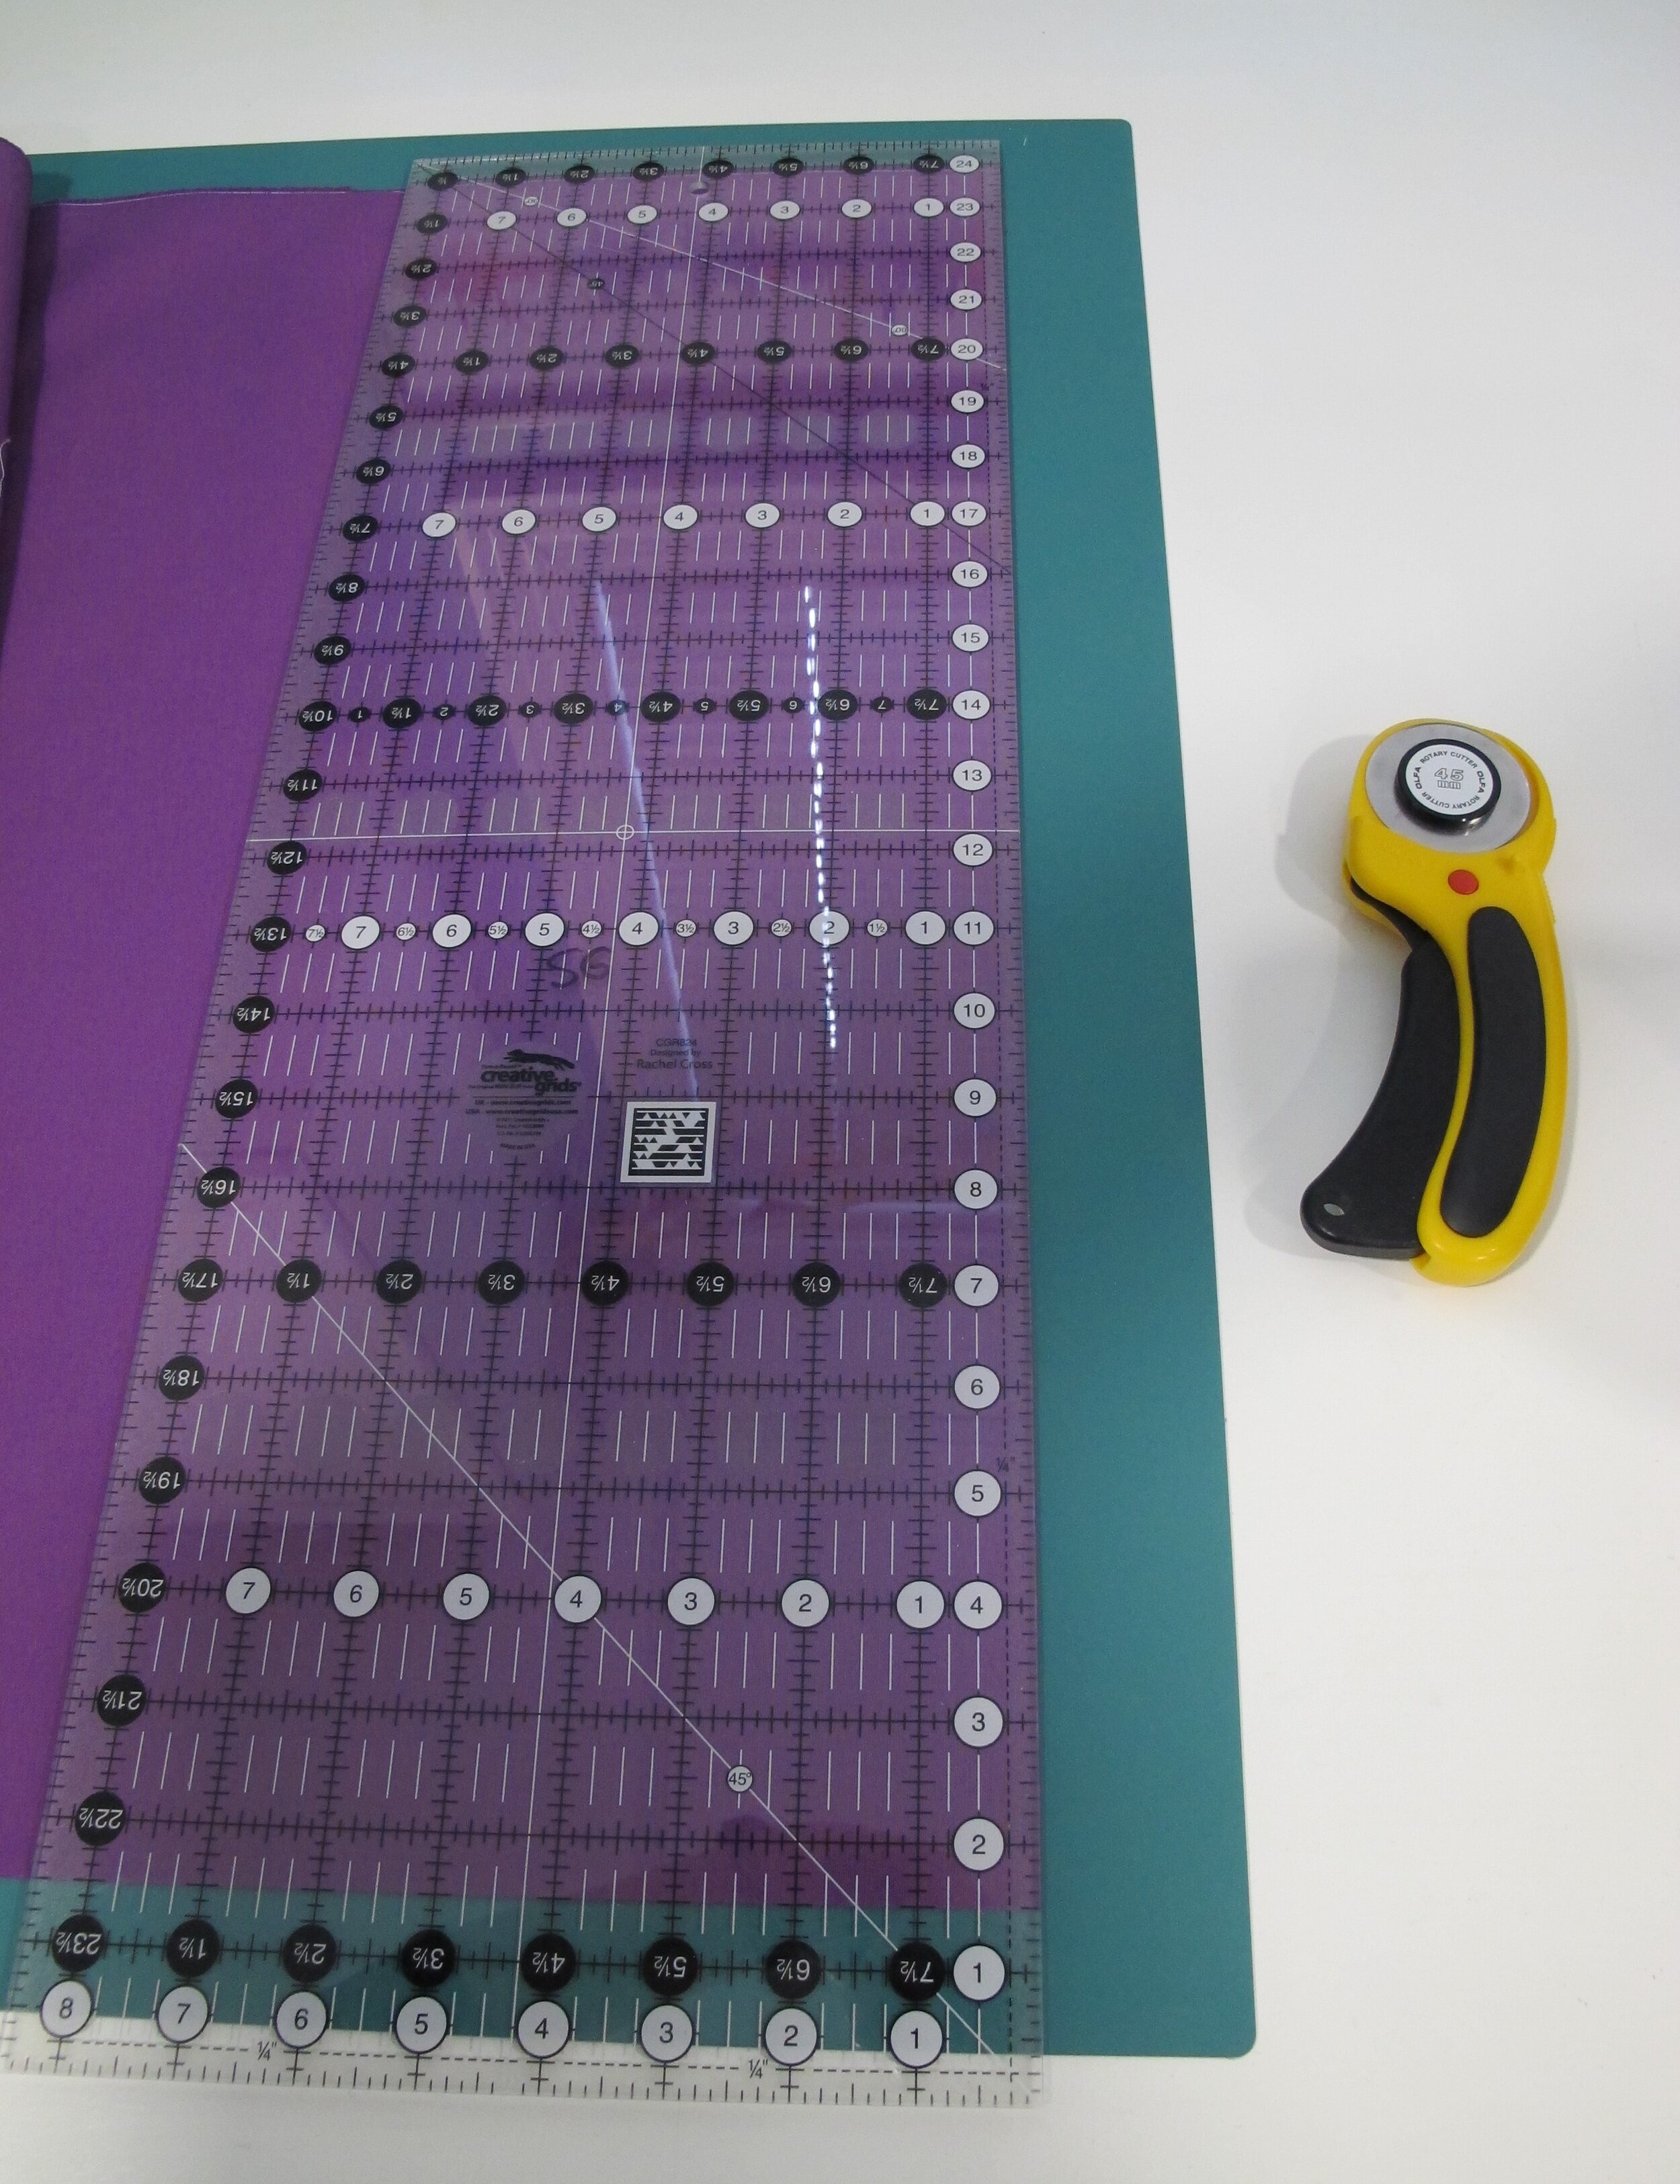
Figure 5
Place your hand on the bottom half of the ruler (applying some pressure to keep it steady) and cut only half way up the ruler. Then, leaving the cutter in place, gently walk your hand up to the top half of the ruler being careful not to move it. Again apply pressure and complete the cut. I've seen too many beginner students cut the entire strip with their hand at the bottom of the ruler and the pressure of the cutter against the ruler usually makes it veer to the left messing up the nice straight cut. Give it a try this way and I think you'll be much happier with the results. There is now a beautiful straight edge to work with (figure 5).
You now have 2 methods for cutting strips. If you're a newbie and only have one ruler to your name this is the one to follow. Rather than move the fabric to put the newly cut end on the other side of the mat for cutting, my recommendation is to pile the bulk of the fabric on the left onto the mat, turn the mat around, gently put the bulk of fabric back on the table and start cutting strips. This means that the selvedges are now closest to you as you cut. After cutting about 4 or 5 strips make sure that the strips are still perfectly straight. No matter how careful we are there is always some shifting. If necessary, turn the board around and recut a new starting edge from the fold.
For those of you with a little more experience (or confidence) there is the 2 ruler method. Make the first cut as in figure 5 to get the straight starting edge. Then, from the cut edge lay down another ruler in the size of strip required (in this case 4”- follow the white 4” circles on the ruler along the cut edge) and butt the long ruler up against it (figure 6). It doesn't matter which edge of the long ruler is being used in this instance since it's not being used for measuring. Now, move the smaller ruler away from the long ruler and cut the strip (figure 7).

Figure 6

Figure 7
The next example shows 2 ½” strips being cut. This time lay down the smaller ruler using the black markings (in this case 2 ½”- follow the black 2 ½” circles on the ruler along the cut edge) and butt the long ruler up against it (figure 8). Now, move the smaller ruler away from the long ruler and cut the strip (figure 9).

Figure 8

Figure 9
Now I want to show you what happens if the strips aren't cut straight to the fold. Strips are opened full length and both folds are lined up with the thicker yellow line in the centre. The strip on top has been cut straight to the fold. Notice how the entire strip is lined up perfectly with a line on the cutting mat. The strip on the bottom has been cut only ⅛” off from the fold and you can see how it doesn't remain on the line for the full length of the strip (figure 10). In the big scheme of things this probably won't make a huge difference, especially if smaller strip pieced units are being cut...just forgo the area around the centre fold. But if you're working on a bargello where the entire strip is used it might make a big difference.

Figure 10
Because patchwork really relies on one piece working with another, the more precise you are the better things work in your favour, and the less headaches you'll have on your quilting journey.