
Changing Rotary Cutter Blades
I can't begin to tell you how many times I've heard my students complain about how badly their rotary cutters are working. First of all, they usually are working with a blade that is well past its best before date...in other words they should have changed it ages ago because it's dull. We're all guilty of that at one time or another. Secondly, they've put their rotary cutter back together the wrong way.
My favourite rotary cutter is the Olfa with the ergonomic handle (9654 RTY-2 DX 45 mm). The reason I like this one is because the blade tucks back safely after the handle is released after cutting. My students like this one too because I stop yelling at them to close their blades! It also has a locking mechanism (the little red button) so you can lock it up safely if you have young children around or inquisitive cats that jump up on your cutting table.
*** Please note that my cutter is put together this way because I am right handed. If you're a lefty put it together the same way...just on the opposite side.
I always hang on to the old containers so I have a safe place to store the used blades (figure 1). They are also useful if you need to cut paper or card stock...it saves the fresh blades for fabric.
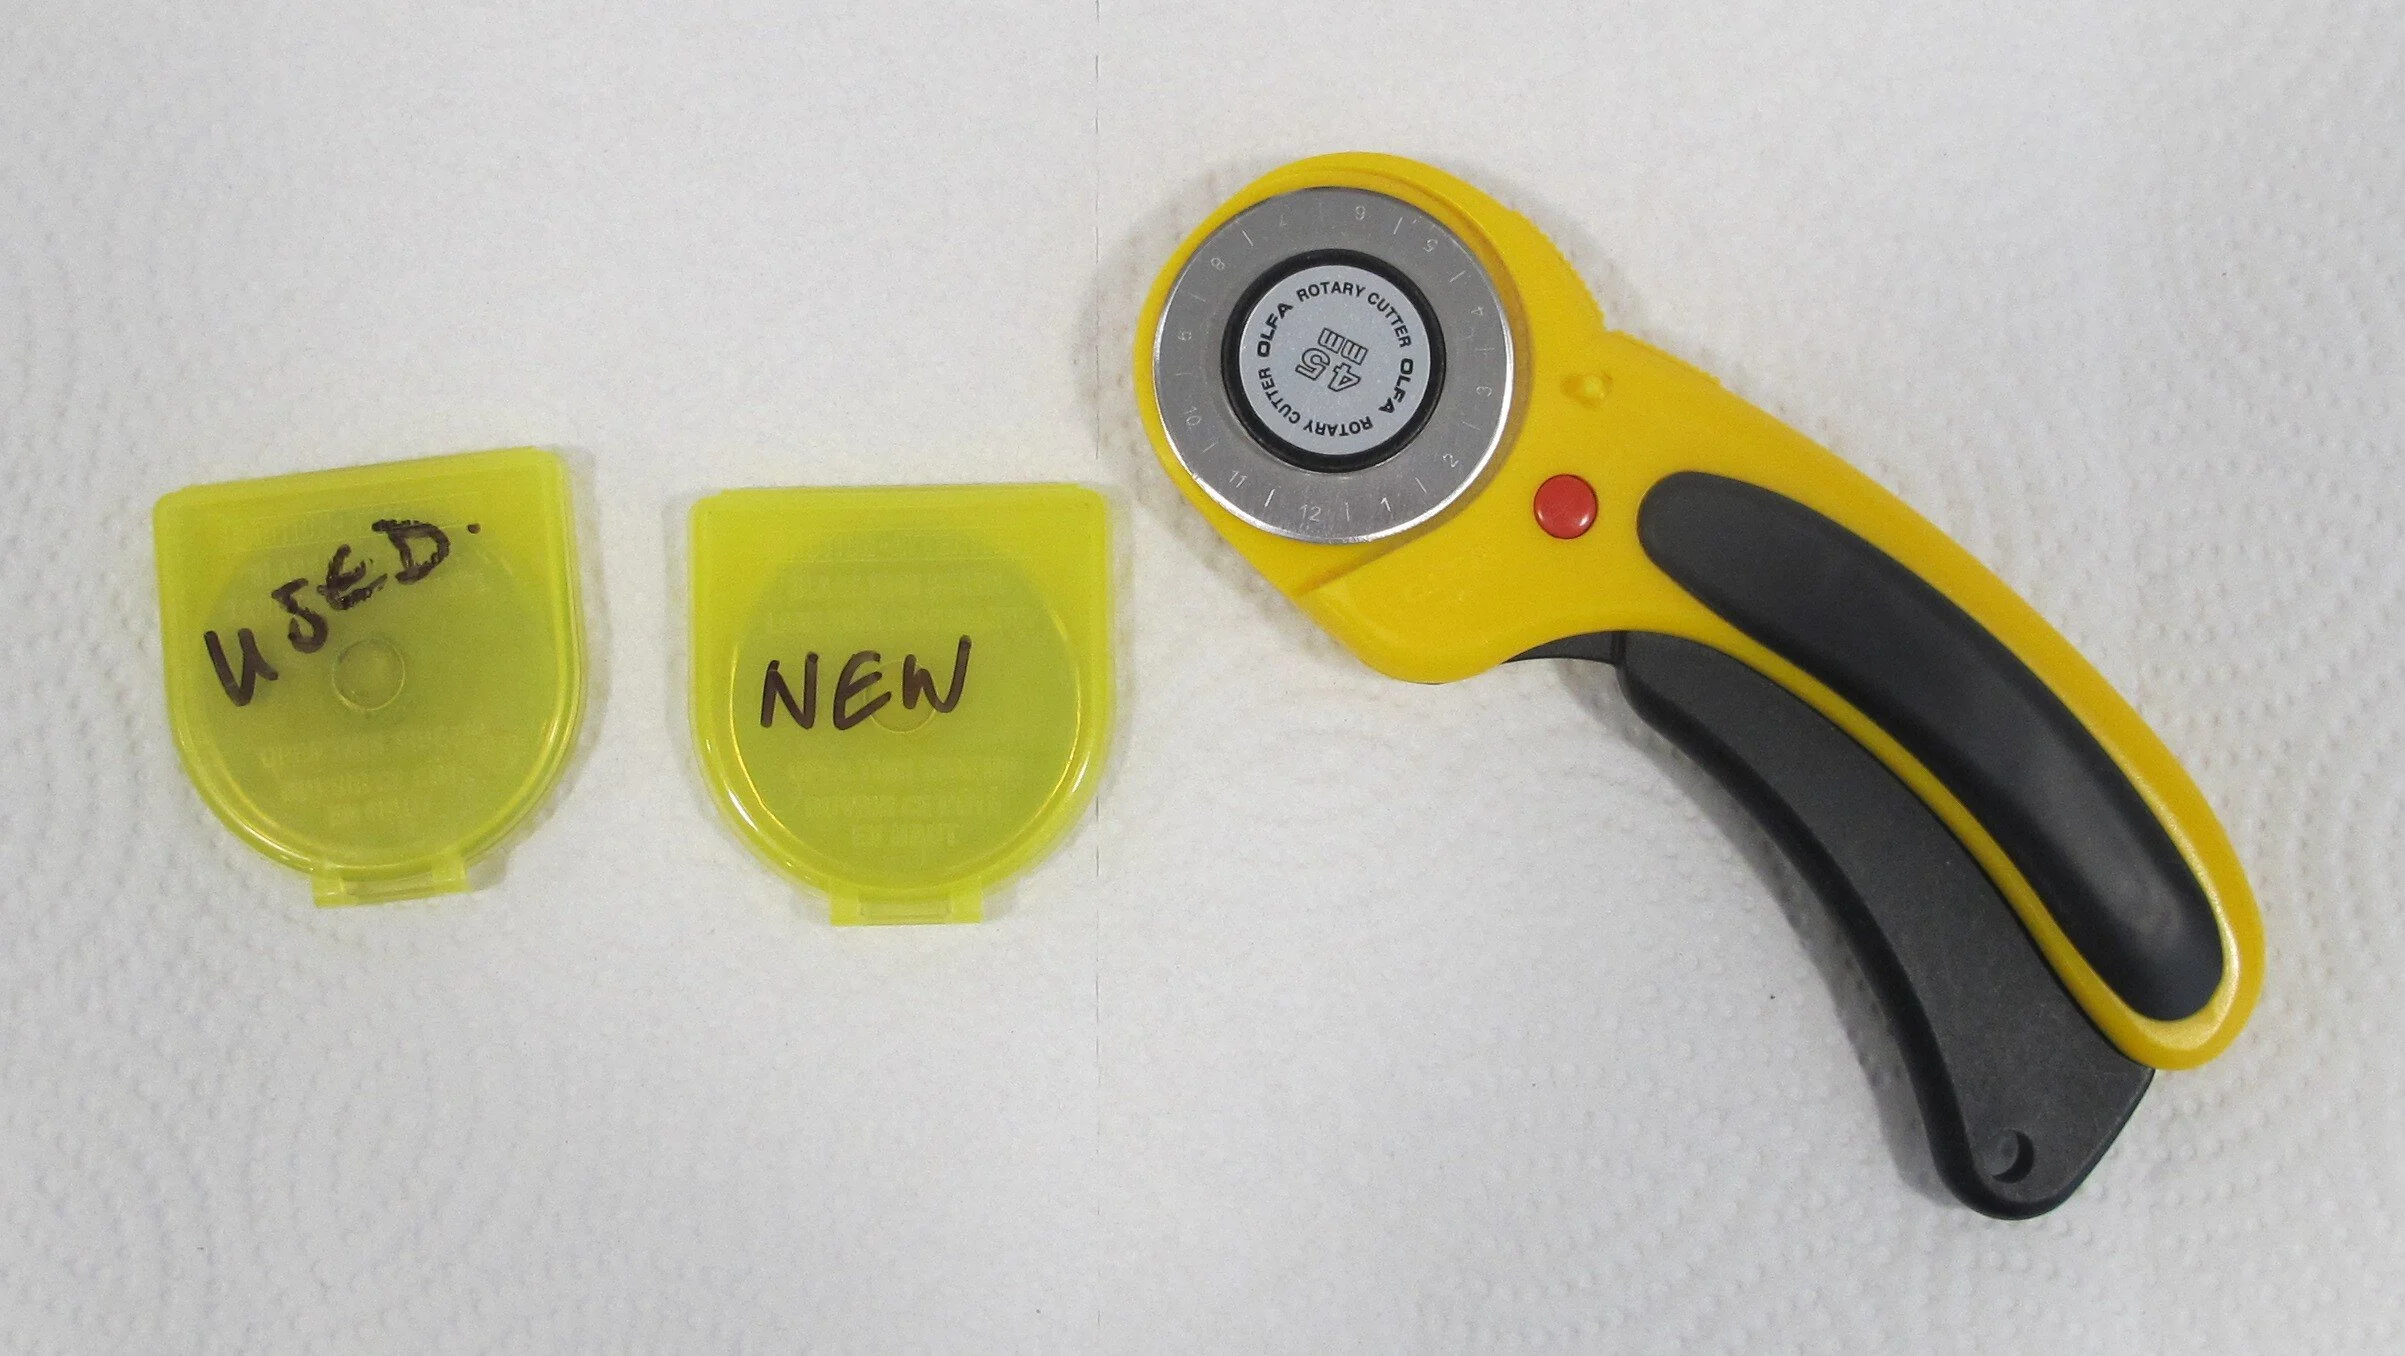
Figure 1
When changing blades I always grab a paper towel before I get started. If I have purchased a package of blades where there are multiple ones in the same container (Olfa blades multi-pack- 9460 RB45-5) it helps to separate them (figure 2). I'm able to slide them apart using the paper towel so I don't cut myself. It's also used for wiping the oil off the blade before it goes back in the cutter. (*** If you've ever noticed little slices of fabric “shredding” off when you've been cutting it could mean that you actually have 2 blades in your cutter by mistake...ask me how I know!)
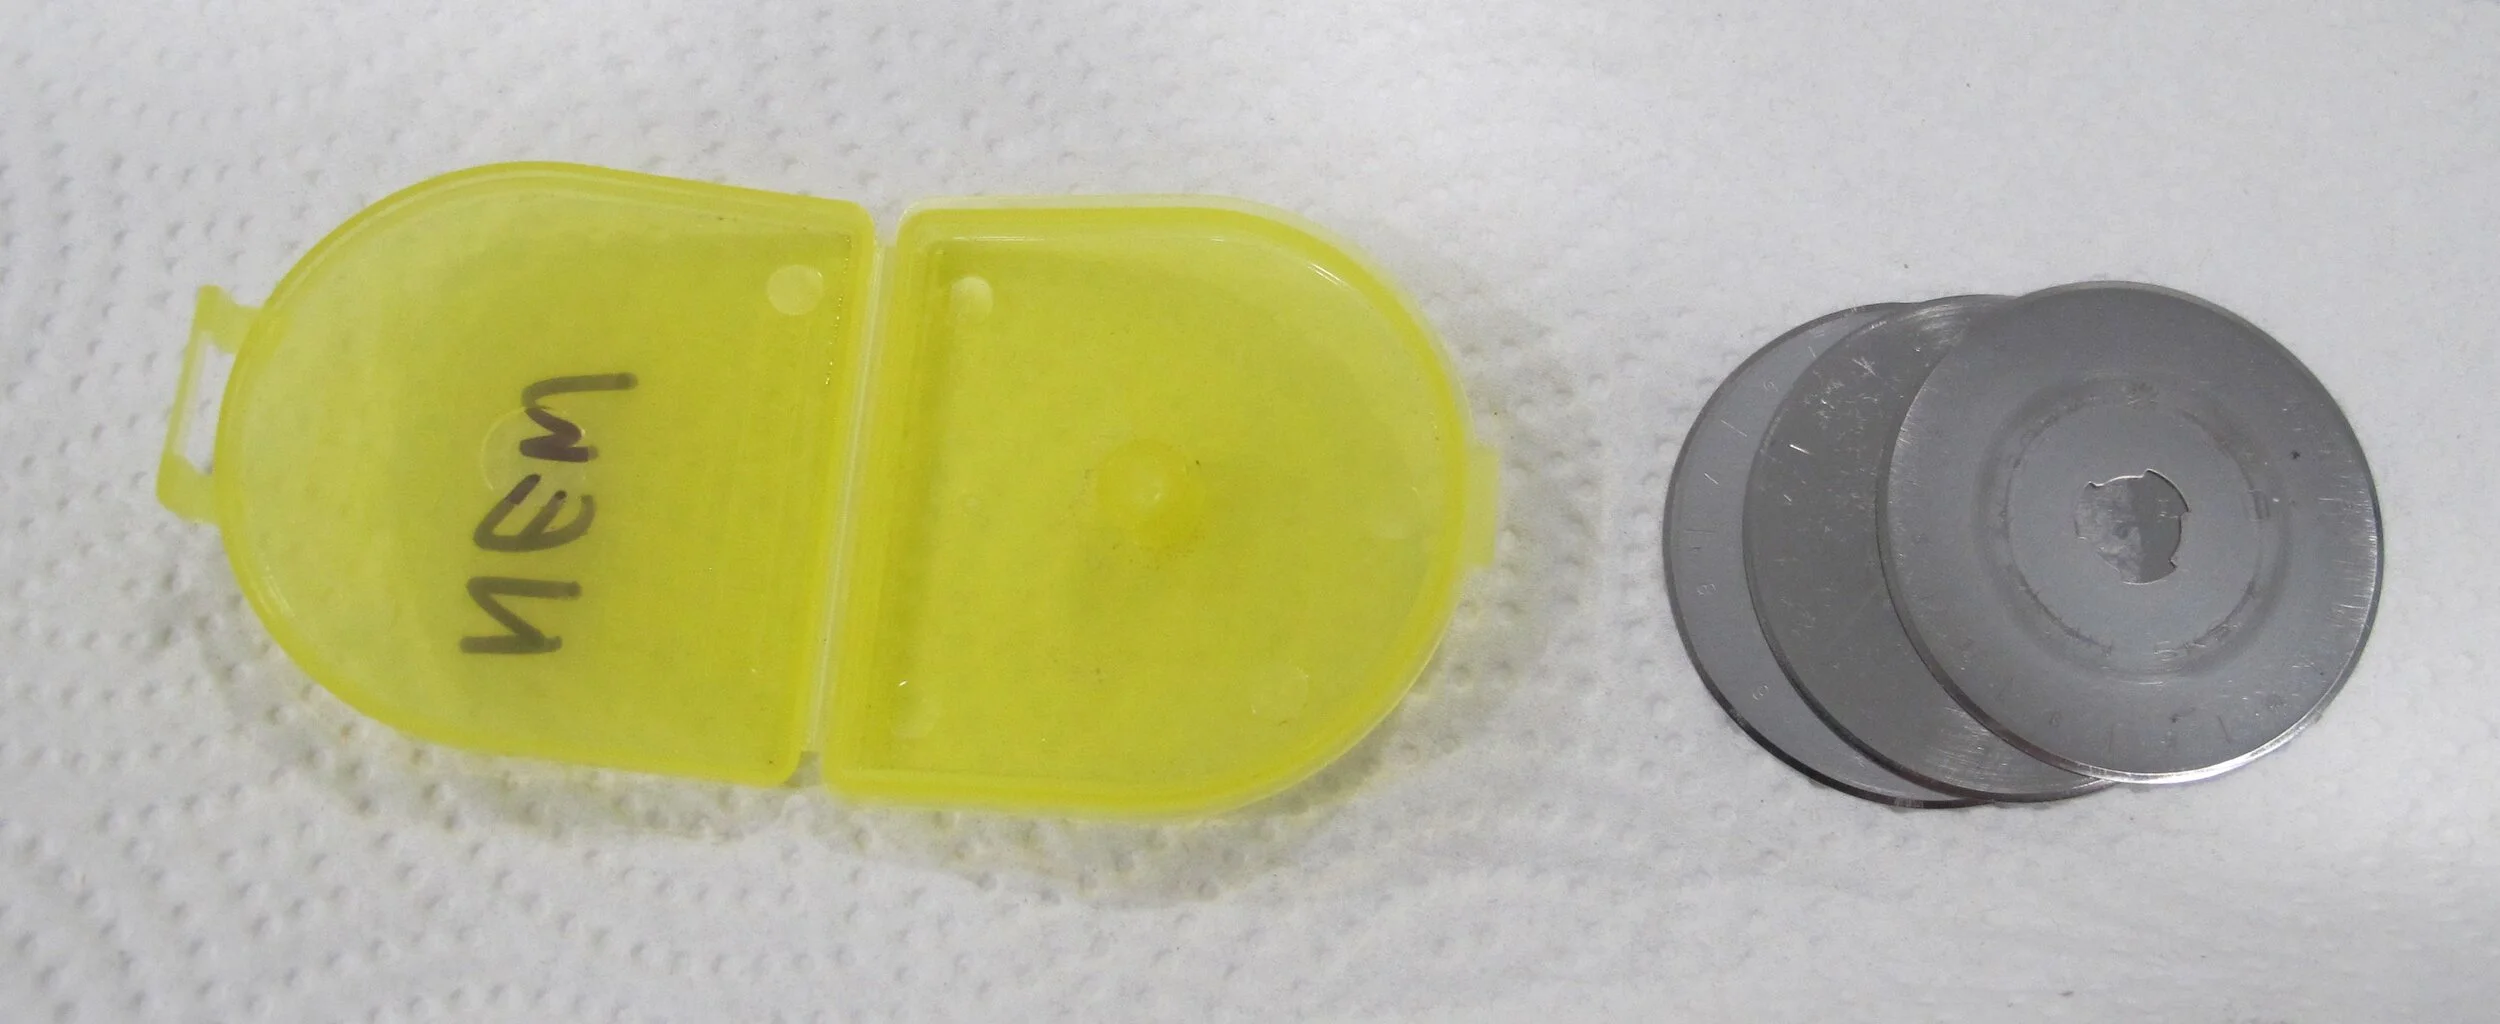
Figure 2
This is the back of the rotary cutter (figure 3). You'll see that there is a large yellow plastic washer, a small metal washer (hidden under the screw), and the screw that keeps all the components tightened together.
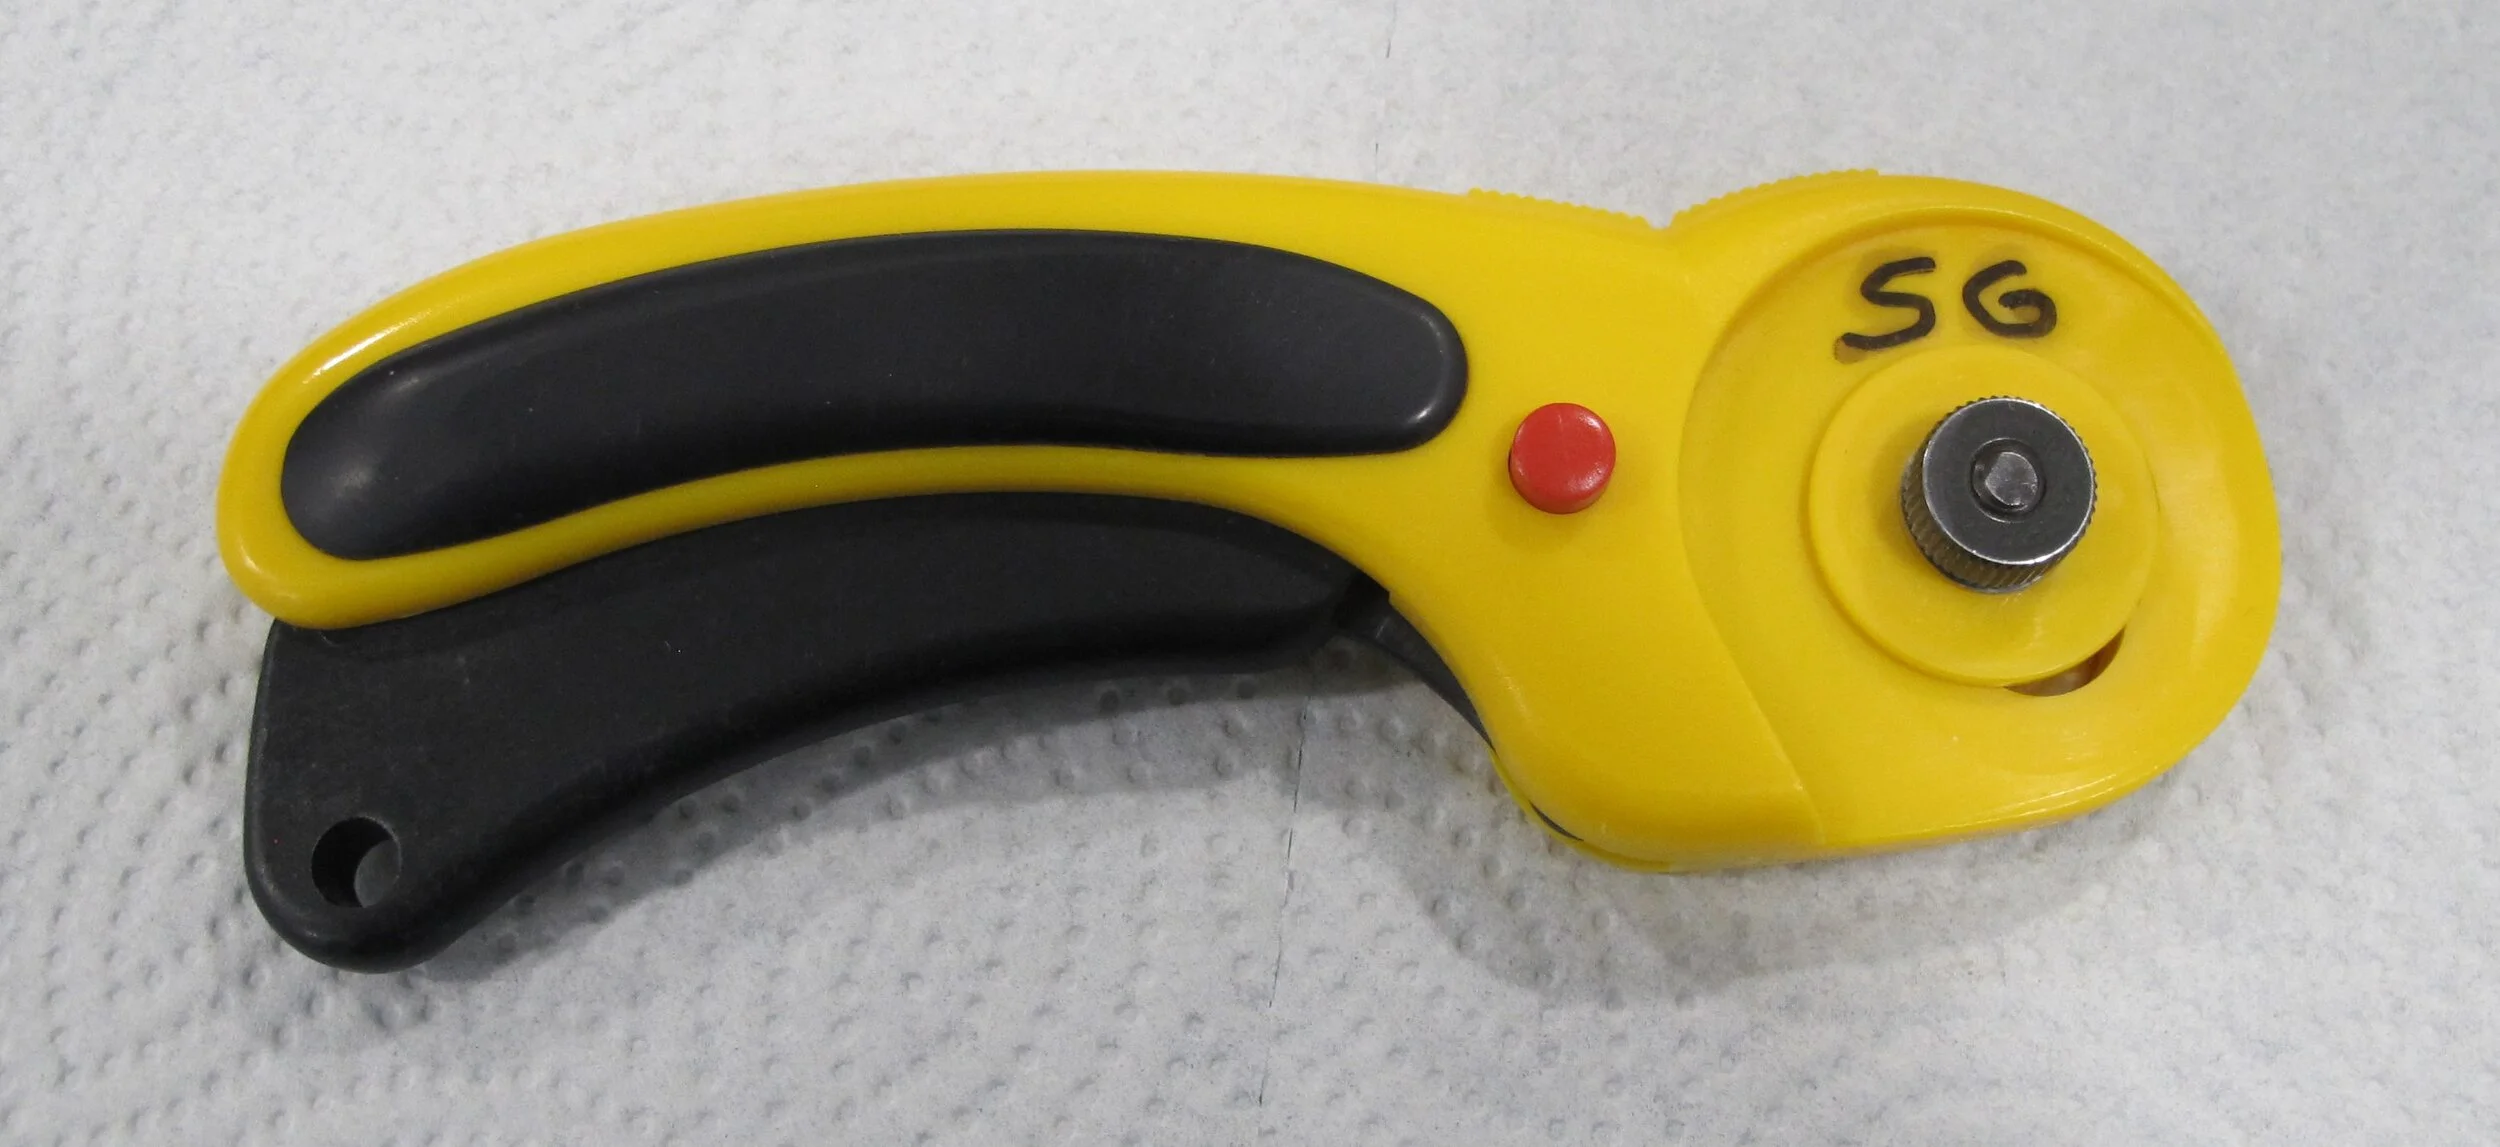
Figure 3
When you take apart the cutter be sure to place the components on the table in the order that you have removed them (figure 4). This ensures that they'll go back on in the same order. At this point I take the paper towel and wipe the fabric “dust” off each piece before it goes back together.
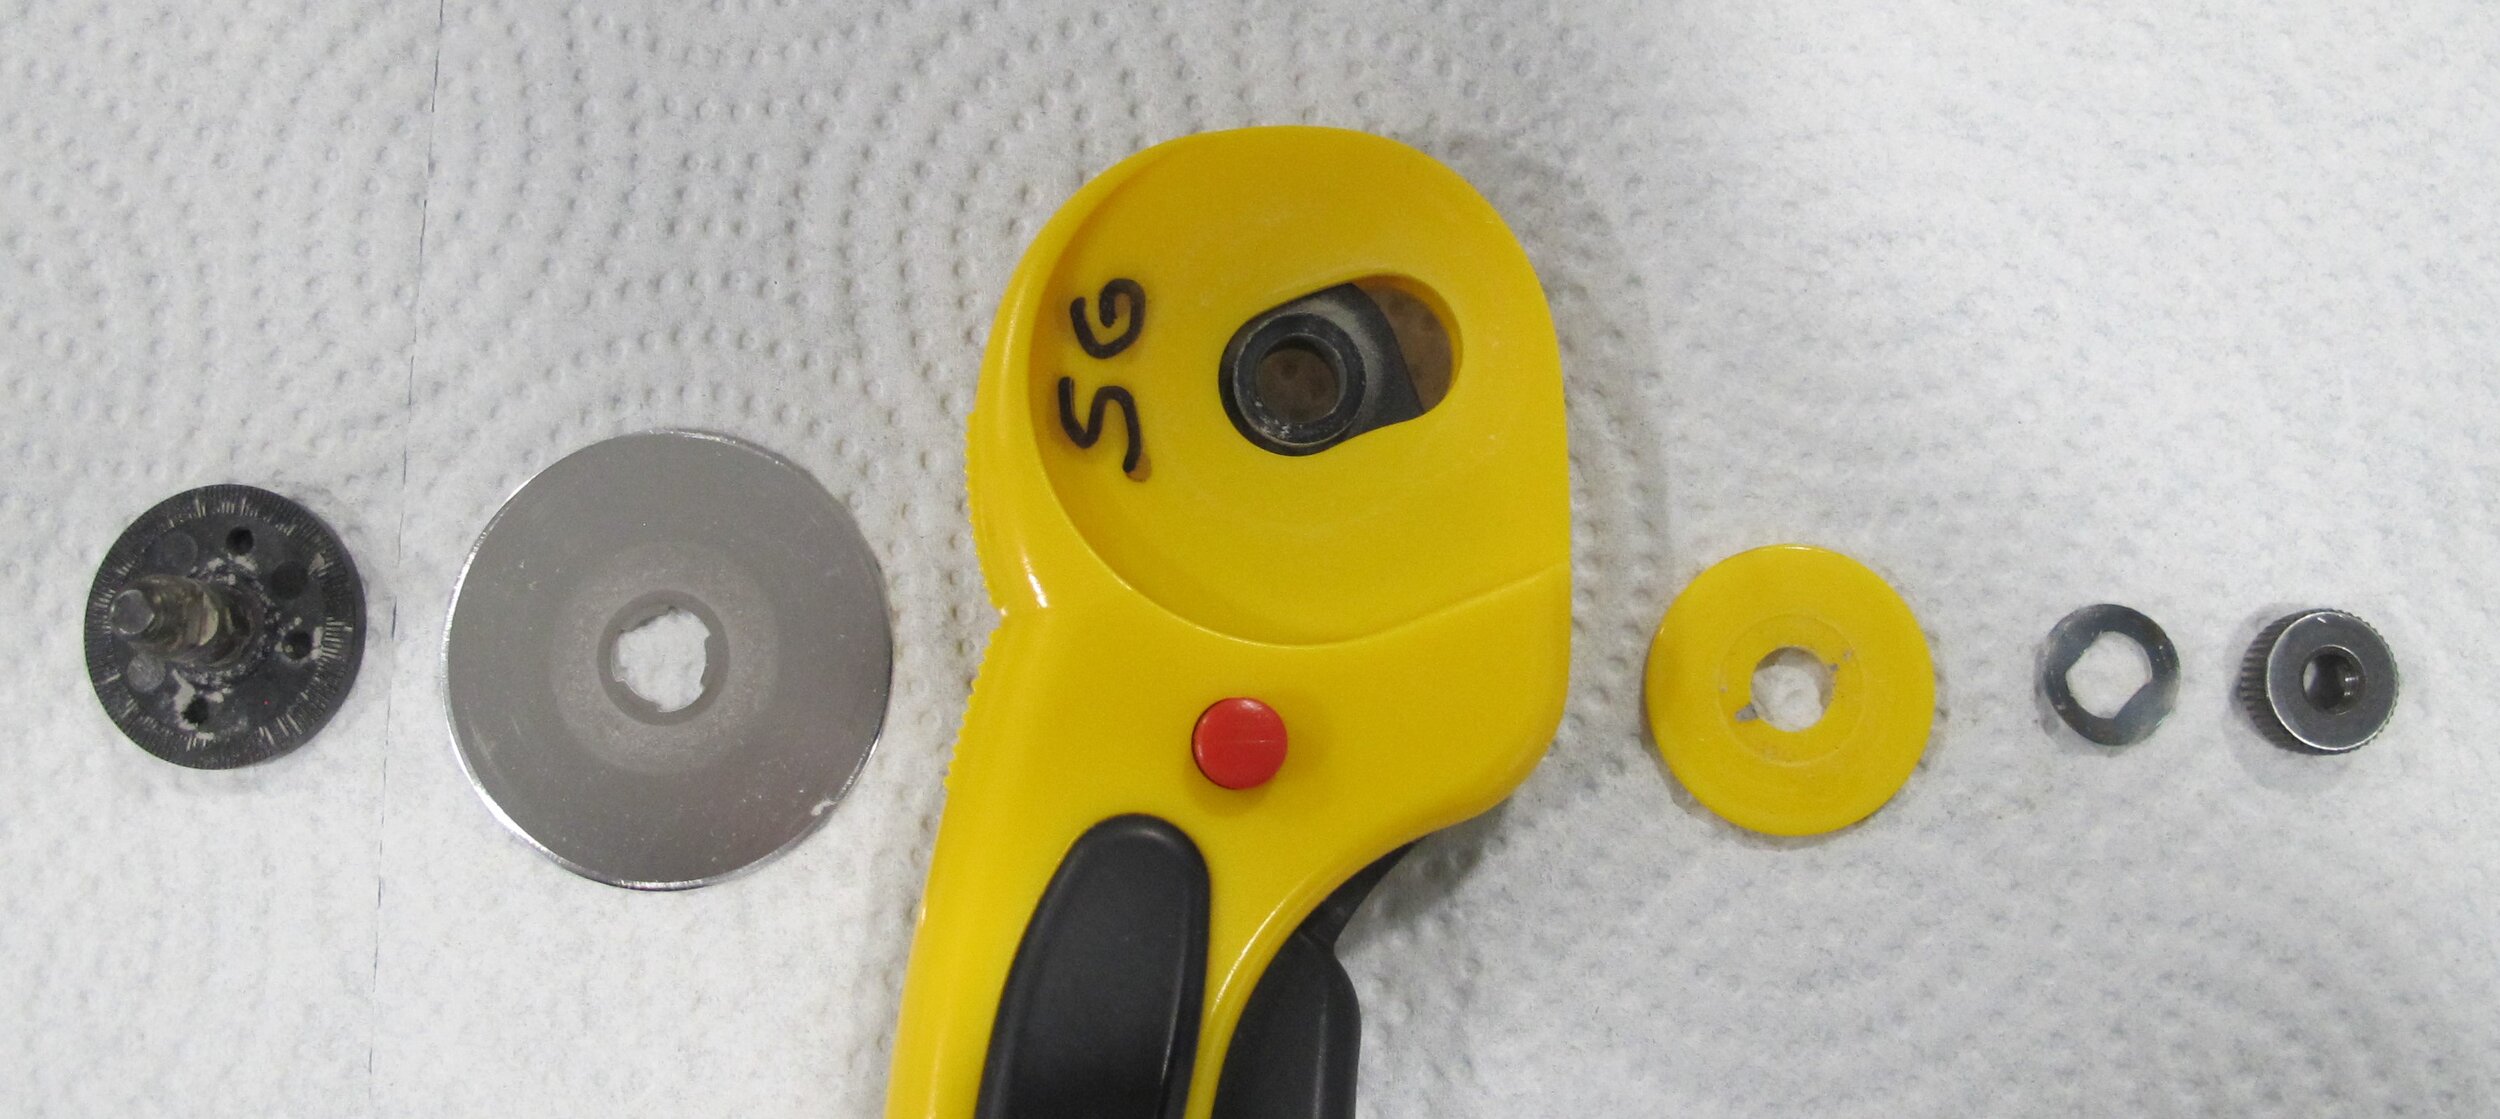
Figure 4
Place the blade on the front of the rotary cutter (there is no right or wrong side on the blade), insert the “post” through the centre (figure 5) and turn the cutter over while holding those components in place.
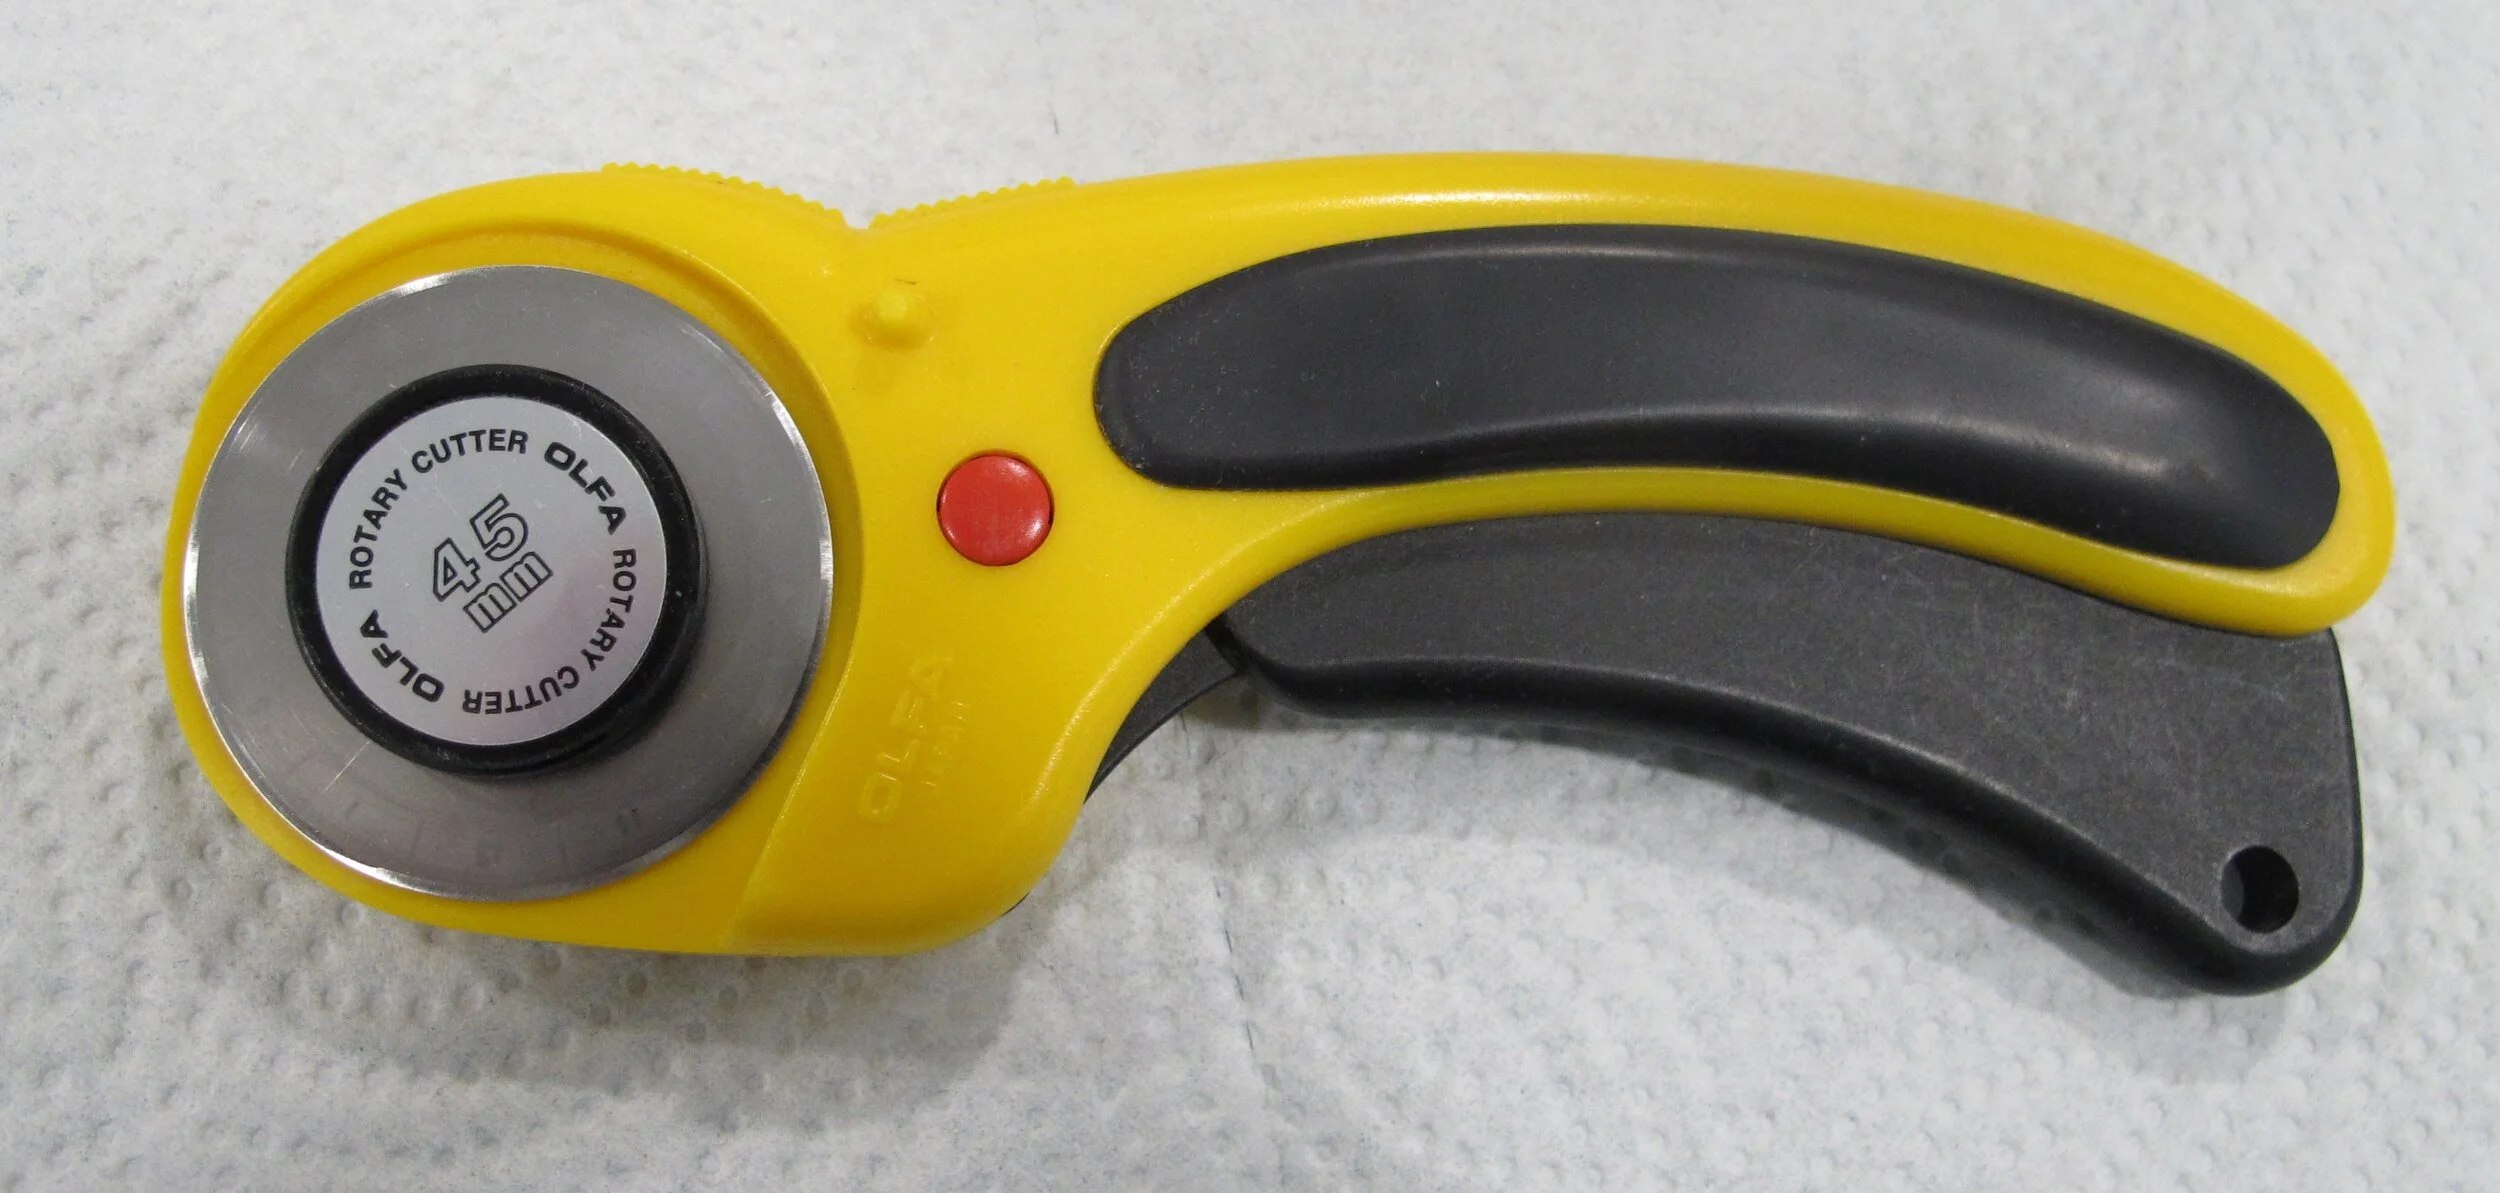
Figure 5
Place the yellow plastic washer on next. You'll notice that the post coming through from the front has 2 flat edges and 2 curved edges and so does the metal washer (figure 6). When you place the washer on next make sure that the corresponding curved and flat edges of both are lined up and that the washer is curved upwards (figure 7). I like to tell my students that it's smiling at you because it's put on right!
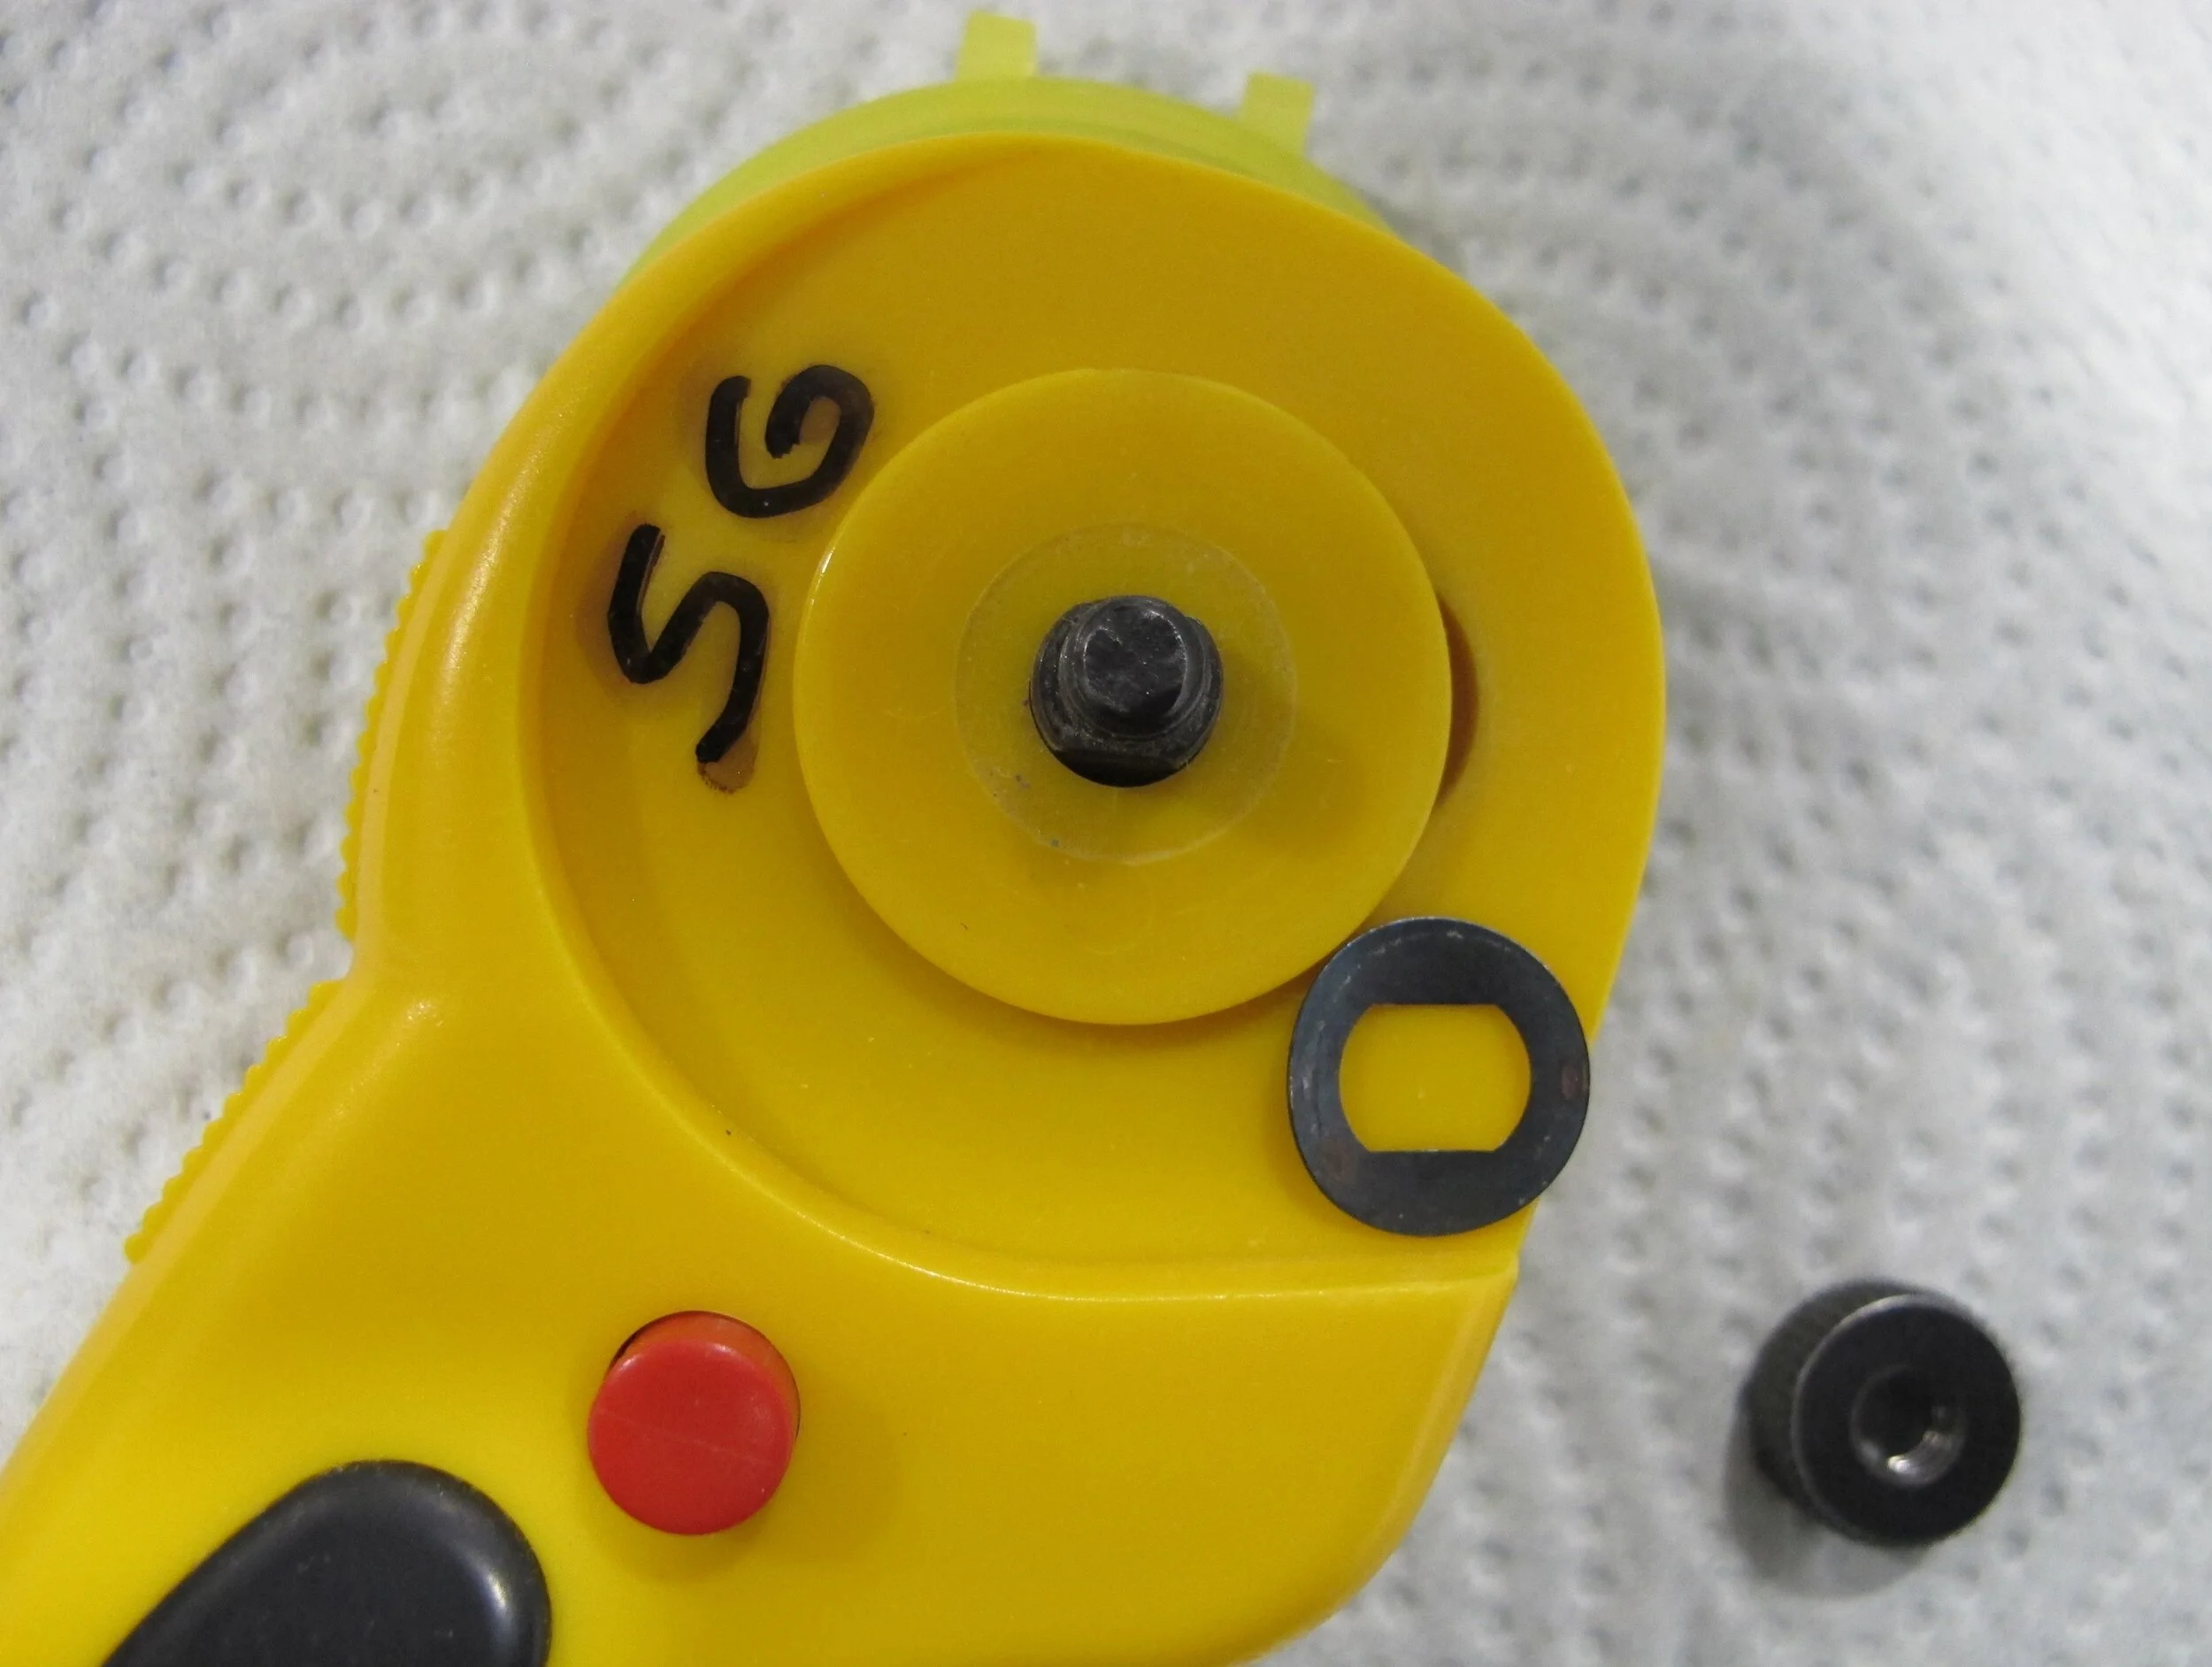
Figure 6
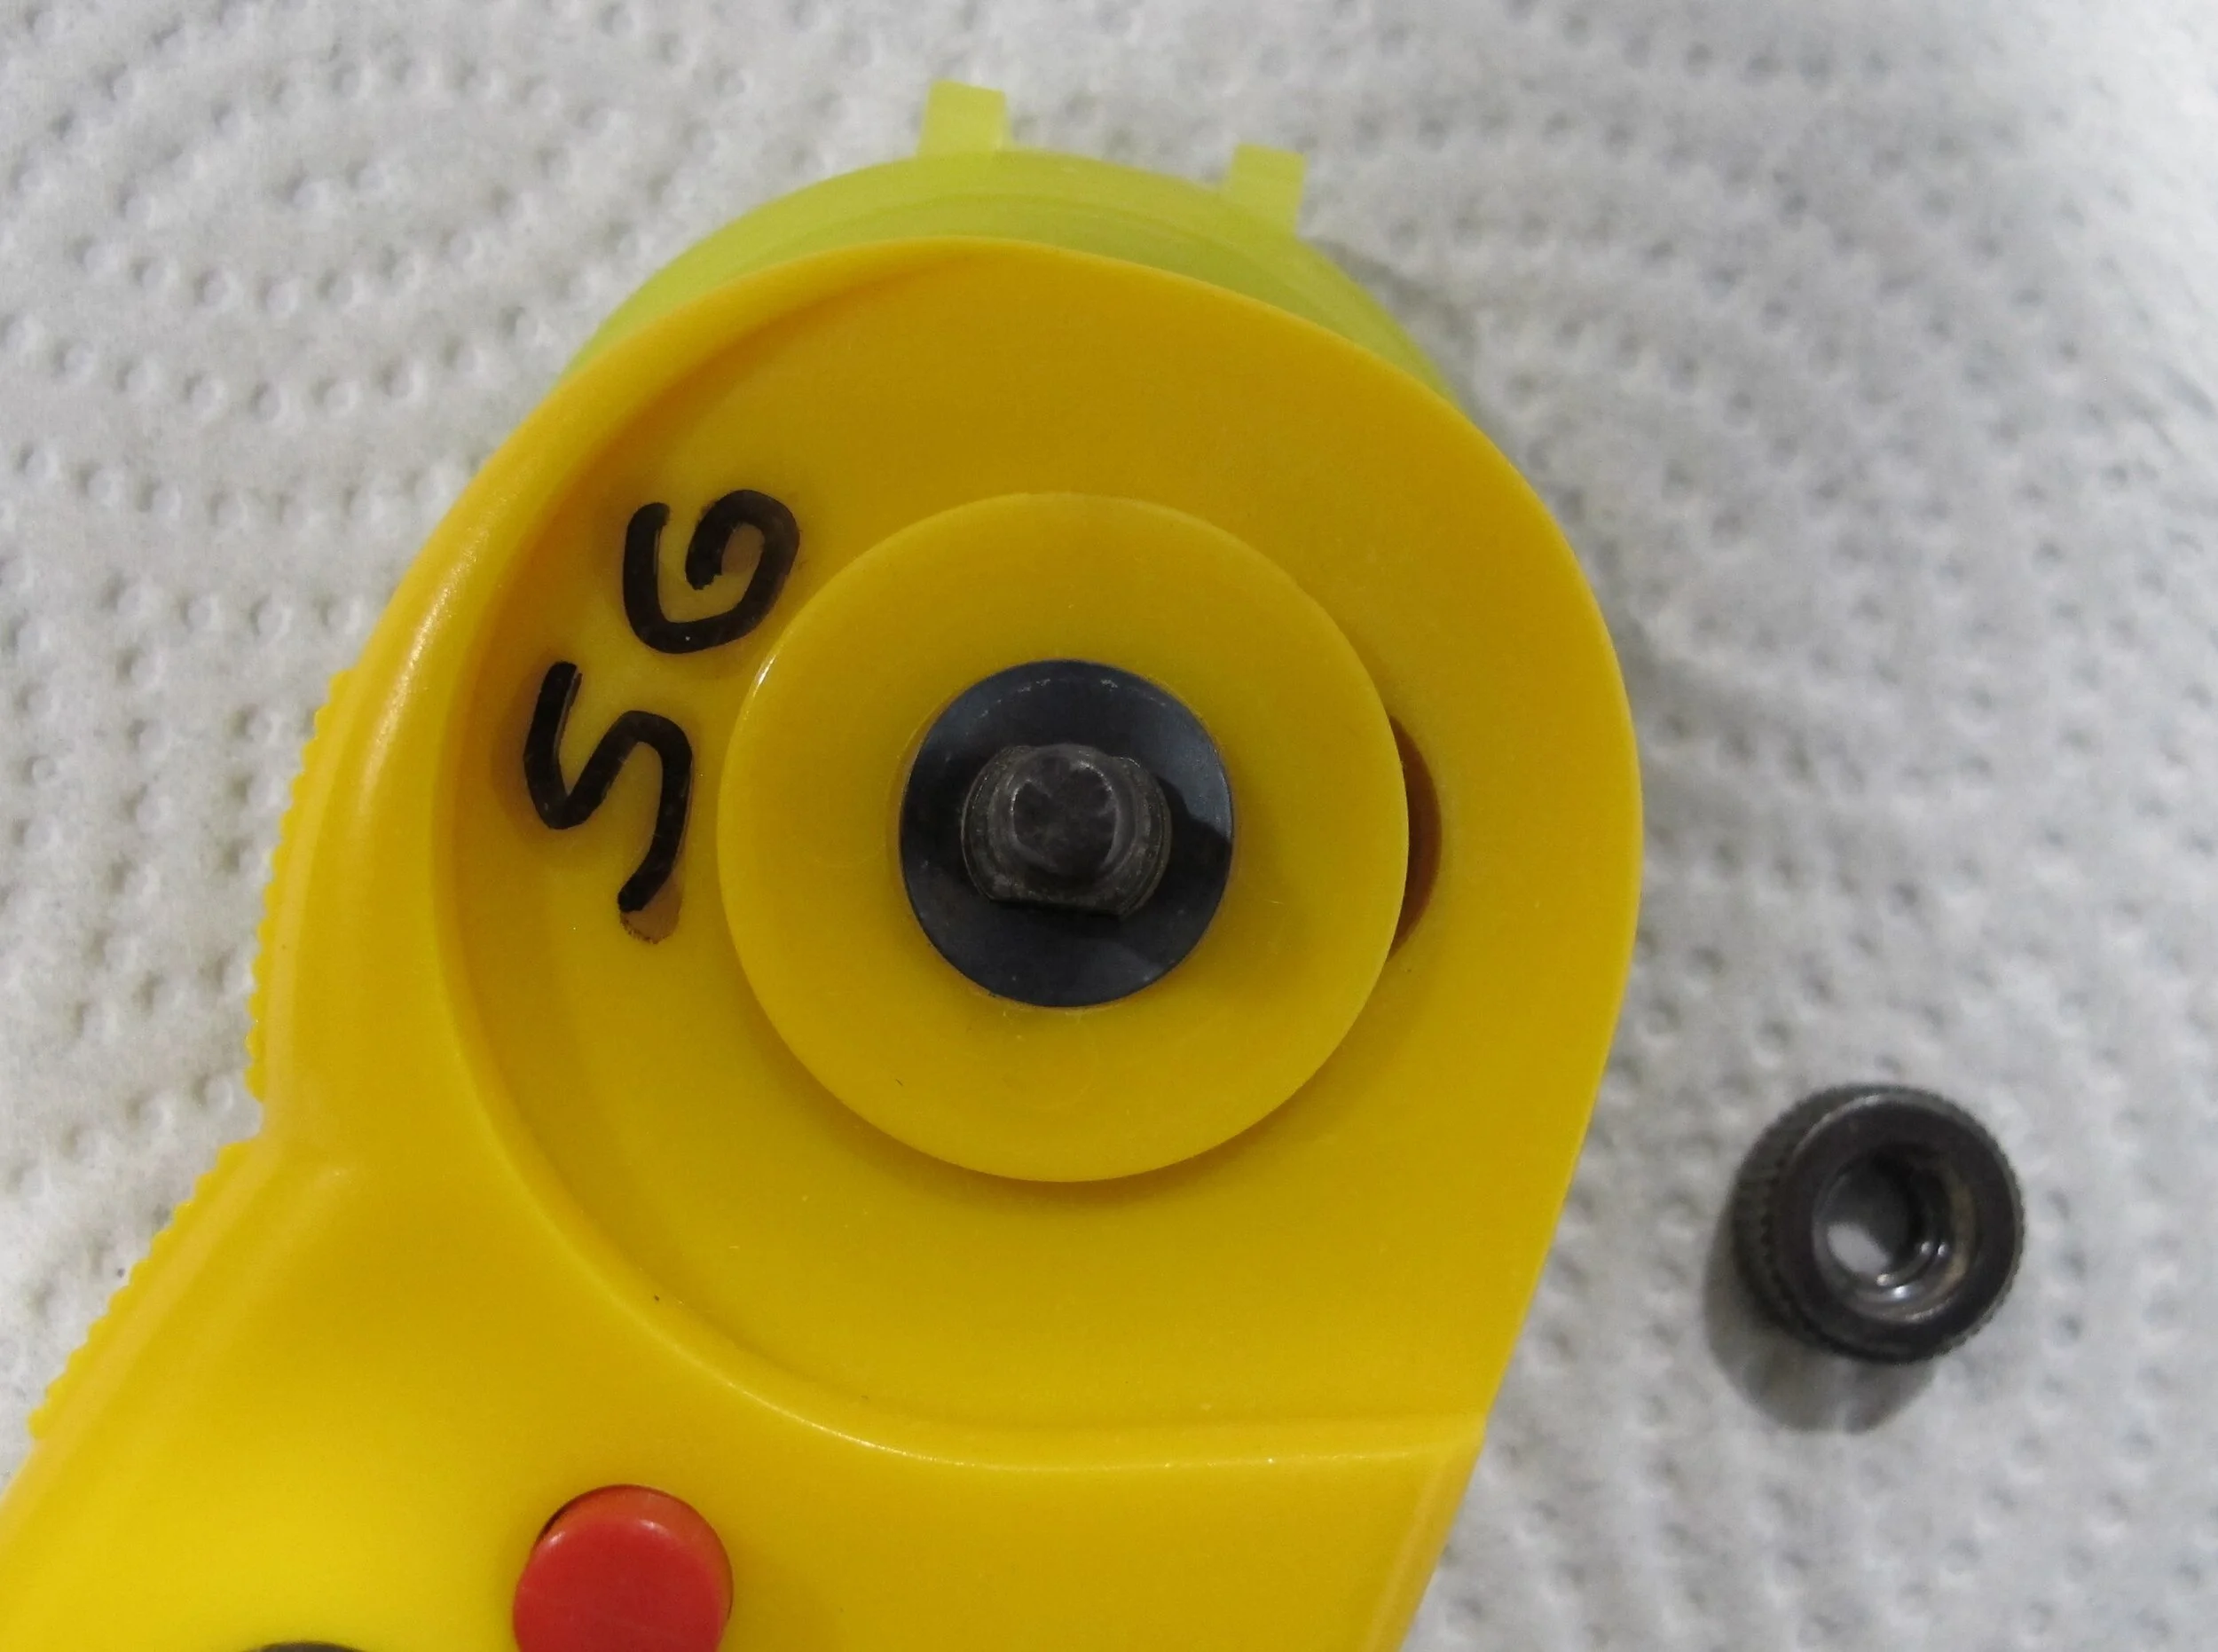
Figure 7
The final piece to go back on is the screw. Please take another look at figure 7 above. I've shown the underside of the screw to show that it's indented, but the flat side of the screw faces up when you put it on (figure 8). There you have it...the proper way to change out blades on the Olfa ergonomic cutter (you're welcome, Becky!).
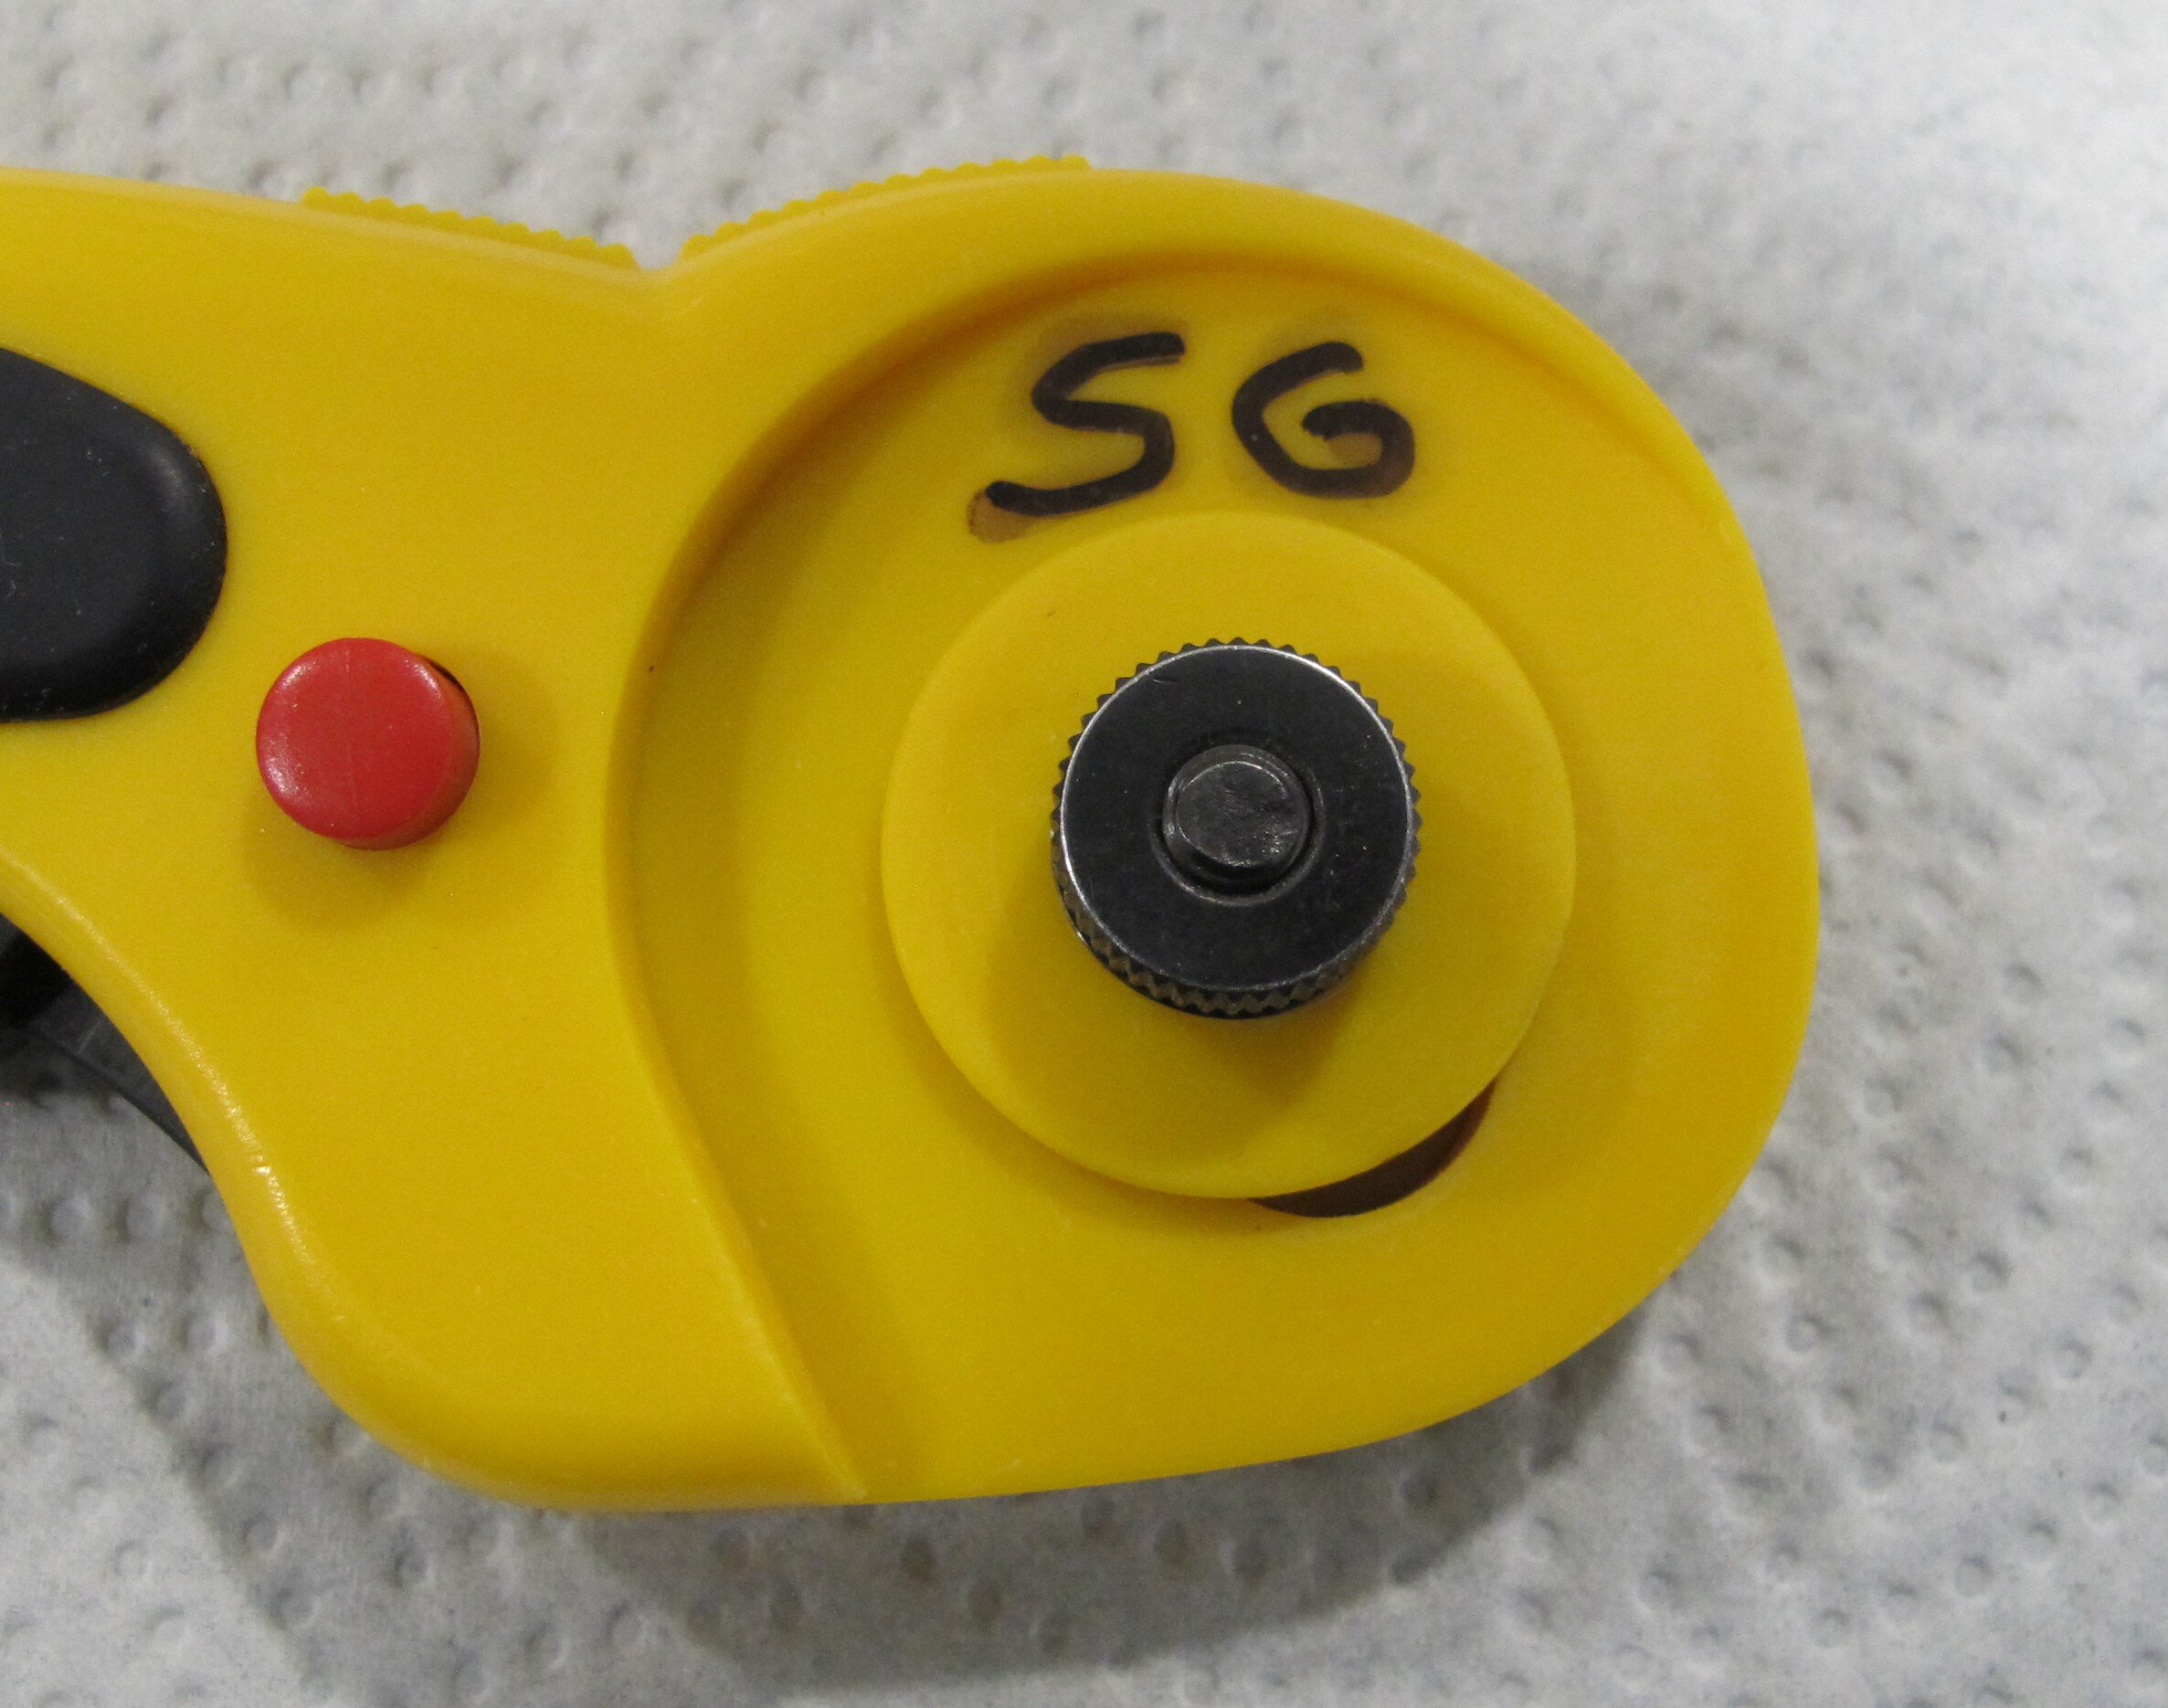
Figure 8
This is the design that started it all way back in 1979 (figure 9) and was the first rotary cutter (9651 RTY-2/G 45 mm) I owned in the mid 1980's (photo below shows the 60 mm version which is larger than the 45 mm listed above). Originally made for the garment industry to cut down on production time, the rotary cutter was adopted by the quilting industry soon after that. To read a little bit about its history check out this website.
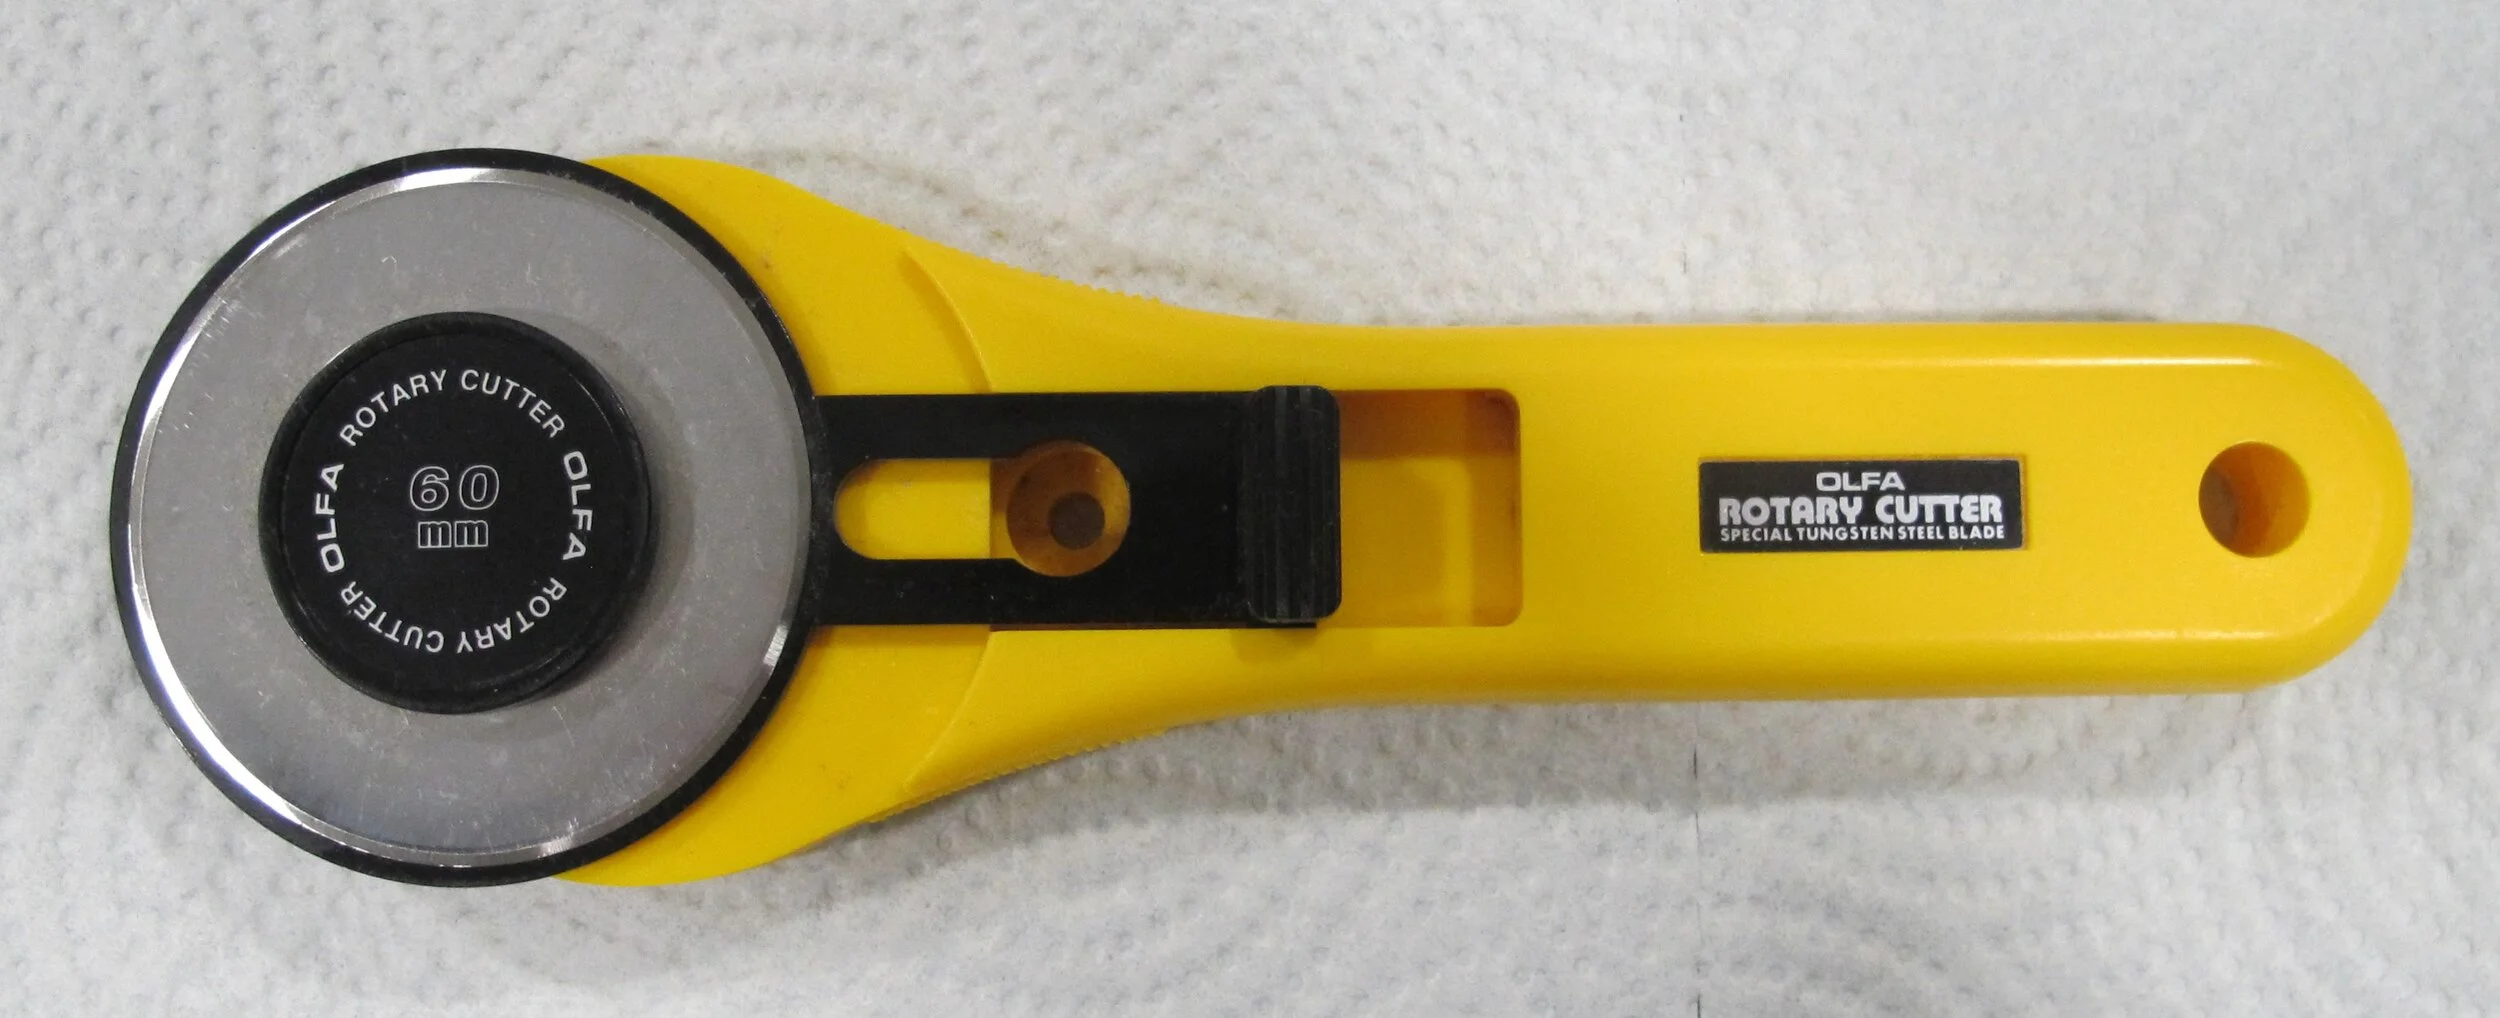
Figure 9
You'll notice that in order for the blade to be exposed the black tab has to be pulled down towards the base of the handle (figure 10). This means that you are responsible for closing the blade after every cut. I “yelled” at my students a lot...most of them forgot to do it...and that's why they ended up buying the other one! If you find that it's difficult to open the blade try loosening the screw just a little.

Figure 10
Those blades are SHARP and there have been too many mishaps in my classes for me not to warn my students. In one instance a student was smoothing out her fabric and the side of her hand came in contact with her neighbour's cutter that had been left open resulting in a cut about 1 ½” long. Another student was pushing her hair out of her face with her open cutter in her hand and sliced her forehead. And, of course, many people have taken a nick out of one of their fingers...myself included. The rotary cutter deserves your respect.
Just like with the ergonomic cutter place the components down on the table in the order that you have removed them (figure 11) and wipe down all the fabric “dust” that has accumulated on these parts. The only difference is that this one does not have the yellow plastic washer.
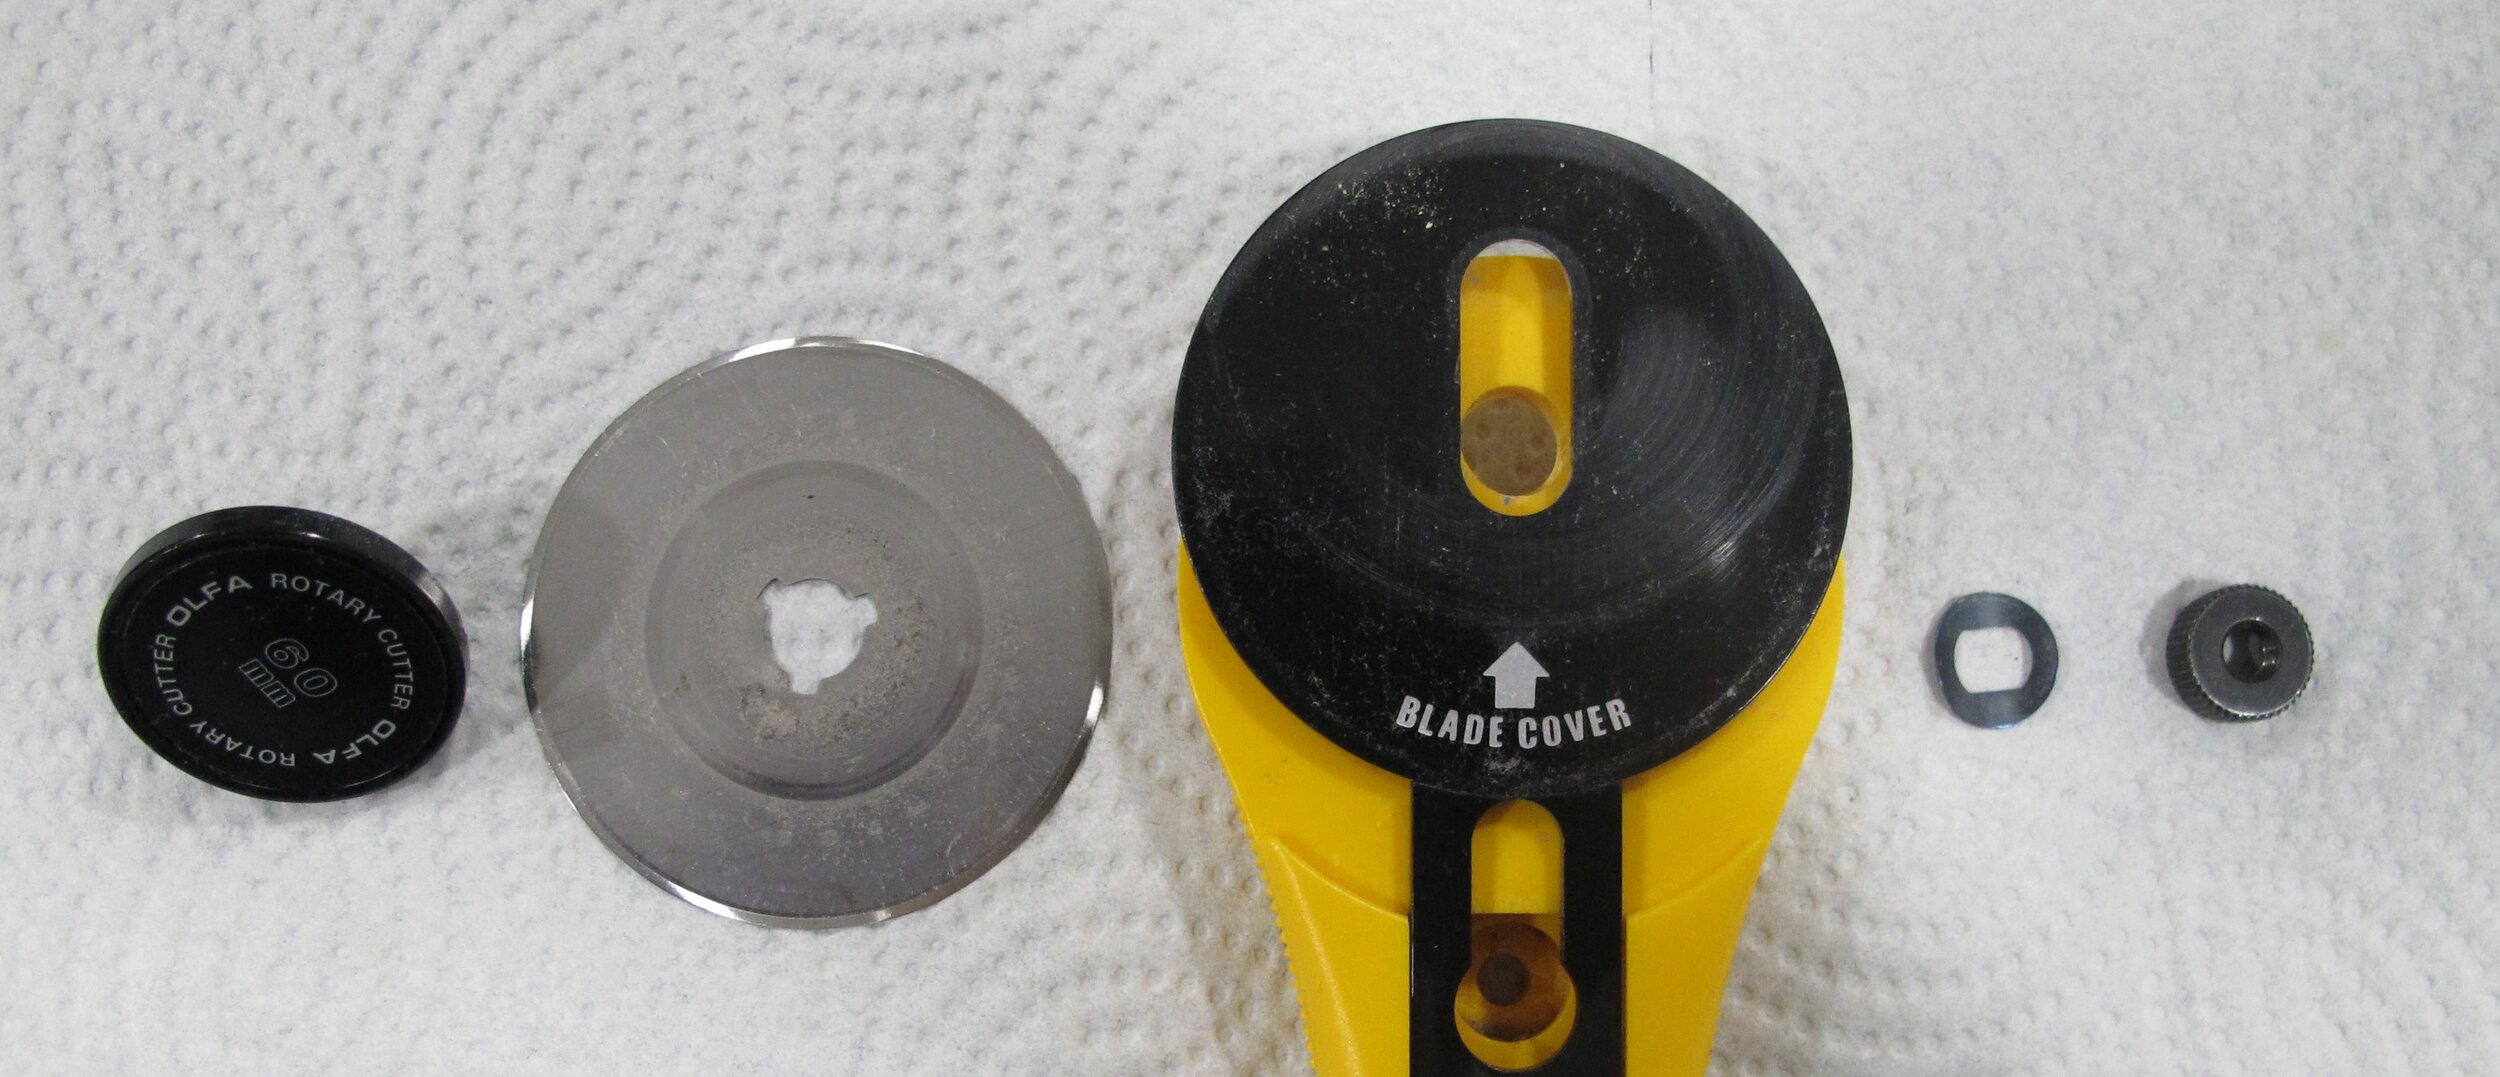
Figure 11
Line up the edges of the metal washer with the post (figures 12 & 13), and put the screw on with the flat edge facing up (figure 14). You have now successfully replaced your blade.
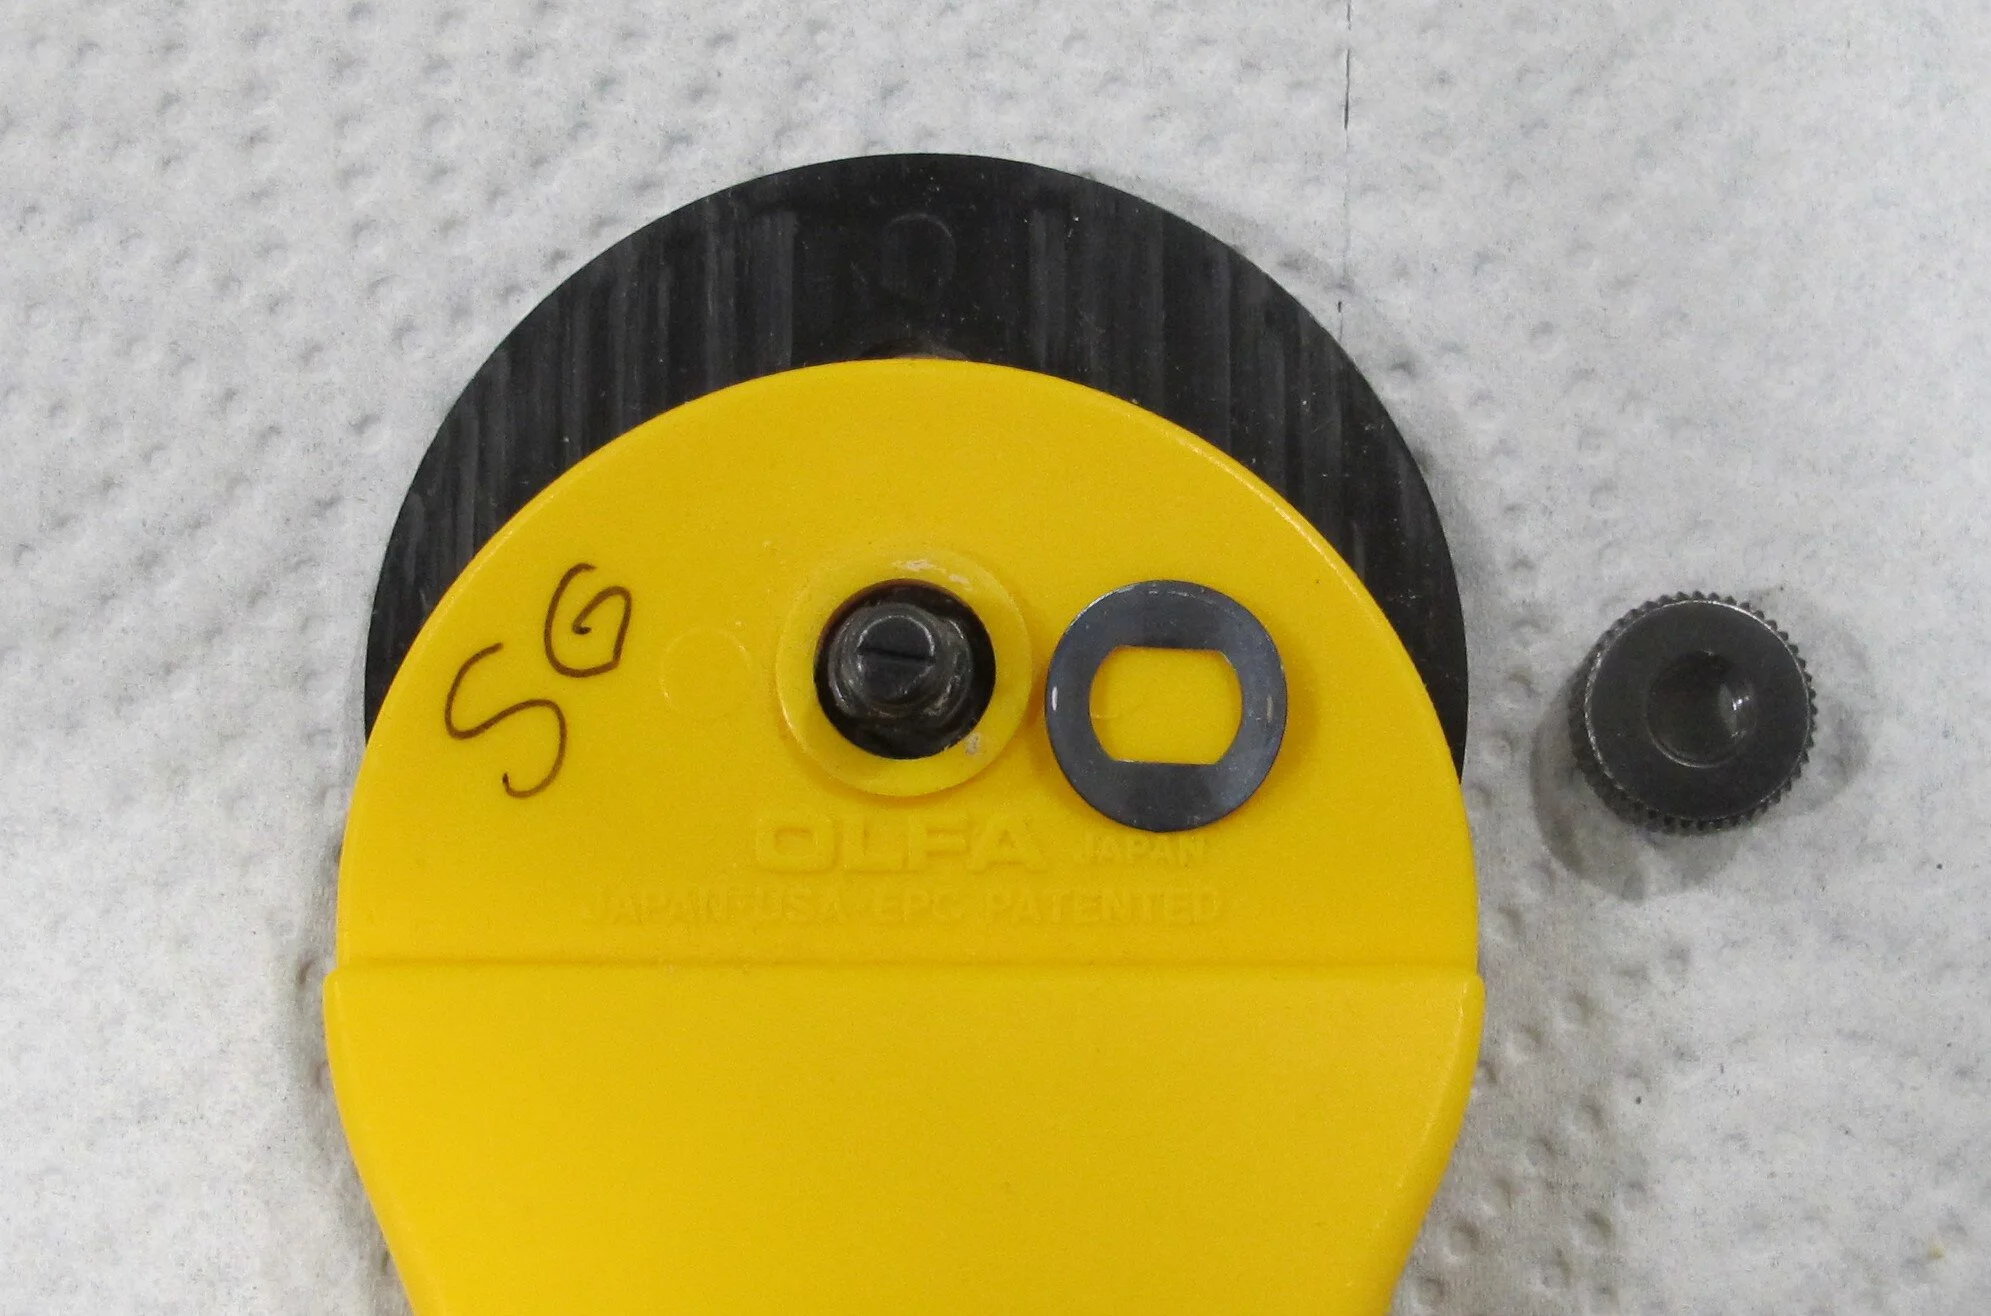
Figure 12

Figure 13
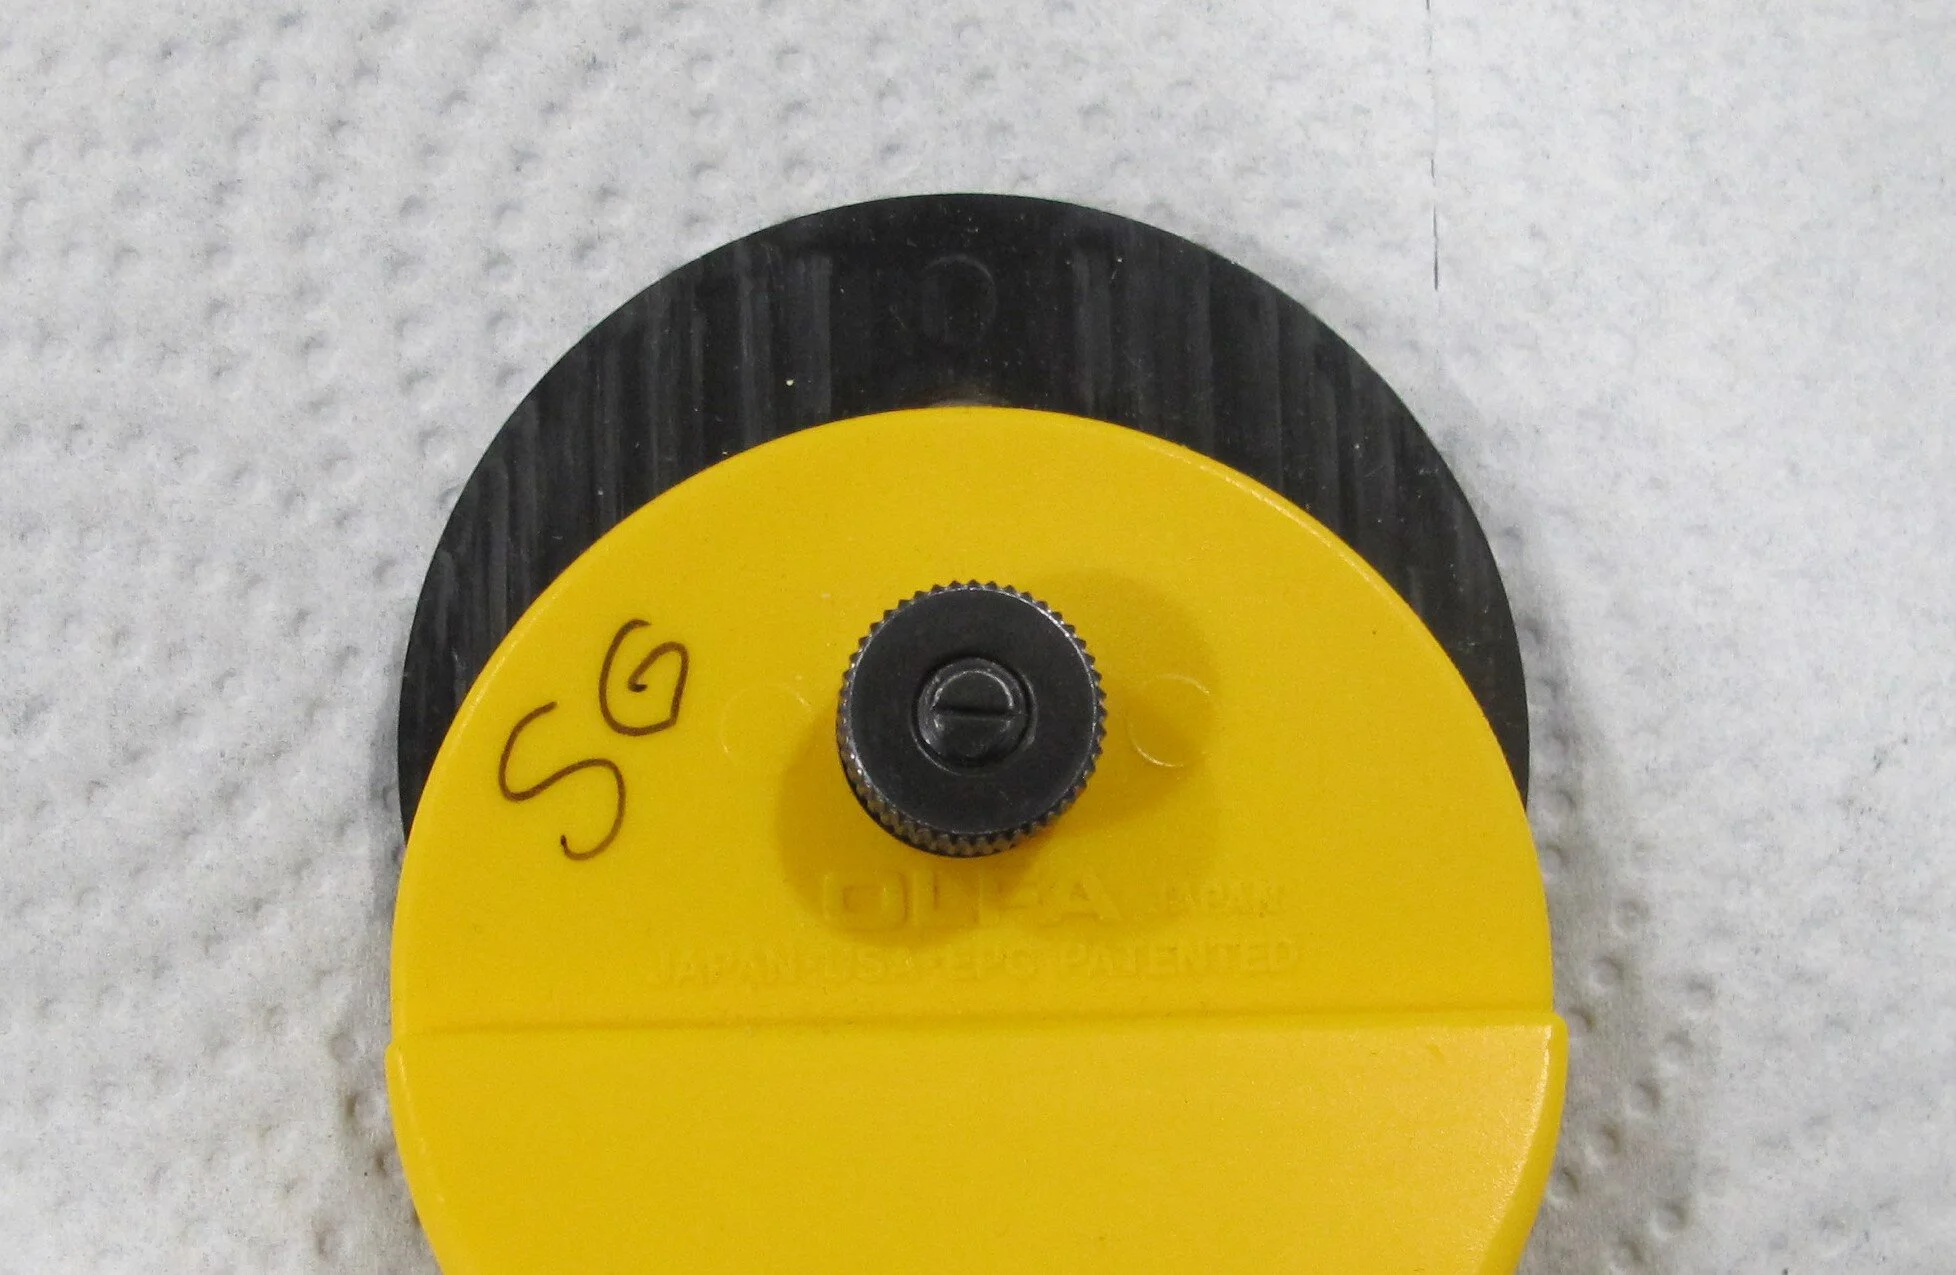
Figure 14
And to think that before this tool came into being we were cutting all our patches with cardboard templates and scissors. Thank you Mr. Okada for designing this revolutionary tool.