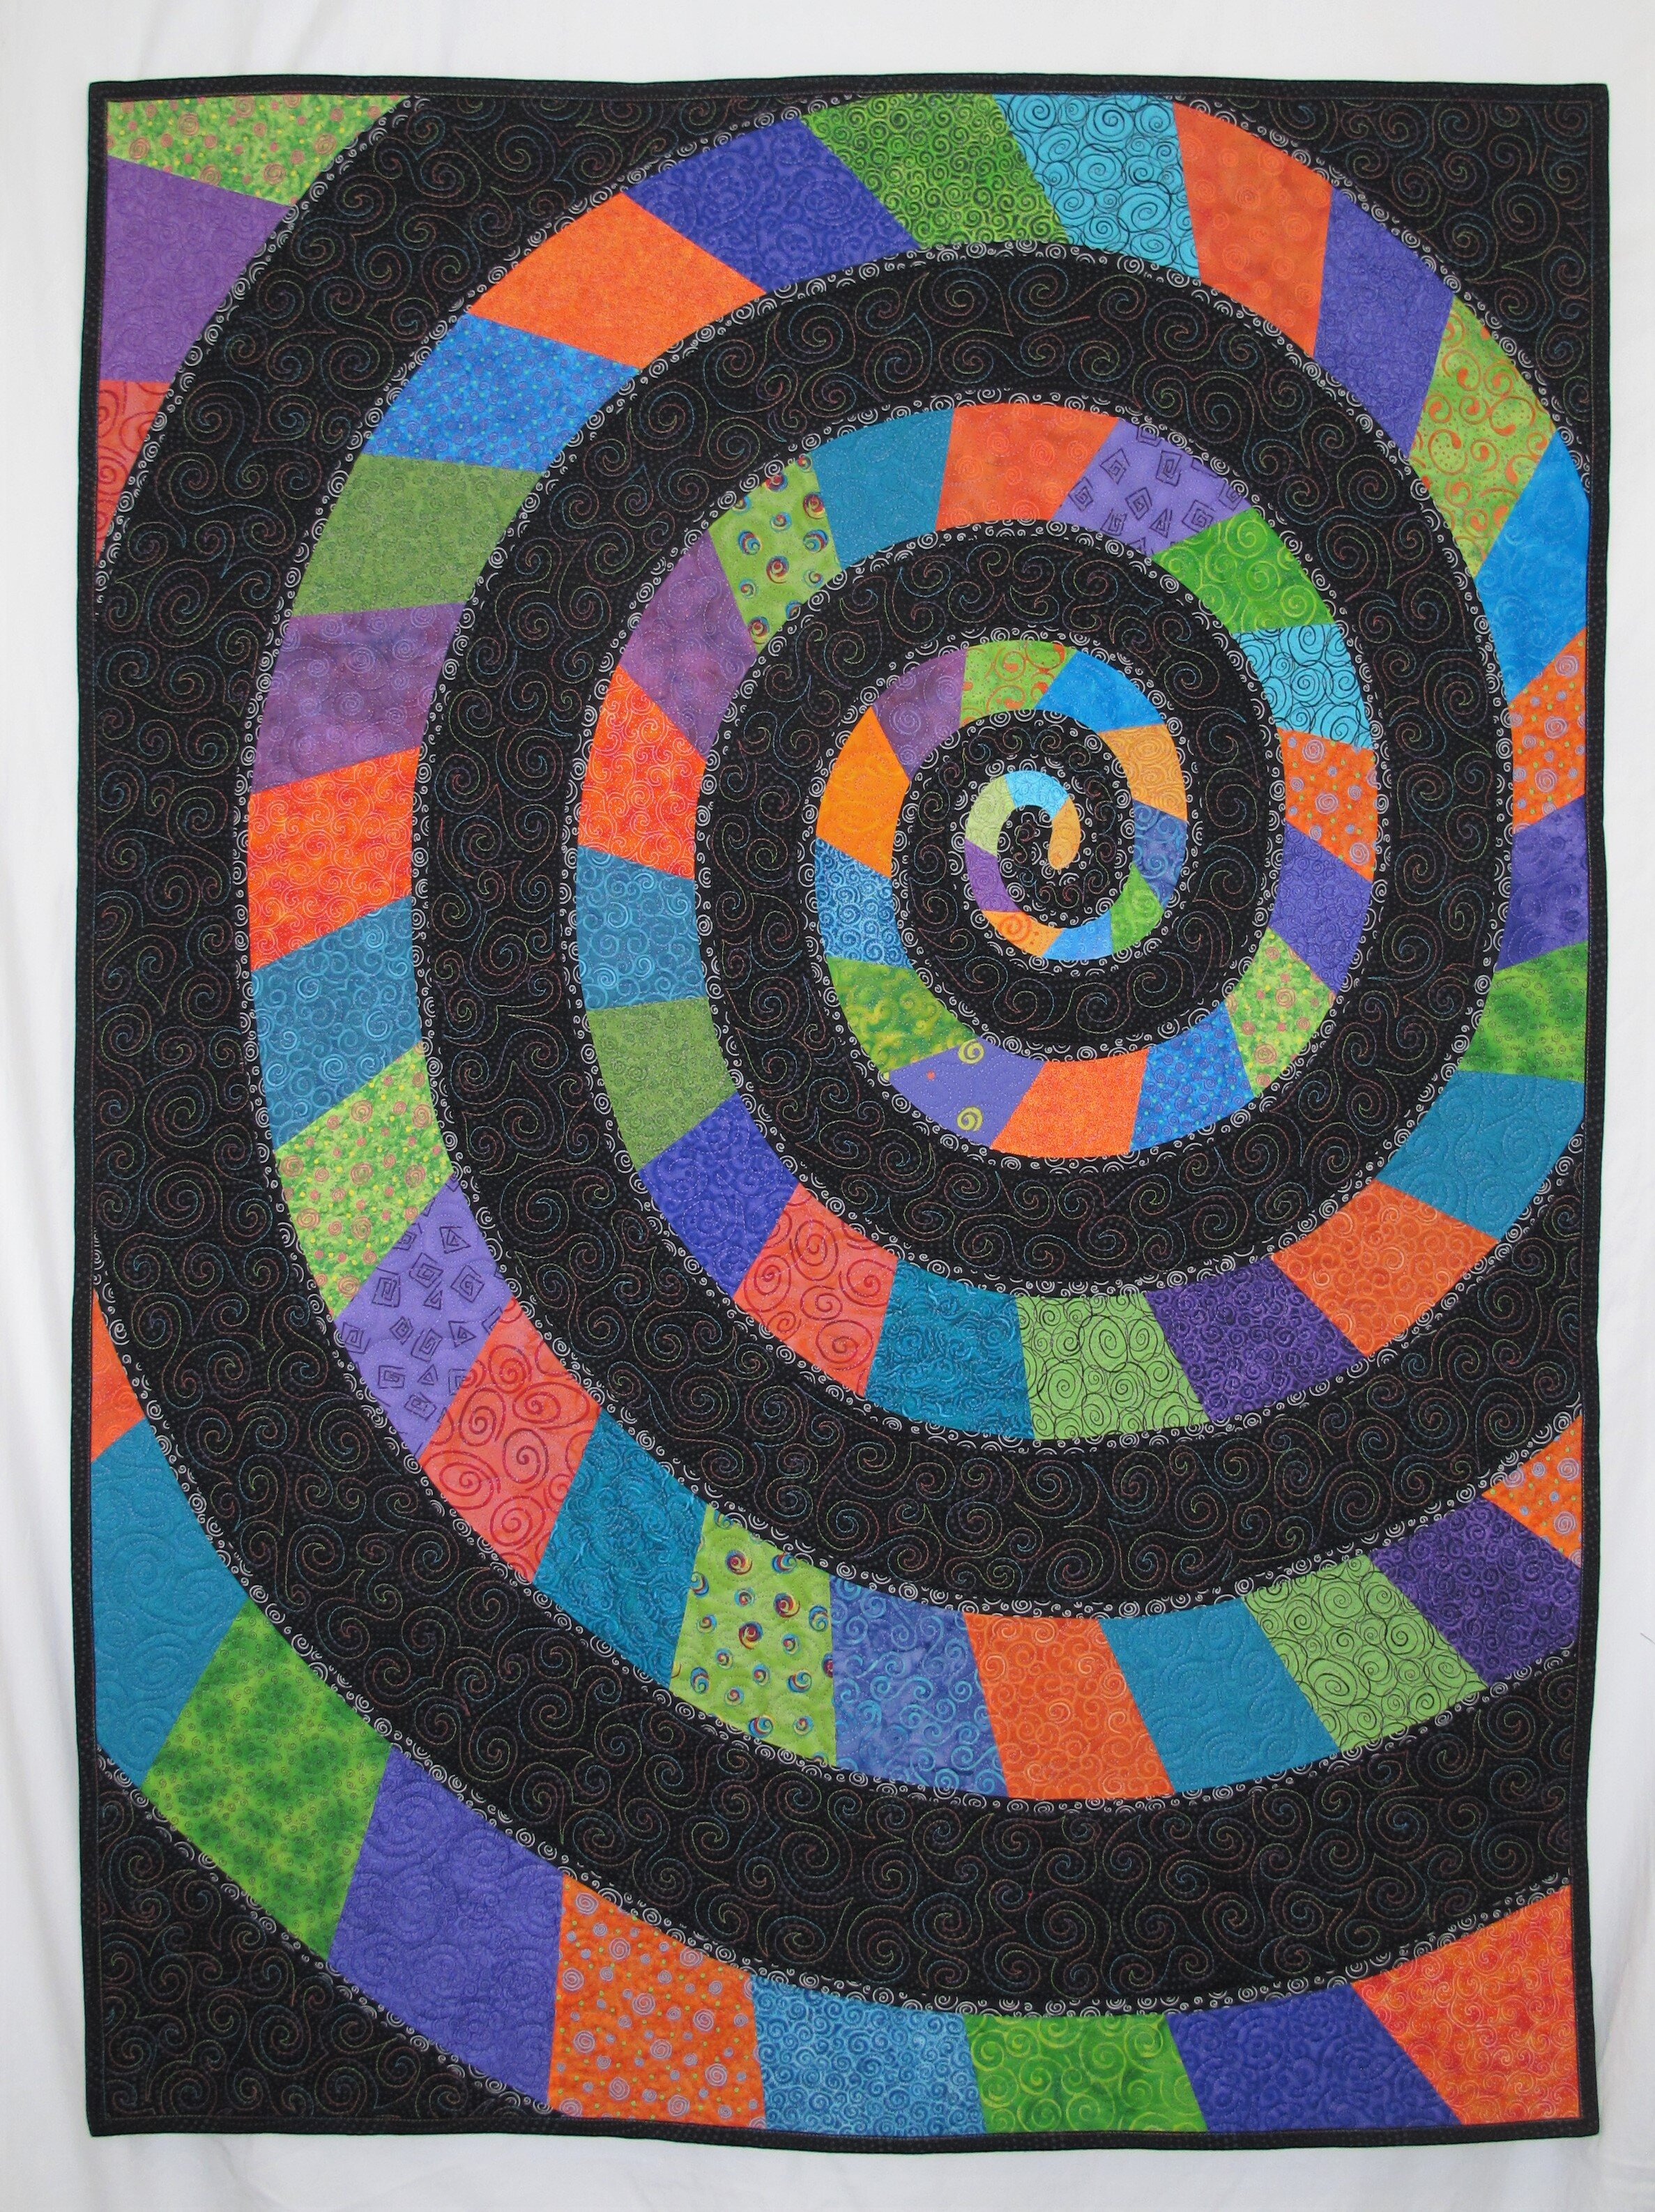
My Covid Quilt
35” x 47”
The spiral is my favourite design motif. After collecting spiral prints for about 5 years I decided it was time to do something with them...and then along came Covid-19. The world seemed to be spiraling out of control with the alarming number of deaths, the isolation and lost jobs. It seemed like the quilt was designing itself in my head as I was thinking of what everyone was collectively going through.
The design is based on the equiangular spiral antenna shown on this website where they discuss frequency, wavelength and circular polarization...my eyes started to glaze over at all the techy lingo...I just liked the pretty picture!
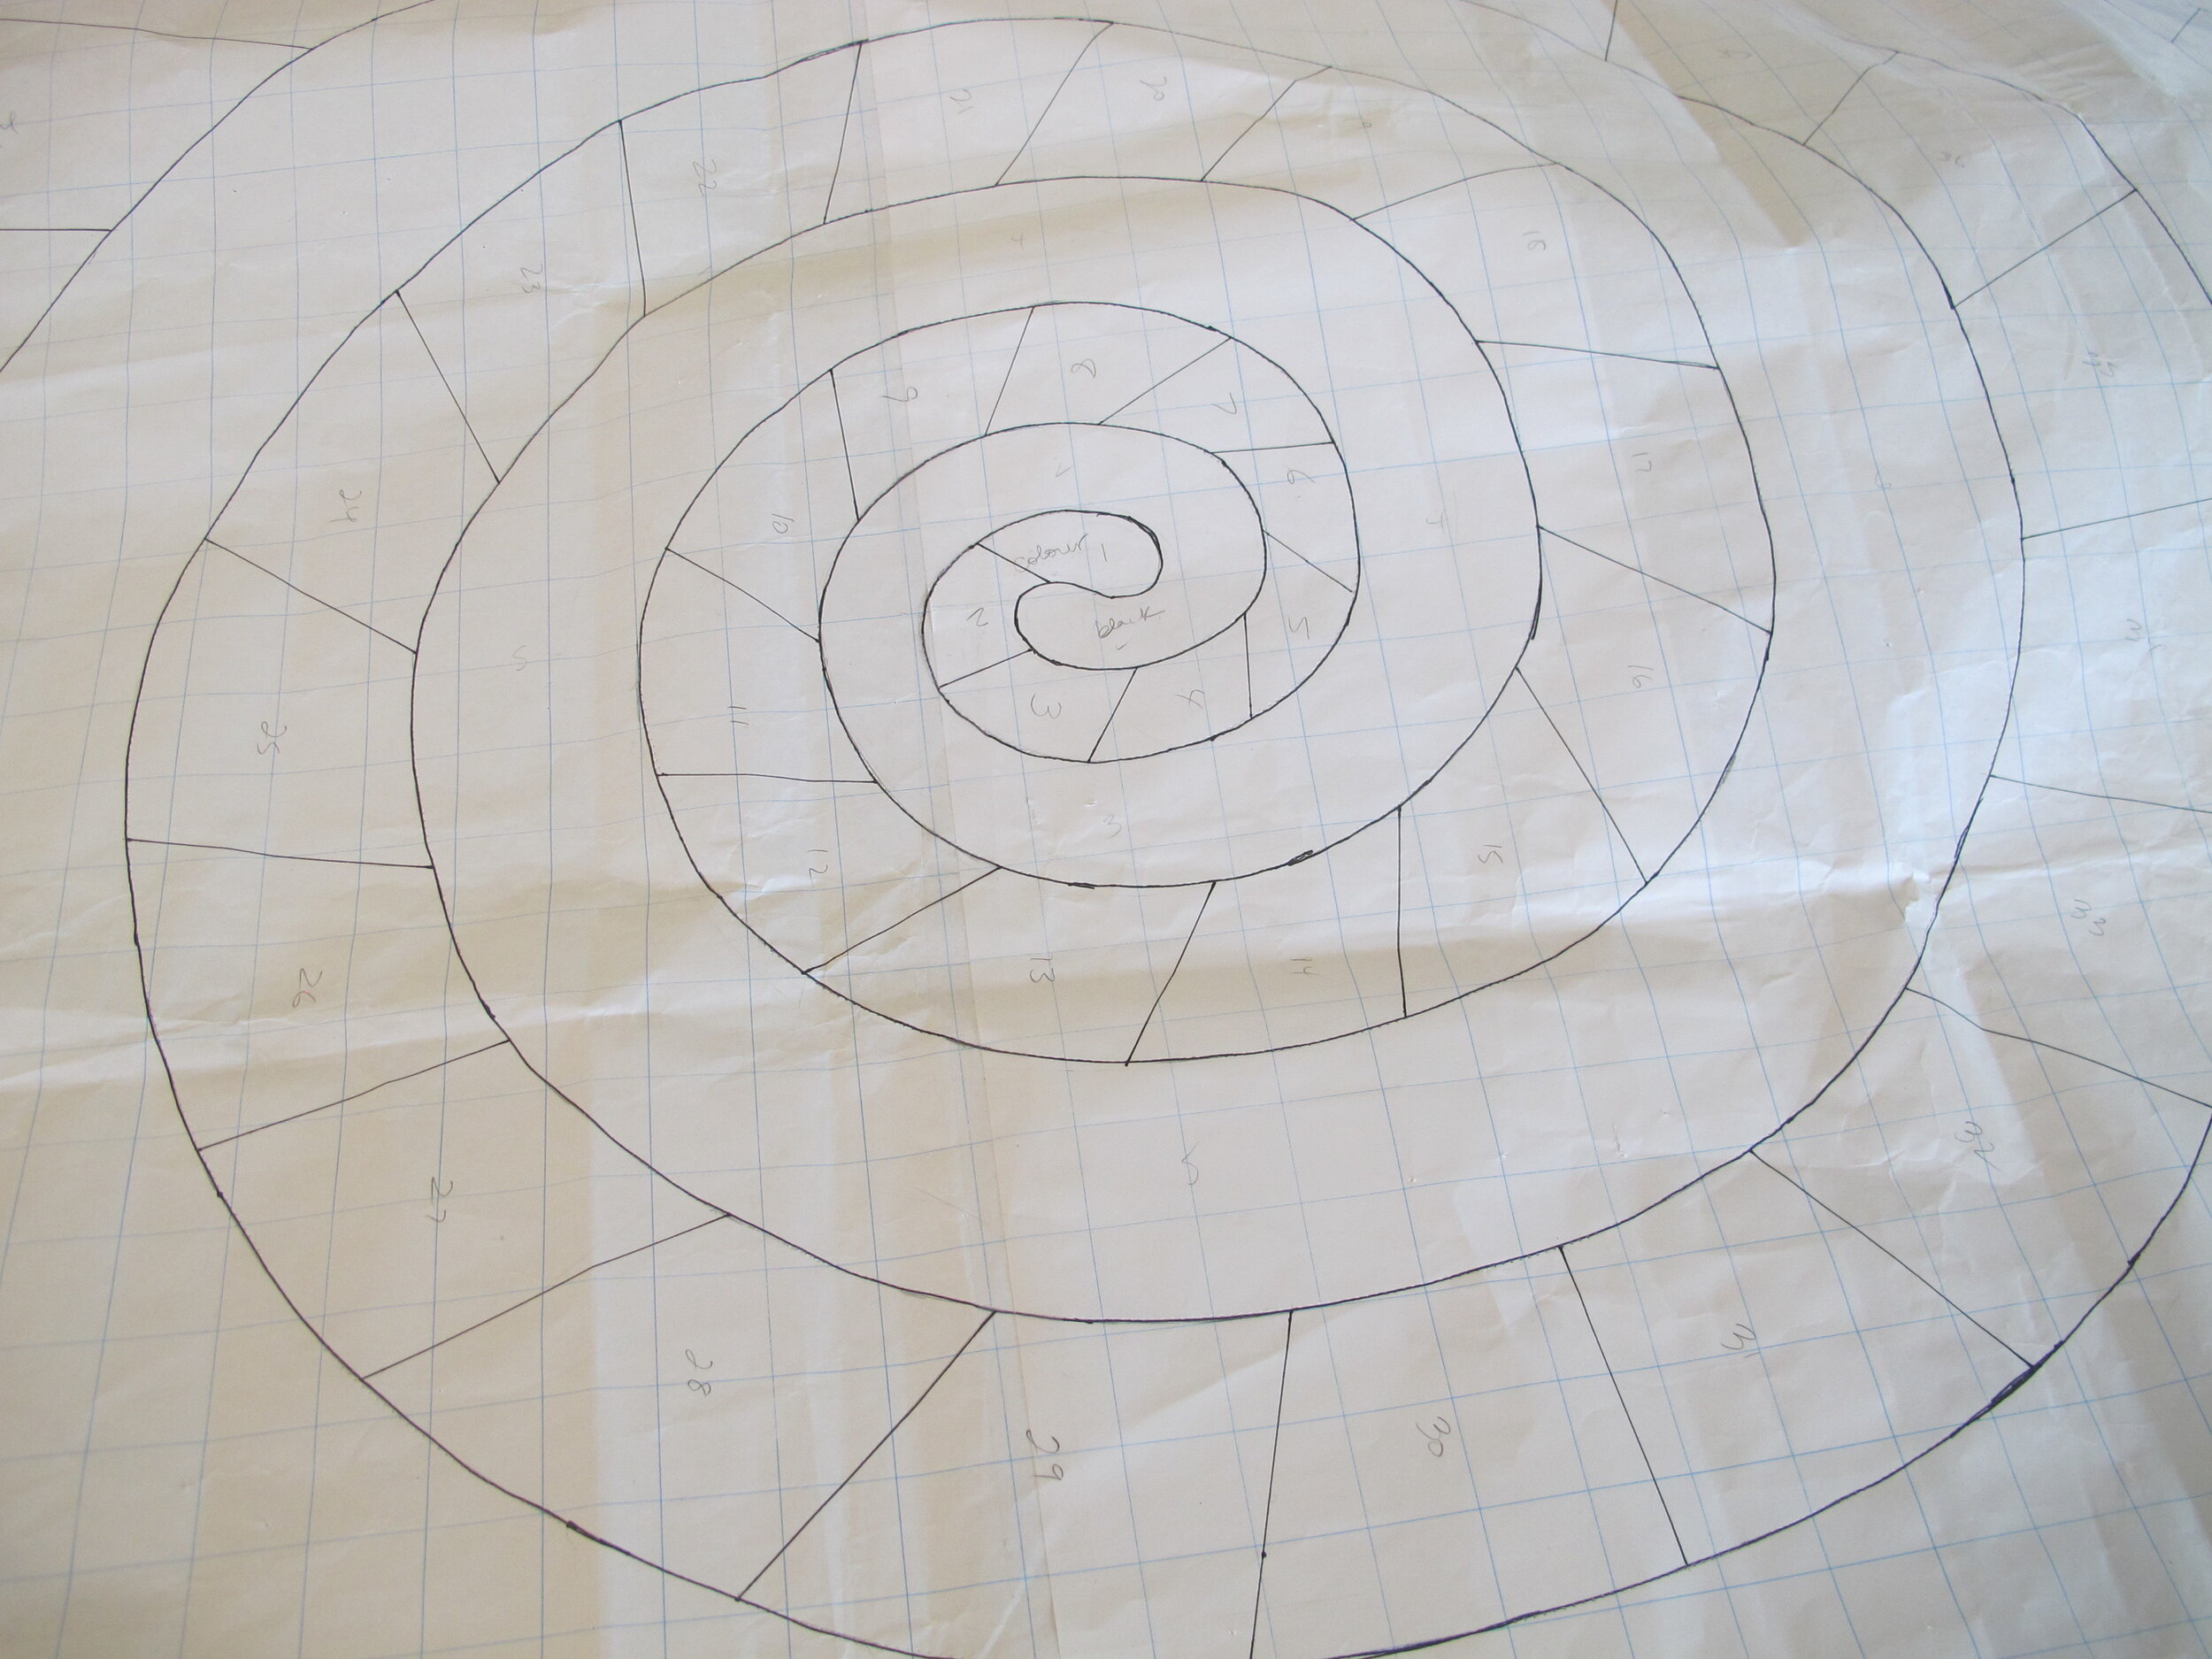
Clearly the design had to be tweaked for quilting, and drawing it out on a large sheet of paper proved to be time-consuming since all I had for reference was a small diagram from the internet. While drawing the double spiral in the centre I just had to make sure that it was large enough that the bias tape I wanted to create would curve nicely without puckering or pleating once applied to the area. After that the lines started getting further apart from each other and the spaces in between were also made wider to create the proper effect.
Once the design was drawn on the paper the 2 interlocking spirals were labeled “colour” and “black”. On the “colour” spiral I just eye-balled the divisions between colours and drew lines with a ruler. This section was to be foundation paper-pieced so every once in a while I wrote RSU to keep me on track...RSU=Right Side Up. For those of you who have done foundation paper piecing you know how important this is (figures 1 & 2).
figure 1
figure 2
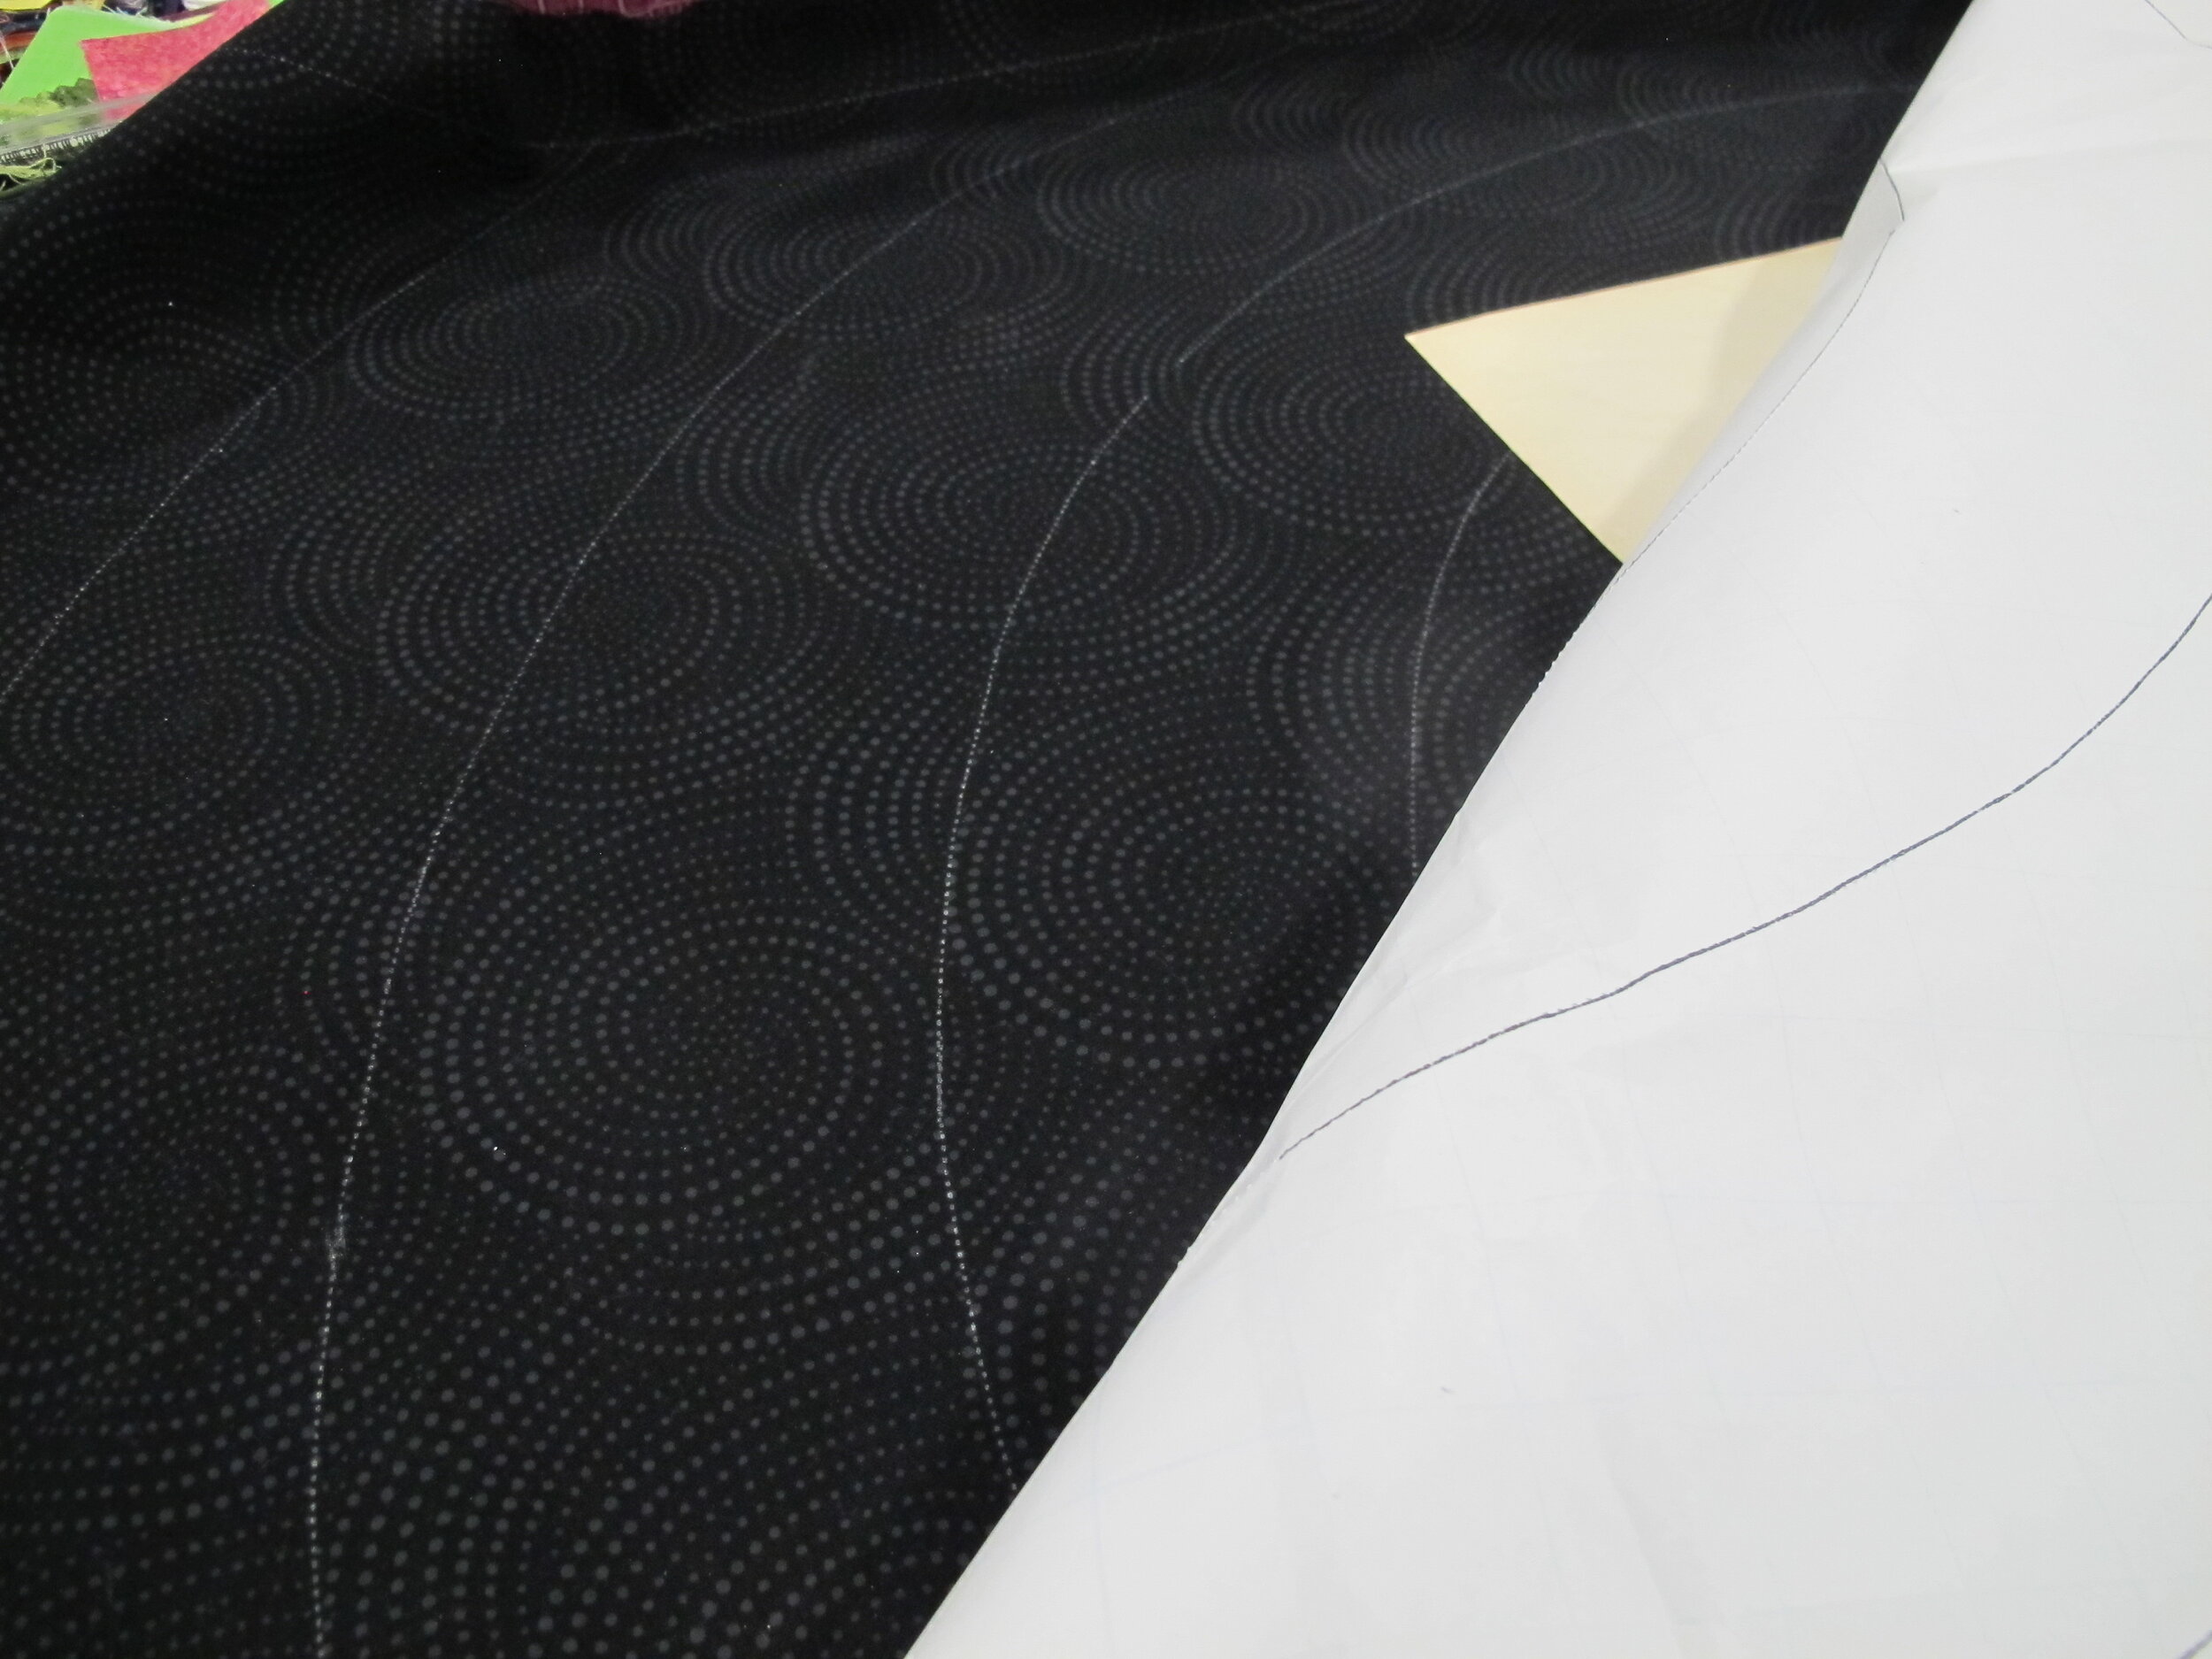
To transfer the lines onto the black spiral background fabric I used my trusty tracing wheel and tracing paper from my dressmaking days. This way there were registration marks on the background so the paper-pieced spiral would be positioned properly after being sewn (figures 3 & 4). The “colour” spiral was then cut from the paper in one long piece (figure 5).
figure 3
figure 4
figure 5
figure 6
I know all of us are the same when it comes to using our favourite colours. I didn't have as much variety in the spiral fabrics as I thought I did...teal, turquoise, purple, lime and orange were in great abundance and the other colours were pitifully represented! So, starting from the centre orange/teal or turquoise/lime/purple were repeated time and again until I got to the end (figure 6).
The process of paper piecing started from the centre (figure 7). When doing foundation paper piecing make the stitch length shorter...it perforates the paper and makes removing the paper much easier at the end. To keep the long strip of paper rolled up and manageable Clover Wonder Clips were used, both on the unsewn paper as well as the section that had already been done (figure 8). Every once in a while the fabric was trimmed along the outside edge of the paper to neaten it up and make it easier to handle. I love my Olfa serrated scissors for this job…they’re my “workhorse” scissors. Once the entire spiral was sewn the papers were carefully removed (figure 9).
figure 7
figure 8
figure 9
From the centre out the pieced spiral was then laid down on top of the marked black background. Every couple of inches a line of glue was applied using my Sewline glue pen to hold it in place while it was flat on the table (figure 10). Pins were added for extra insurance and the spiral was then edge-stitched using the open-toe foot and a neutral thread (figure 11).
figure 10
figure 11
In my head I saw black and white spiral fabric for the bias as a divider between the colour and black sections of the spiral. There were 3 in my collection that I thought would be suitable so they were all “auditioned”. One was too dark and blended with the background too much (figure 12), one was too white and competed with the colour spiral (figure 13), and the third one was just right (figure 14).
figure 12
figure 13
figure 14
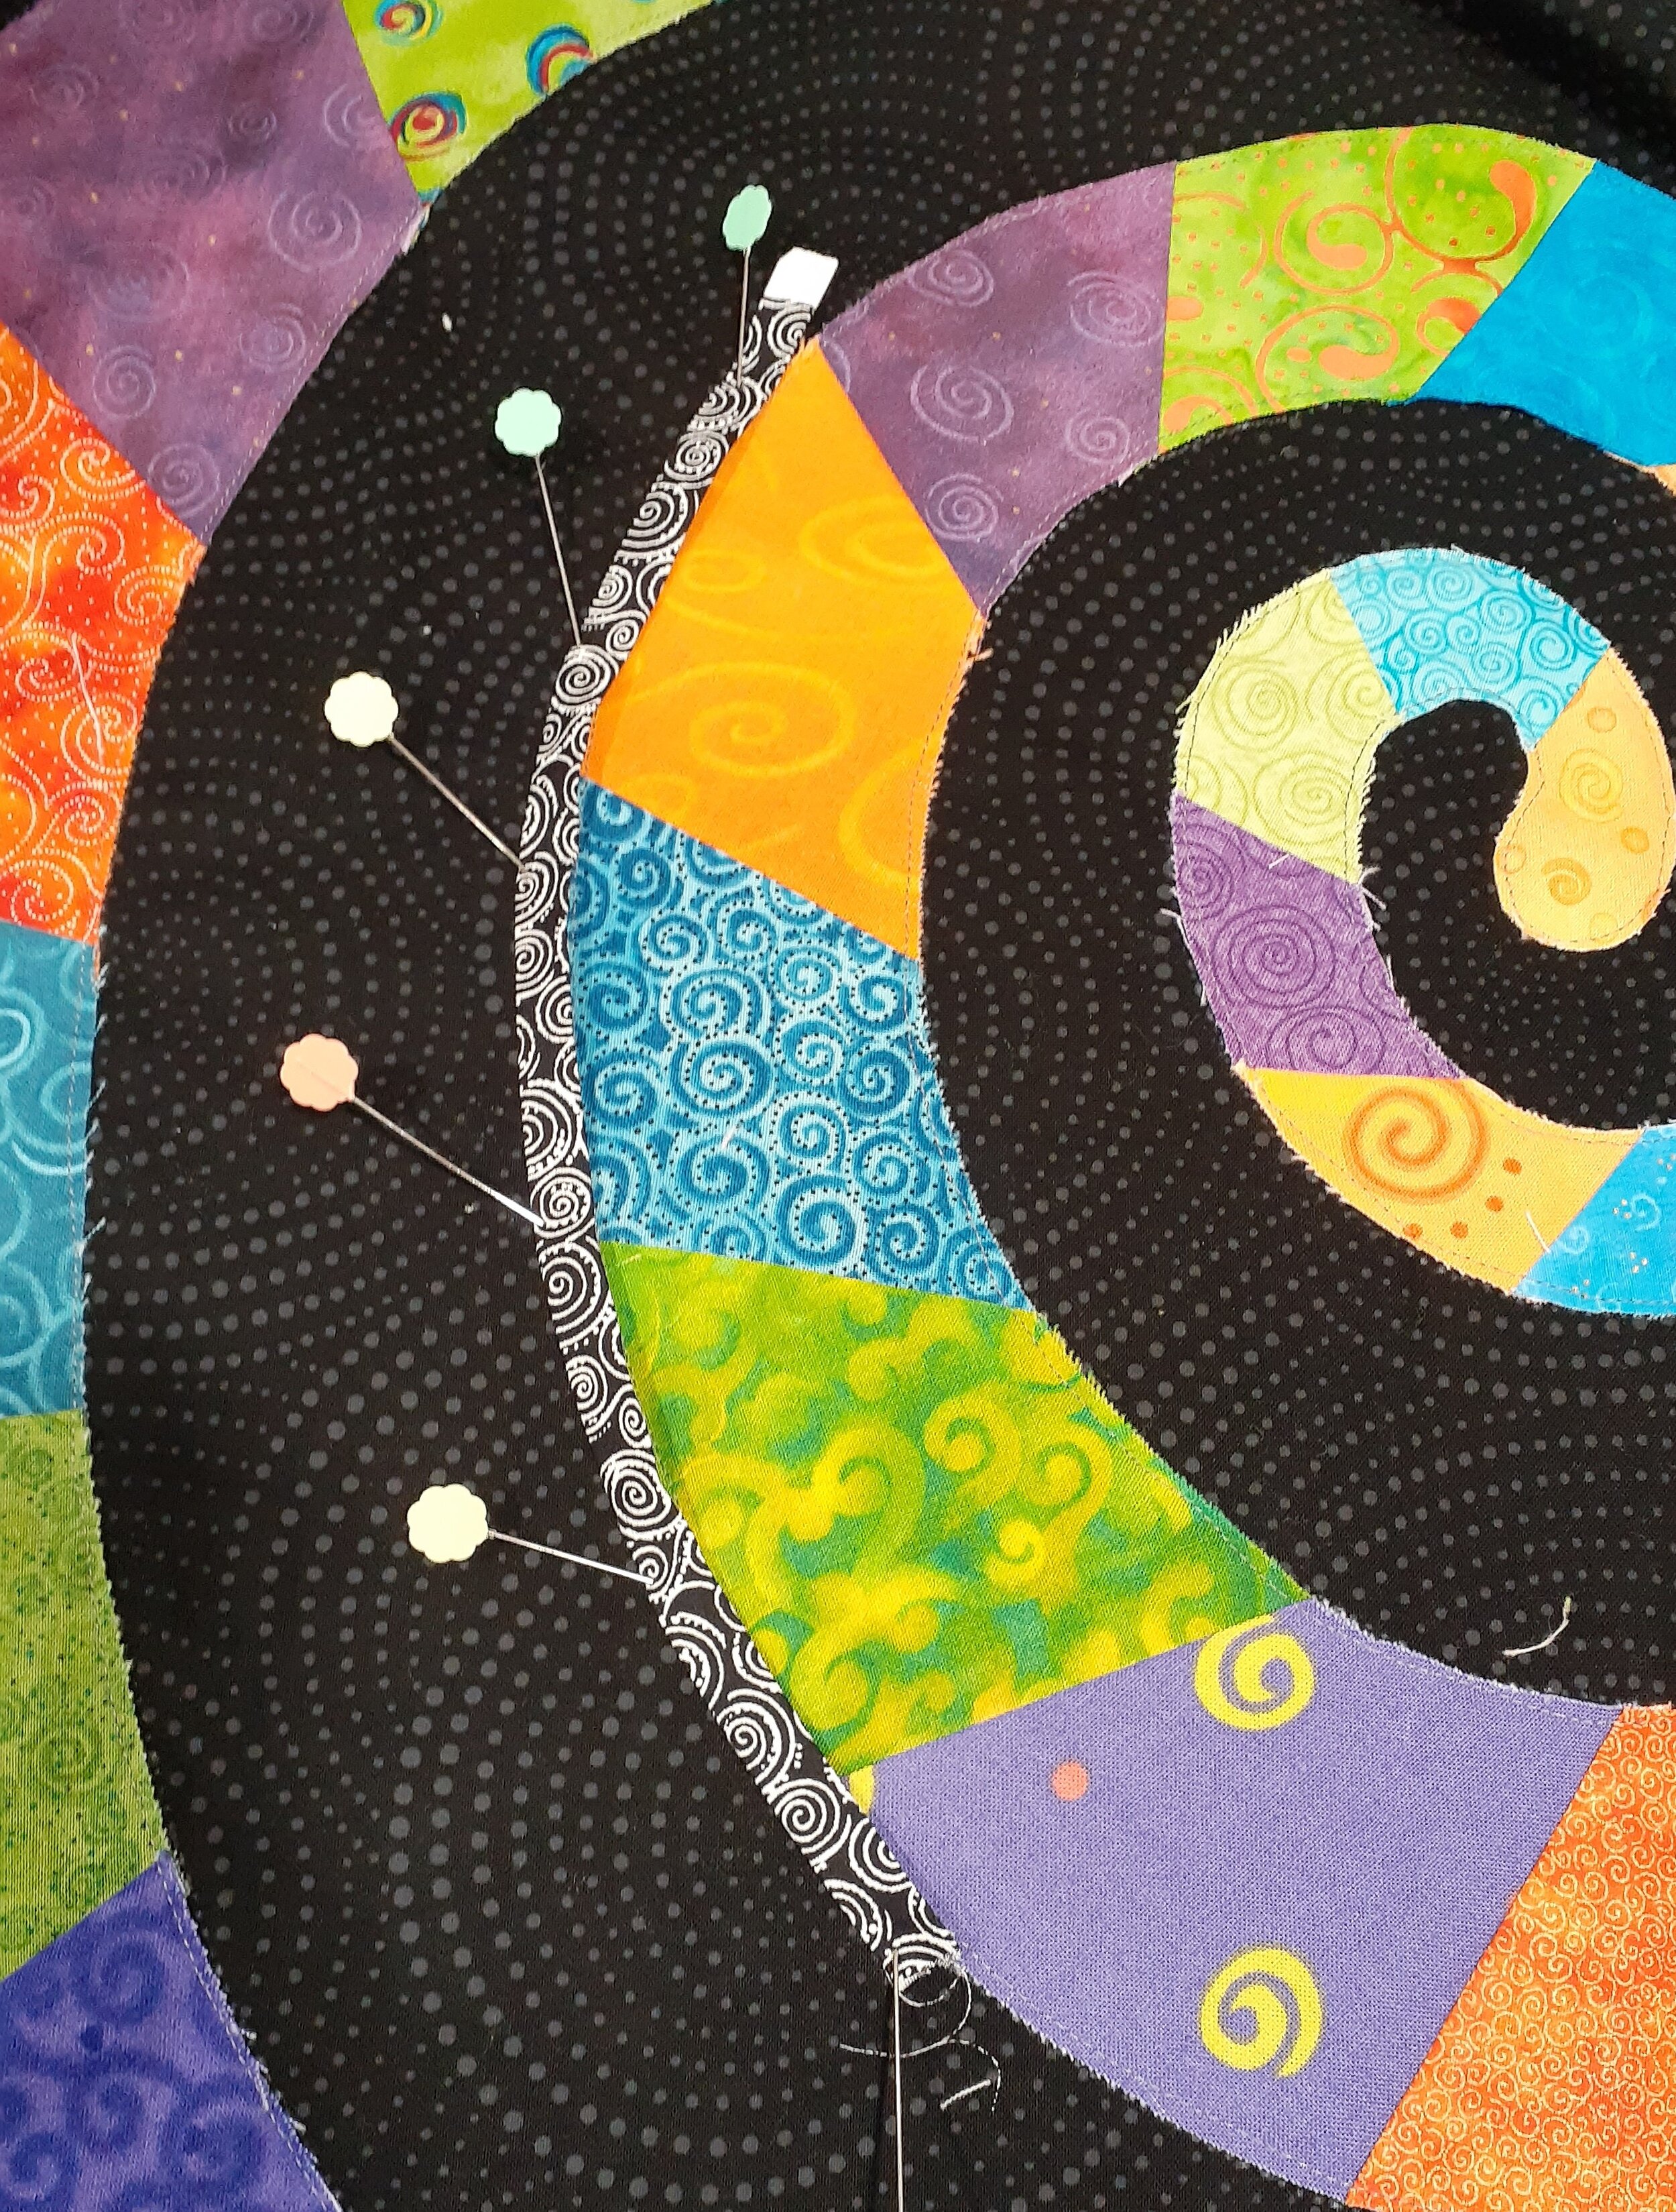
450” of continuous bias (cut at ¾” wide) was made using the Clover ⅜” bias tape maker with the channel for the Clover ¼” (5 mm) fusible web tape (figures 15 & 16). It was a lot of work, but so worth it. My main piece of advice when making your own bias tape with this method is to do 3 or 4 small trial samples using different heat settings on your iron. The sweet spot on my iron was just slightly above the wool setting, but each iron will respond differently. If the iron is too hot the fusible web tape ripples and doesn't fuse properly. Instructions are included with this great tool.
The paper was removed (small sections at a time) from the bias tape and then the tape was applied with the iron by covering up the edge stitches along the coloured spiral (figure 17). I found that I did have to increase the heat slightly because it had to be fused through a layer of fabric.
figure 15
figure 16
figure 17
Once the entire bias spiral was fused it was edge stitched using Wonderfil Invisafil thread in black (colour #101). This thread is so fine that it's not really that noticeable in the photo and that was the look I was going for because I wanted the bias tape to stand out, not the stitching (figure 18). I think that if I was to do this technique again I would probably wait and edgestitch the bias tape down by quilting through all the layers at the same time...kind of like killing two birds with one stone...rather than stitching it down just to the background.
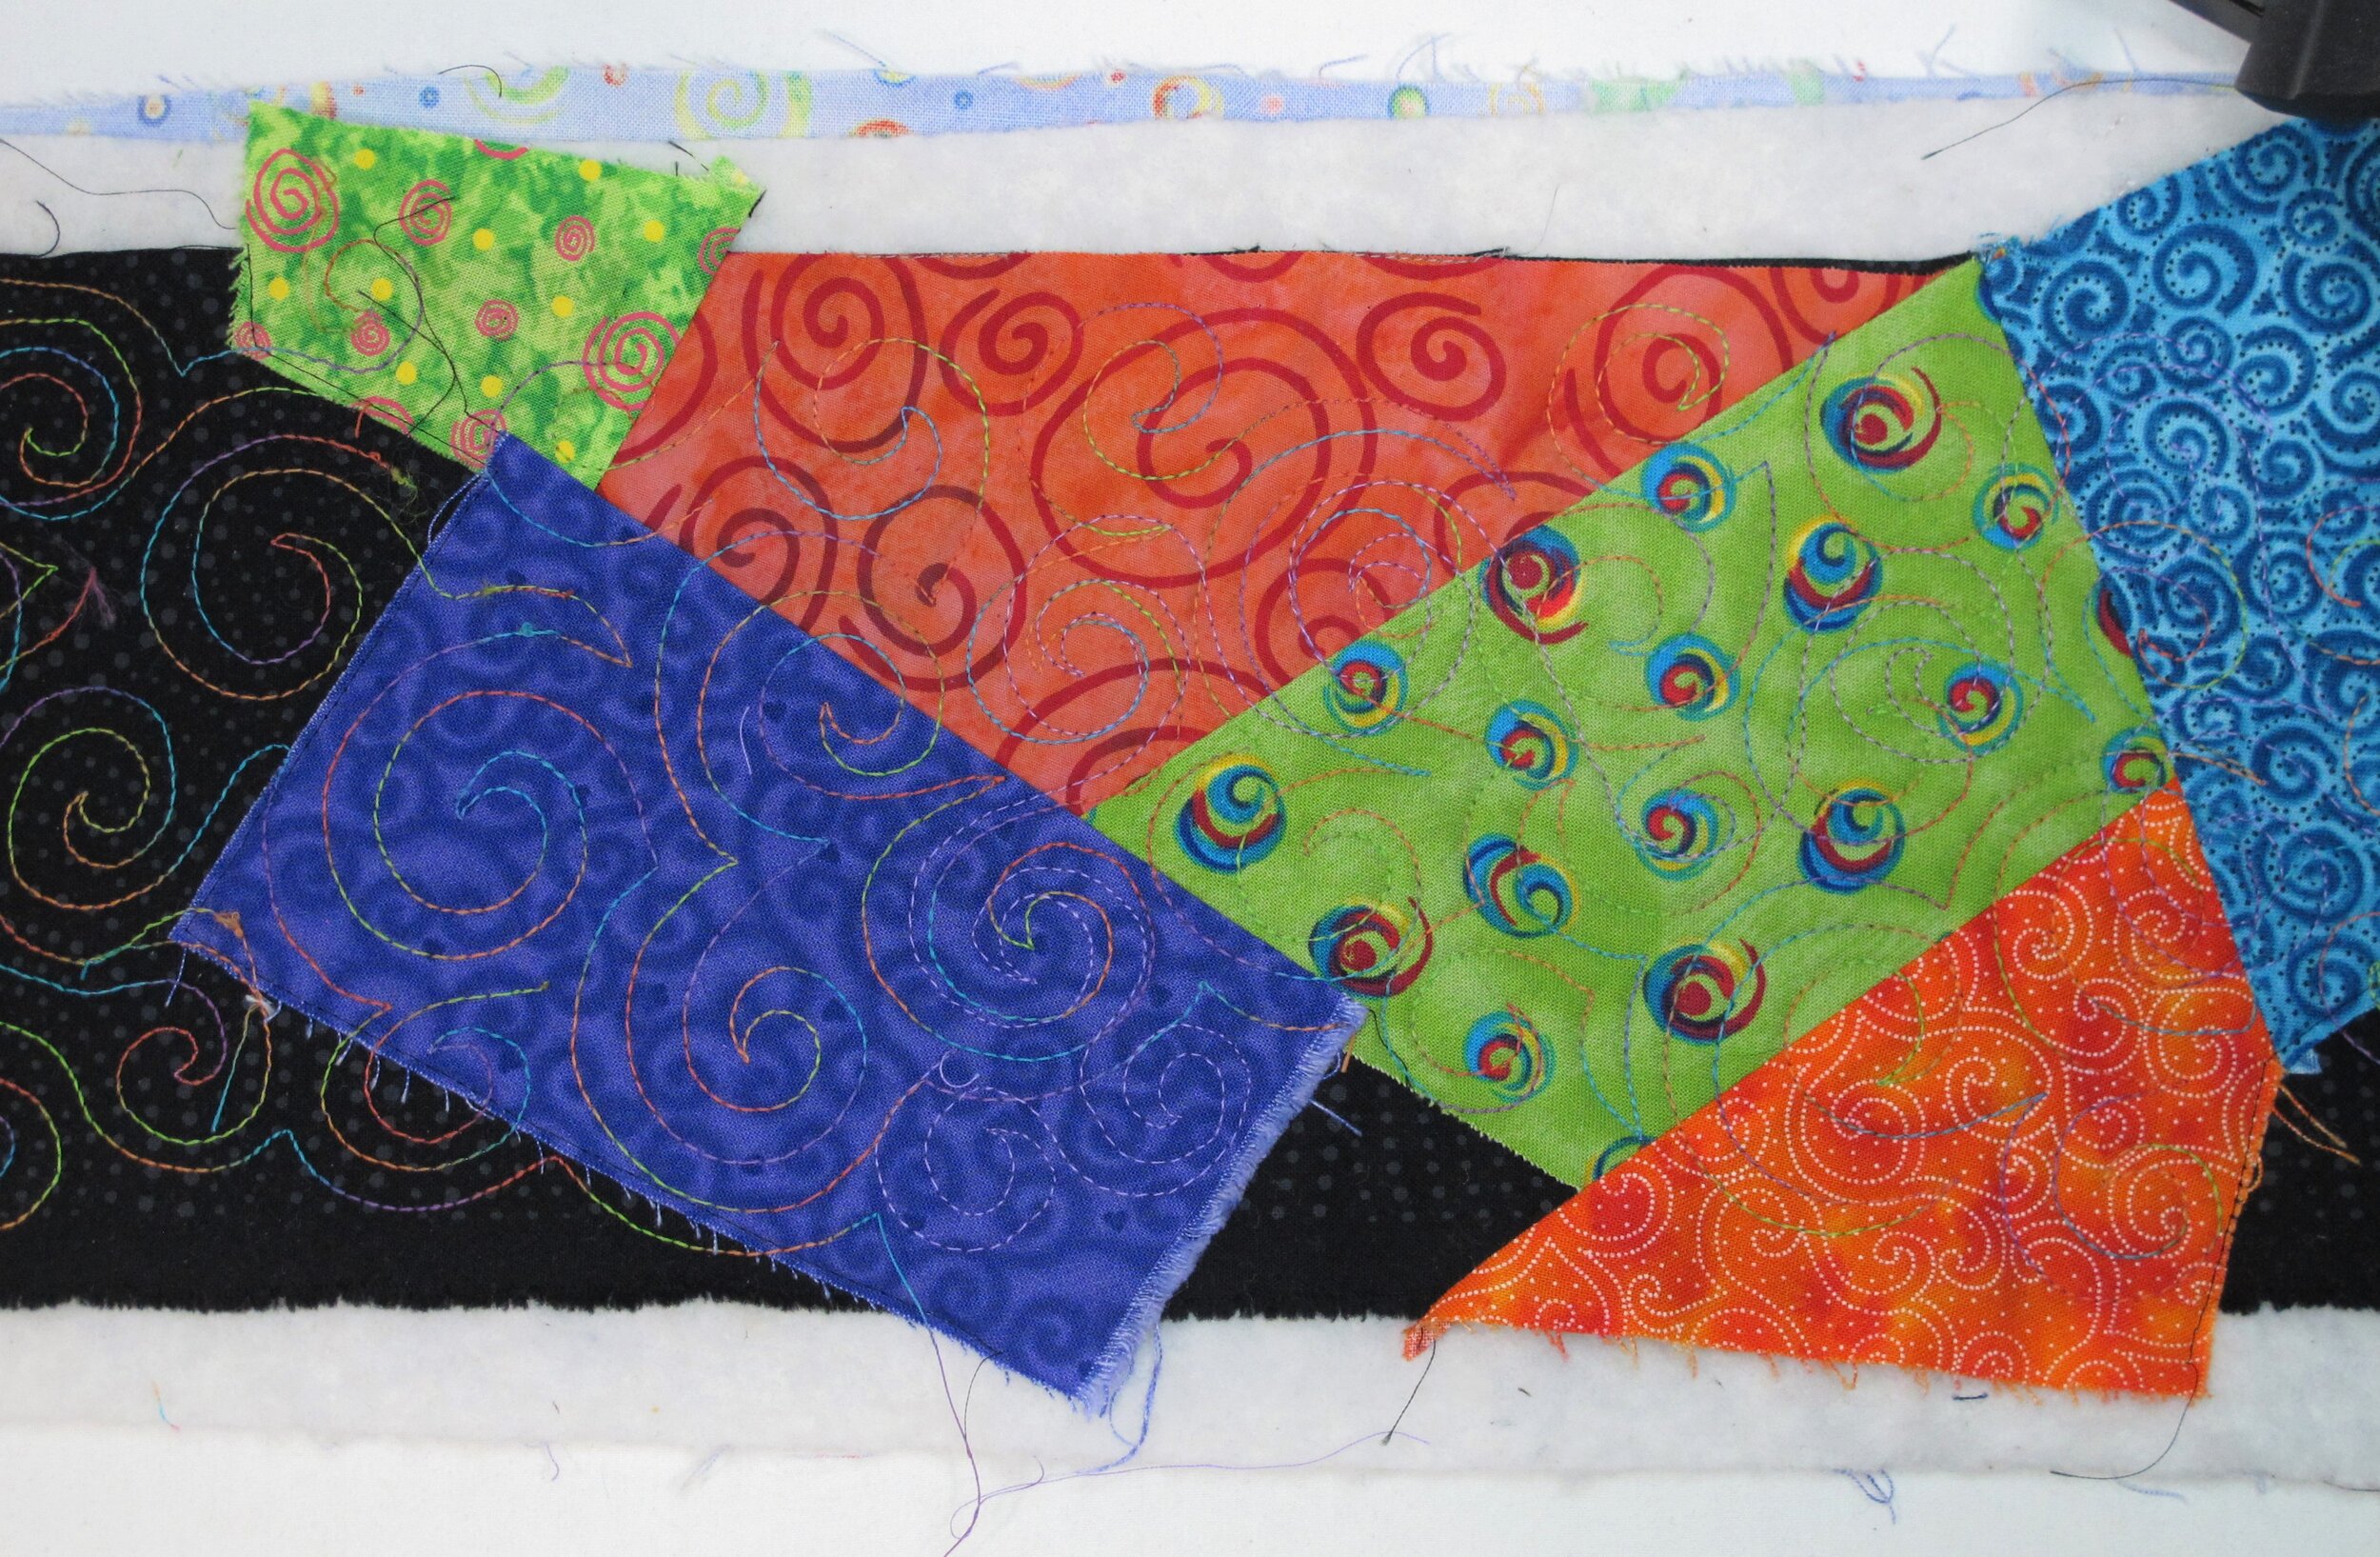
The piece was then layered, pin-basted and ready for free motion quilting. With most of my projects I put together a small sample with the fabrics, batting and backing used in the piece where I can test different threads and check thread tension (figure 19). I already knew that I wanted to use Wonderfil Silco variegated thread (colour SCM27) on the black spiral and wanted to experiment with it on the coloured fabrics as well. I found it to be too busy on the coloured fabrics so I went with Aurifil Mako 50 wt colour 2520 (violet) instead because it “blended” well with all the coloured fabrics and didn't stand out. It's hard to see in the photos, but it's there.
figure 18
figure 19
Every aspect of this quilt is a spiral...every fabric in the quilt has a spiral motif (even the back), the design itself is a spiral and the free-motion quilting is done in spirals. Hence the name “Spiraling Out of Control- An Ode to 2020”. I thoroughly enjoyed making this quilt. It challenged my skills in drawing, pattern making and problem solving, and by using my favourite colours and design motif, it also allowed me to design something that would forever remind me of the craziness that was 2020.
The black spiral represents the extreme hopelessness associated with Covid-19 with the alarming death toll, isolation, lost jobs, businesses going under and mental health issues associated with this terrible time. However, sacrifices made by health care workers, kindness of strangers, quality time spent with immediate family, newfound (or revisited) hobbies, and times of reflection are represented by the coloured spiral. Colour has been brought into our lives in spite of the negativity.

