
Can You Use Too Many Pins?
About a year ago my student, Maritta, sent an email with some topics that she would like for me to cover in future blog posts. I have already addressed a few of her concerns…recently about the “big bottom” easing method, and previously about dye transfer and proper pressing techniques…but this time she has a question about pinning.
In her own words, “Can you put too many pins in a quilt when pinning it? Is there a downside? On my Atomic Starburst quilt I doubled the amount of pins from my Ohio Star quilt and I found it was so much easier to sew and worked out better overall. Then I thought, should I put even more in or is there no point?”
To answer Maritta’s question…it depends. I know that may not be the answer that you were looking for, Maritta, but it really does depend on what pieces you are sewing together. As for your Atomic Starburst, you did the right thing. This type of seam, with many seams intersecting at the same spot, needs extra attention and definitely more pins, in order for the seams to meet properly. A lot of the difficulty for seams like this is that the seam allowance becomes very bulky. In this circumstance it is recommended that instead of pressing seams to one side like we normally do with our quilting, it is better to press seams open. Then there is less of a fight when putting the seams together because the bulk is somewhat reduced.
When stitching together the components for quilt blocks, I rarely pin unless I am working with bias or curved edges like the Drunkard’s Path. Usually this is because the “pressing to one side” rule comes in handy because seams are going in opposite directions, therefore they are nesting when being stitched together and the bulk is distributed evenly. If pinning your patchwork makes it easier and more precise for you, then by all means, do so. This hobby is so incredibly personal…your choice of tools and techniques are there to make your quilting journey more enjoyable and fulfilling. Also, if you’re a beginner, pinning makes so much sense until you gain the confidence for sewing with fewer pins or without them altogether.
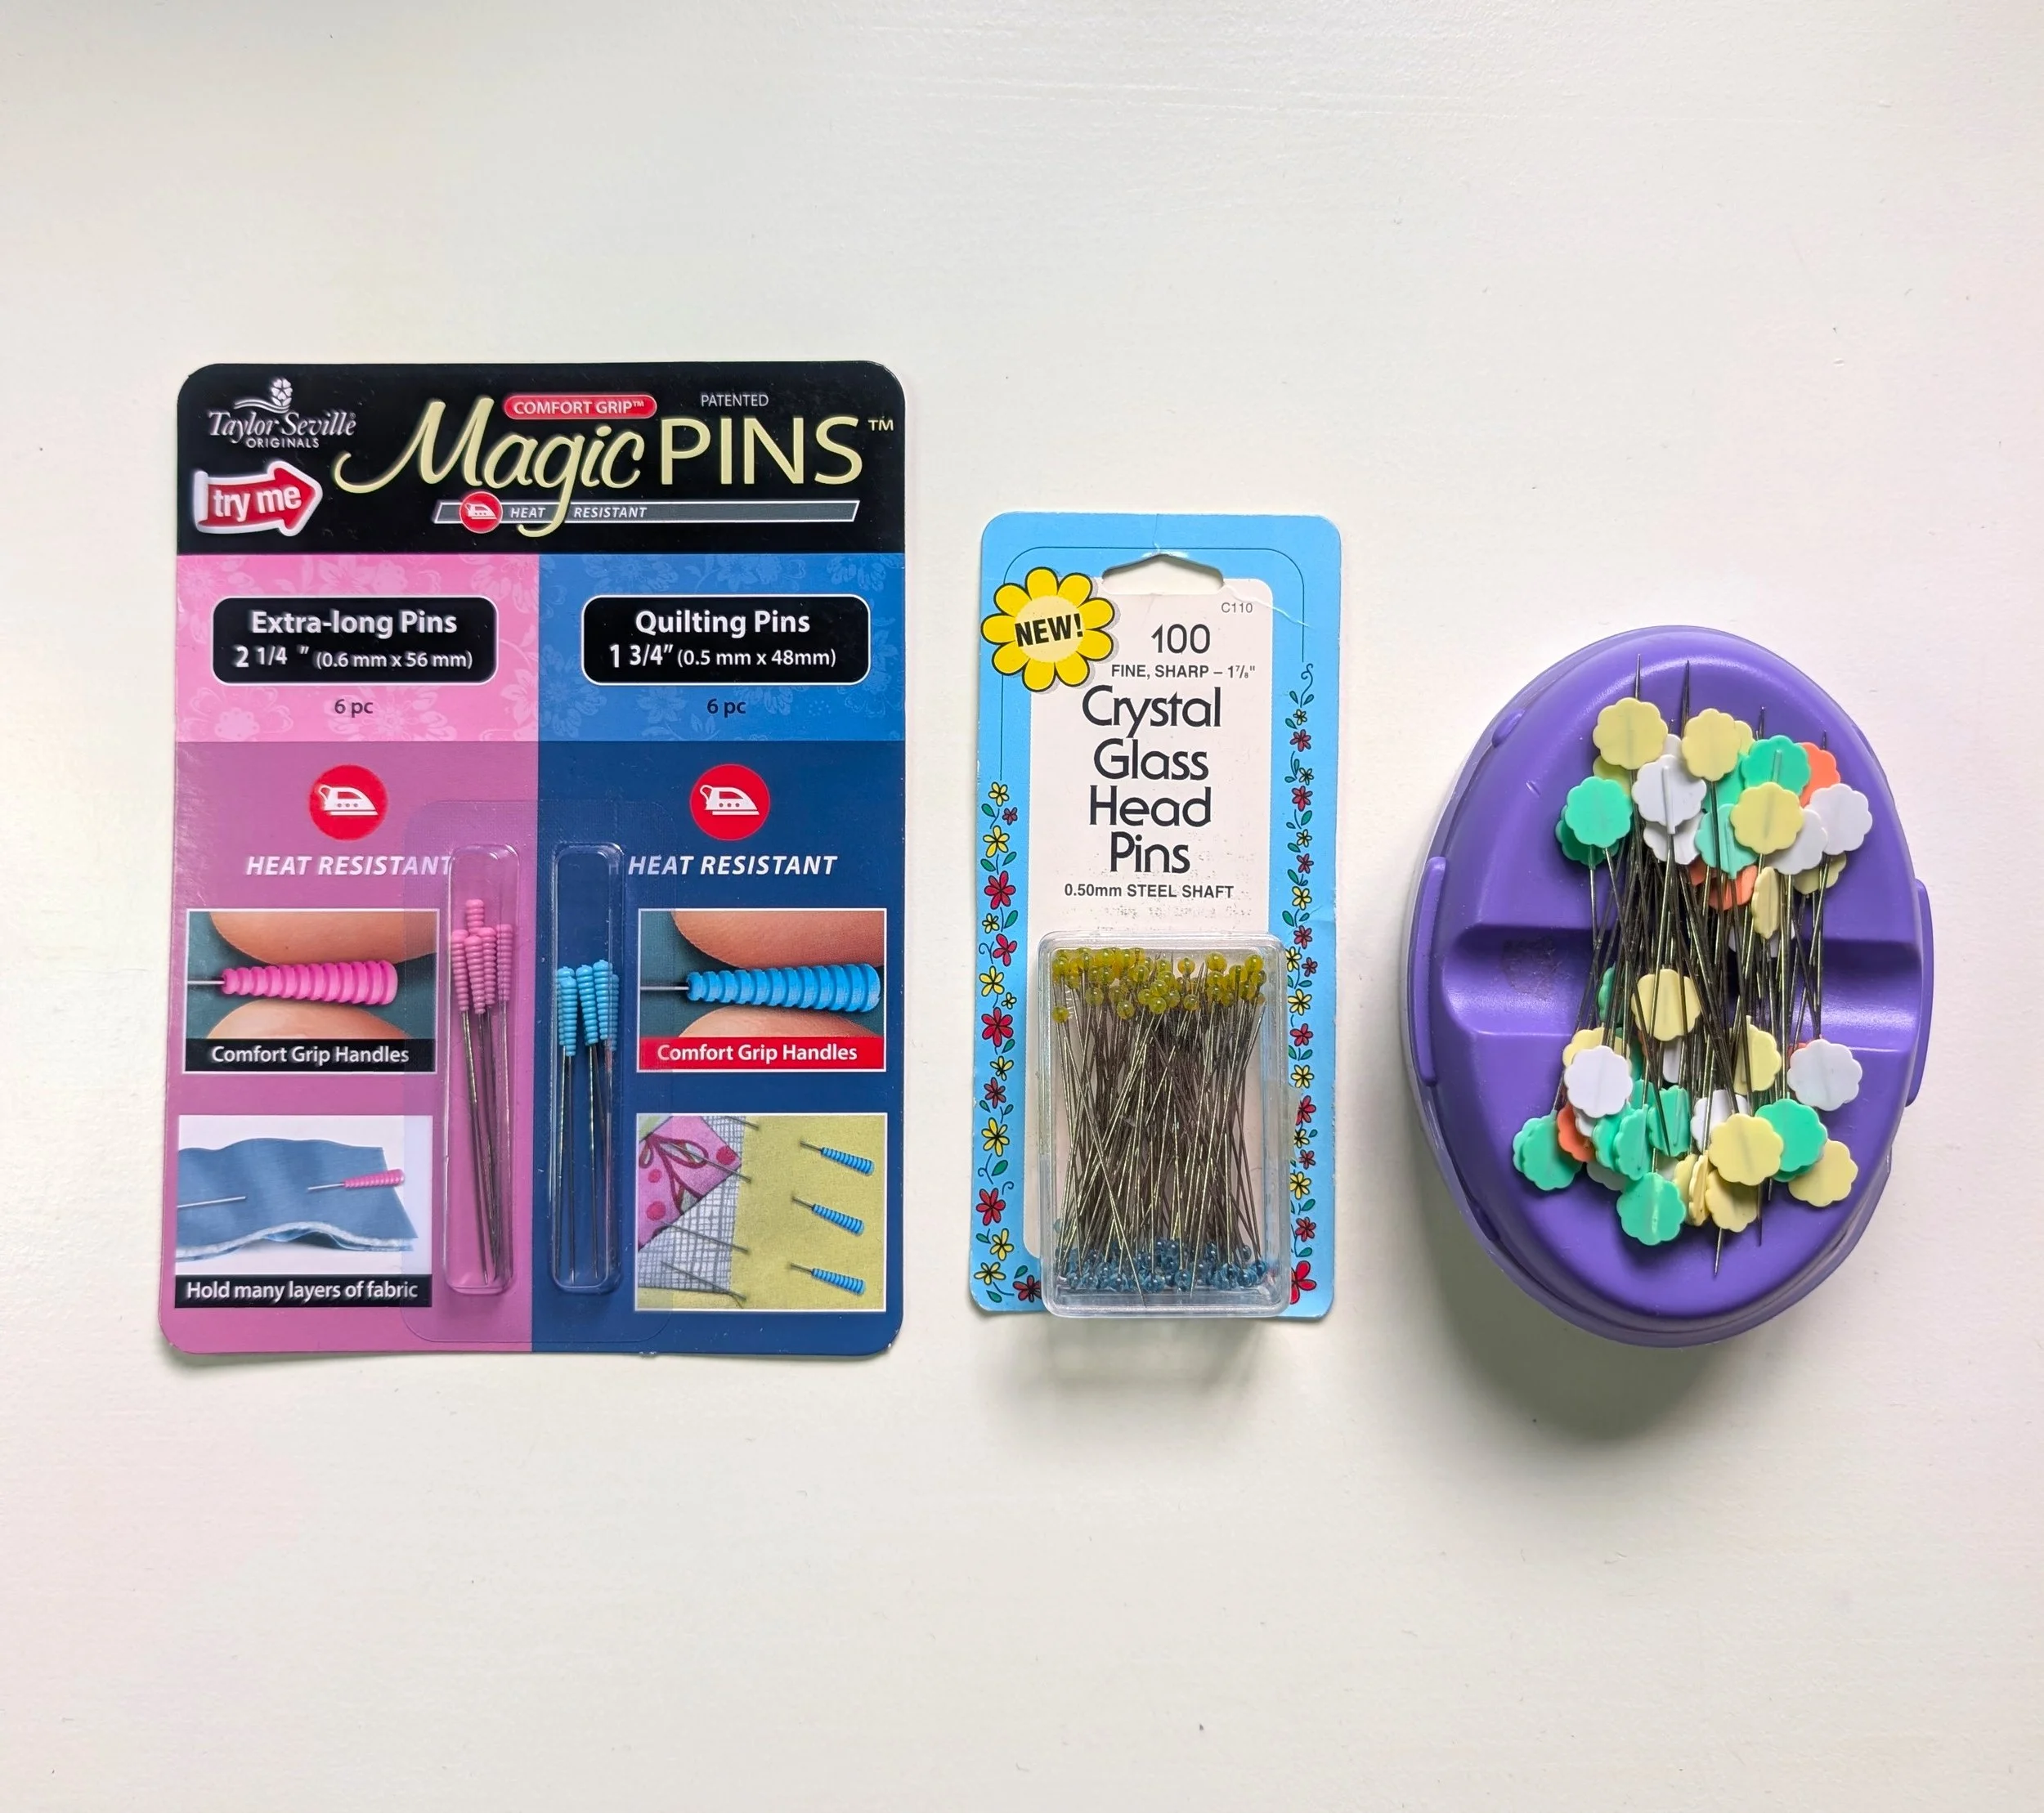
left to right: Magic Pins, glass head pins, Clover Flower Head pins on a magnetic base
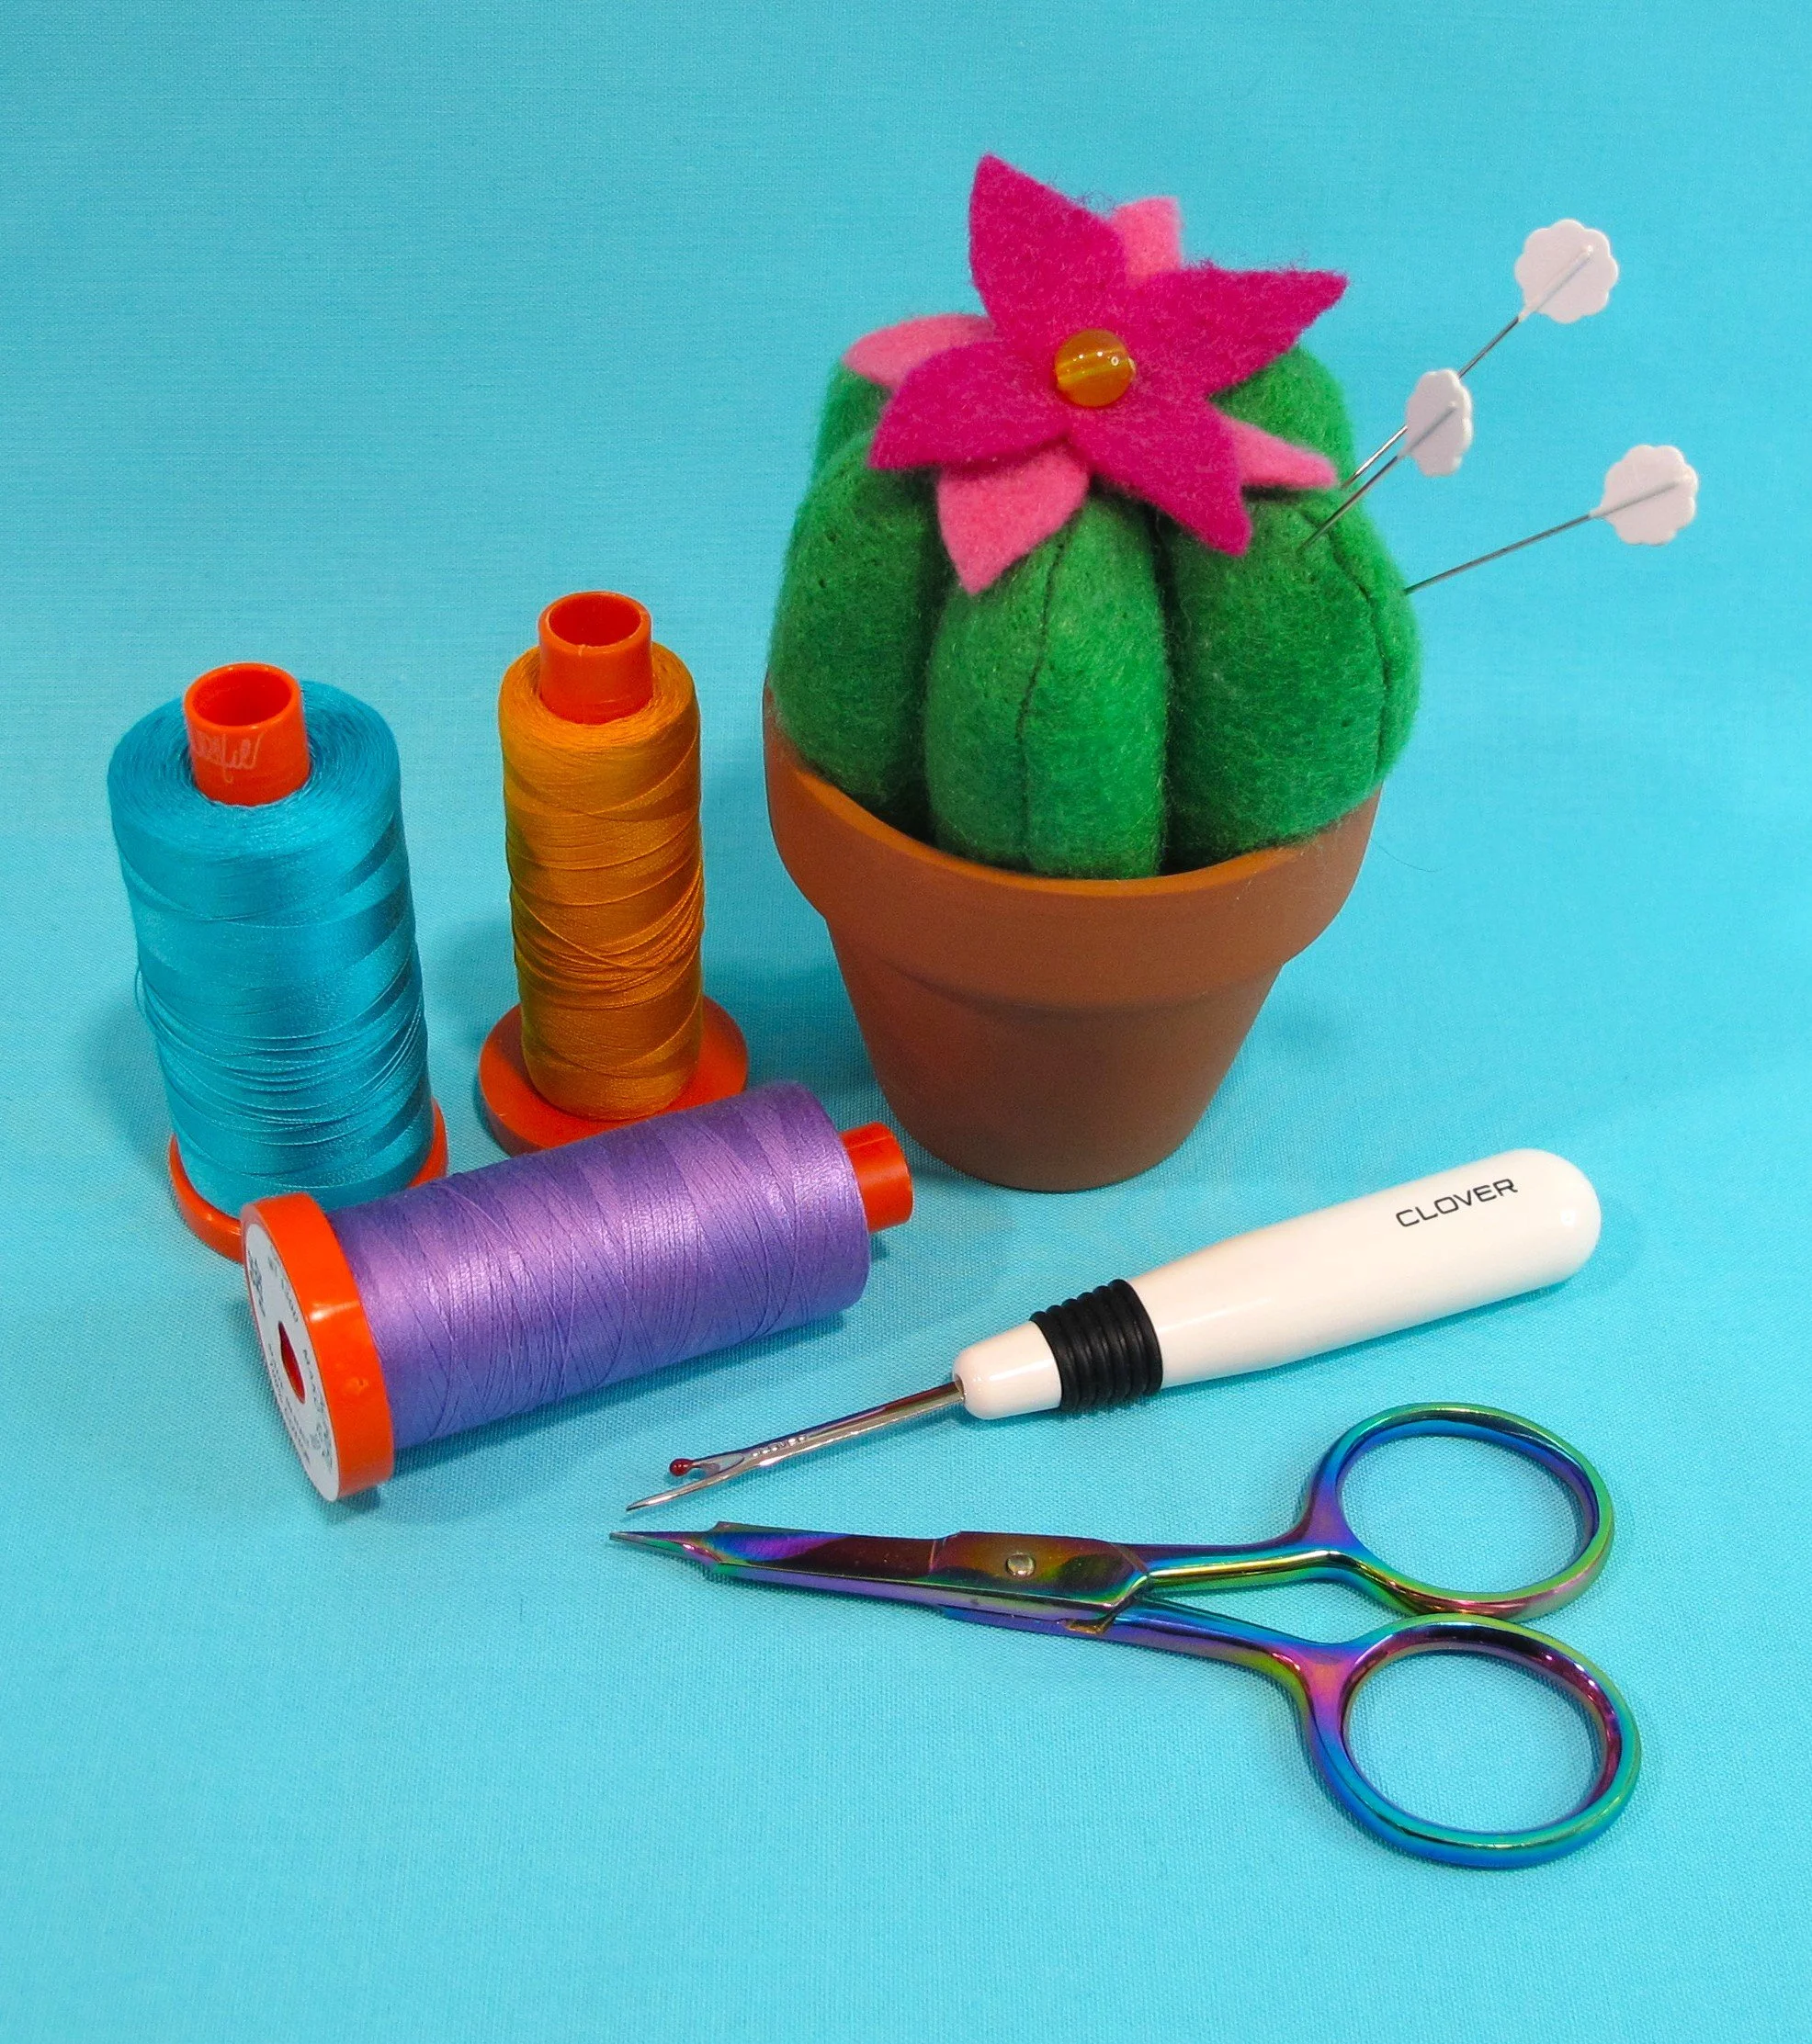
What type of pins should you be using for your patchwork? There are so many to choose from that it may be confusing so I’ll give a few options that I personally like and a couple that I find kind of annoying.
The ones I use the most are Clover Flower Head Pins. I like the sharpness of them and they’re nice and long for pinning extra bulk. Also, a ruler can be placed over top of them for holding extra fabric layers together while cutting with a rotary cutter without wobbling around like pins with round heads. Be careful of the iron though…if things are pinned together and then pressed, the head of the pin can melt. Ask me how I know!
Another type of pin that I have been using regularly are the Magic Pins by Taylor Seville. They, too, are long and sharp like the Clover brand, but unlike the Flower Head pins they are heat resistant. And I love how easy they are to grip and pick up as I’m working.
Many sewing shops sell Dritz, Prym and Clover brand pins and the Clover brand crystal glass head pins were very nice to work with when I tried those. The Collins brand pins in the photo were gifted to me so I have not yet tried them, but they are similar in appearance to the other brands. Ultimate Sewing Centre also carries the Clover Fork Pins which are great for pinning on both sides of a seam at the same time as they have two prongs. Please note that they are very easily bent so take your time when using them. These might be a great option for you Maritta…especially when working with star centres.
Now, for the pins that I personally do not like, again, for a very personal reason. I have large hands and I find the traditional dressmakers pins do not work for me because I have a hard time grabbing the pin itself due to the small flat head. These are definitely great for garment sewers as they are fine (thin) and come in large amounts. So if you have smaller, more delicate hands, then they will probably work just fine for you.
Also, please, please, please do not buy sewing pins at the dollar store as the quality is usually poor. They often have tiny burrs on them because they have not been polished properly. These burrs can catch on your fabric and can cause runs or holes. You’ll know if a pin is defective…it doesn’t glide through the fabric easily and catches the fibres. Every so often, even a good quality set of pins may have one or two pins in the package that have this problem, but it is rare. If this does happen to you, just take that pin out of circulation. Once or twice I have even come across a pin that didn’t have the sharpened point at all…the end was totally flat as if the piece of metal was lopped off instead of sharpened.
There are also special pins made for specific jobs or fabrics. Silk pins are specifically meant for silk and other slippery, fine fabrics because they are incredibly fine and glide through fabric layers easily. Applique pins are great when hand-stitching appliqued shapes onto the base fabric. They are much shorter than most pins and have an elongated head instead of a ball tip so the thread doesn’t easily get caught around the head of the pin when hand stitching.
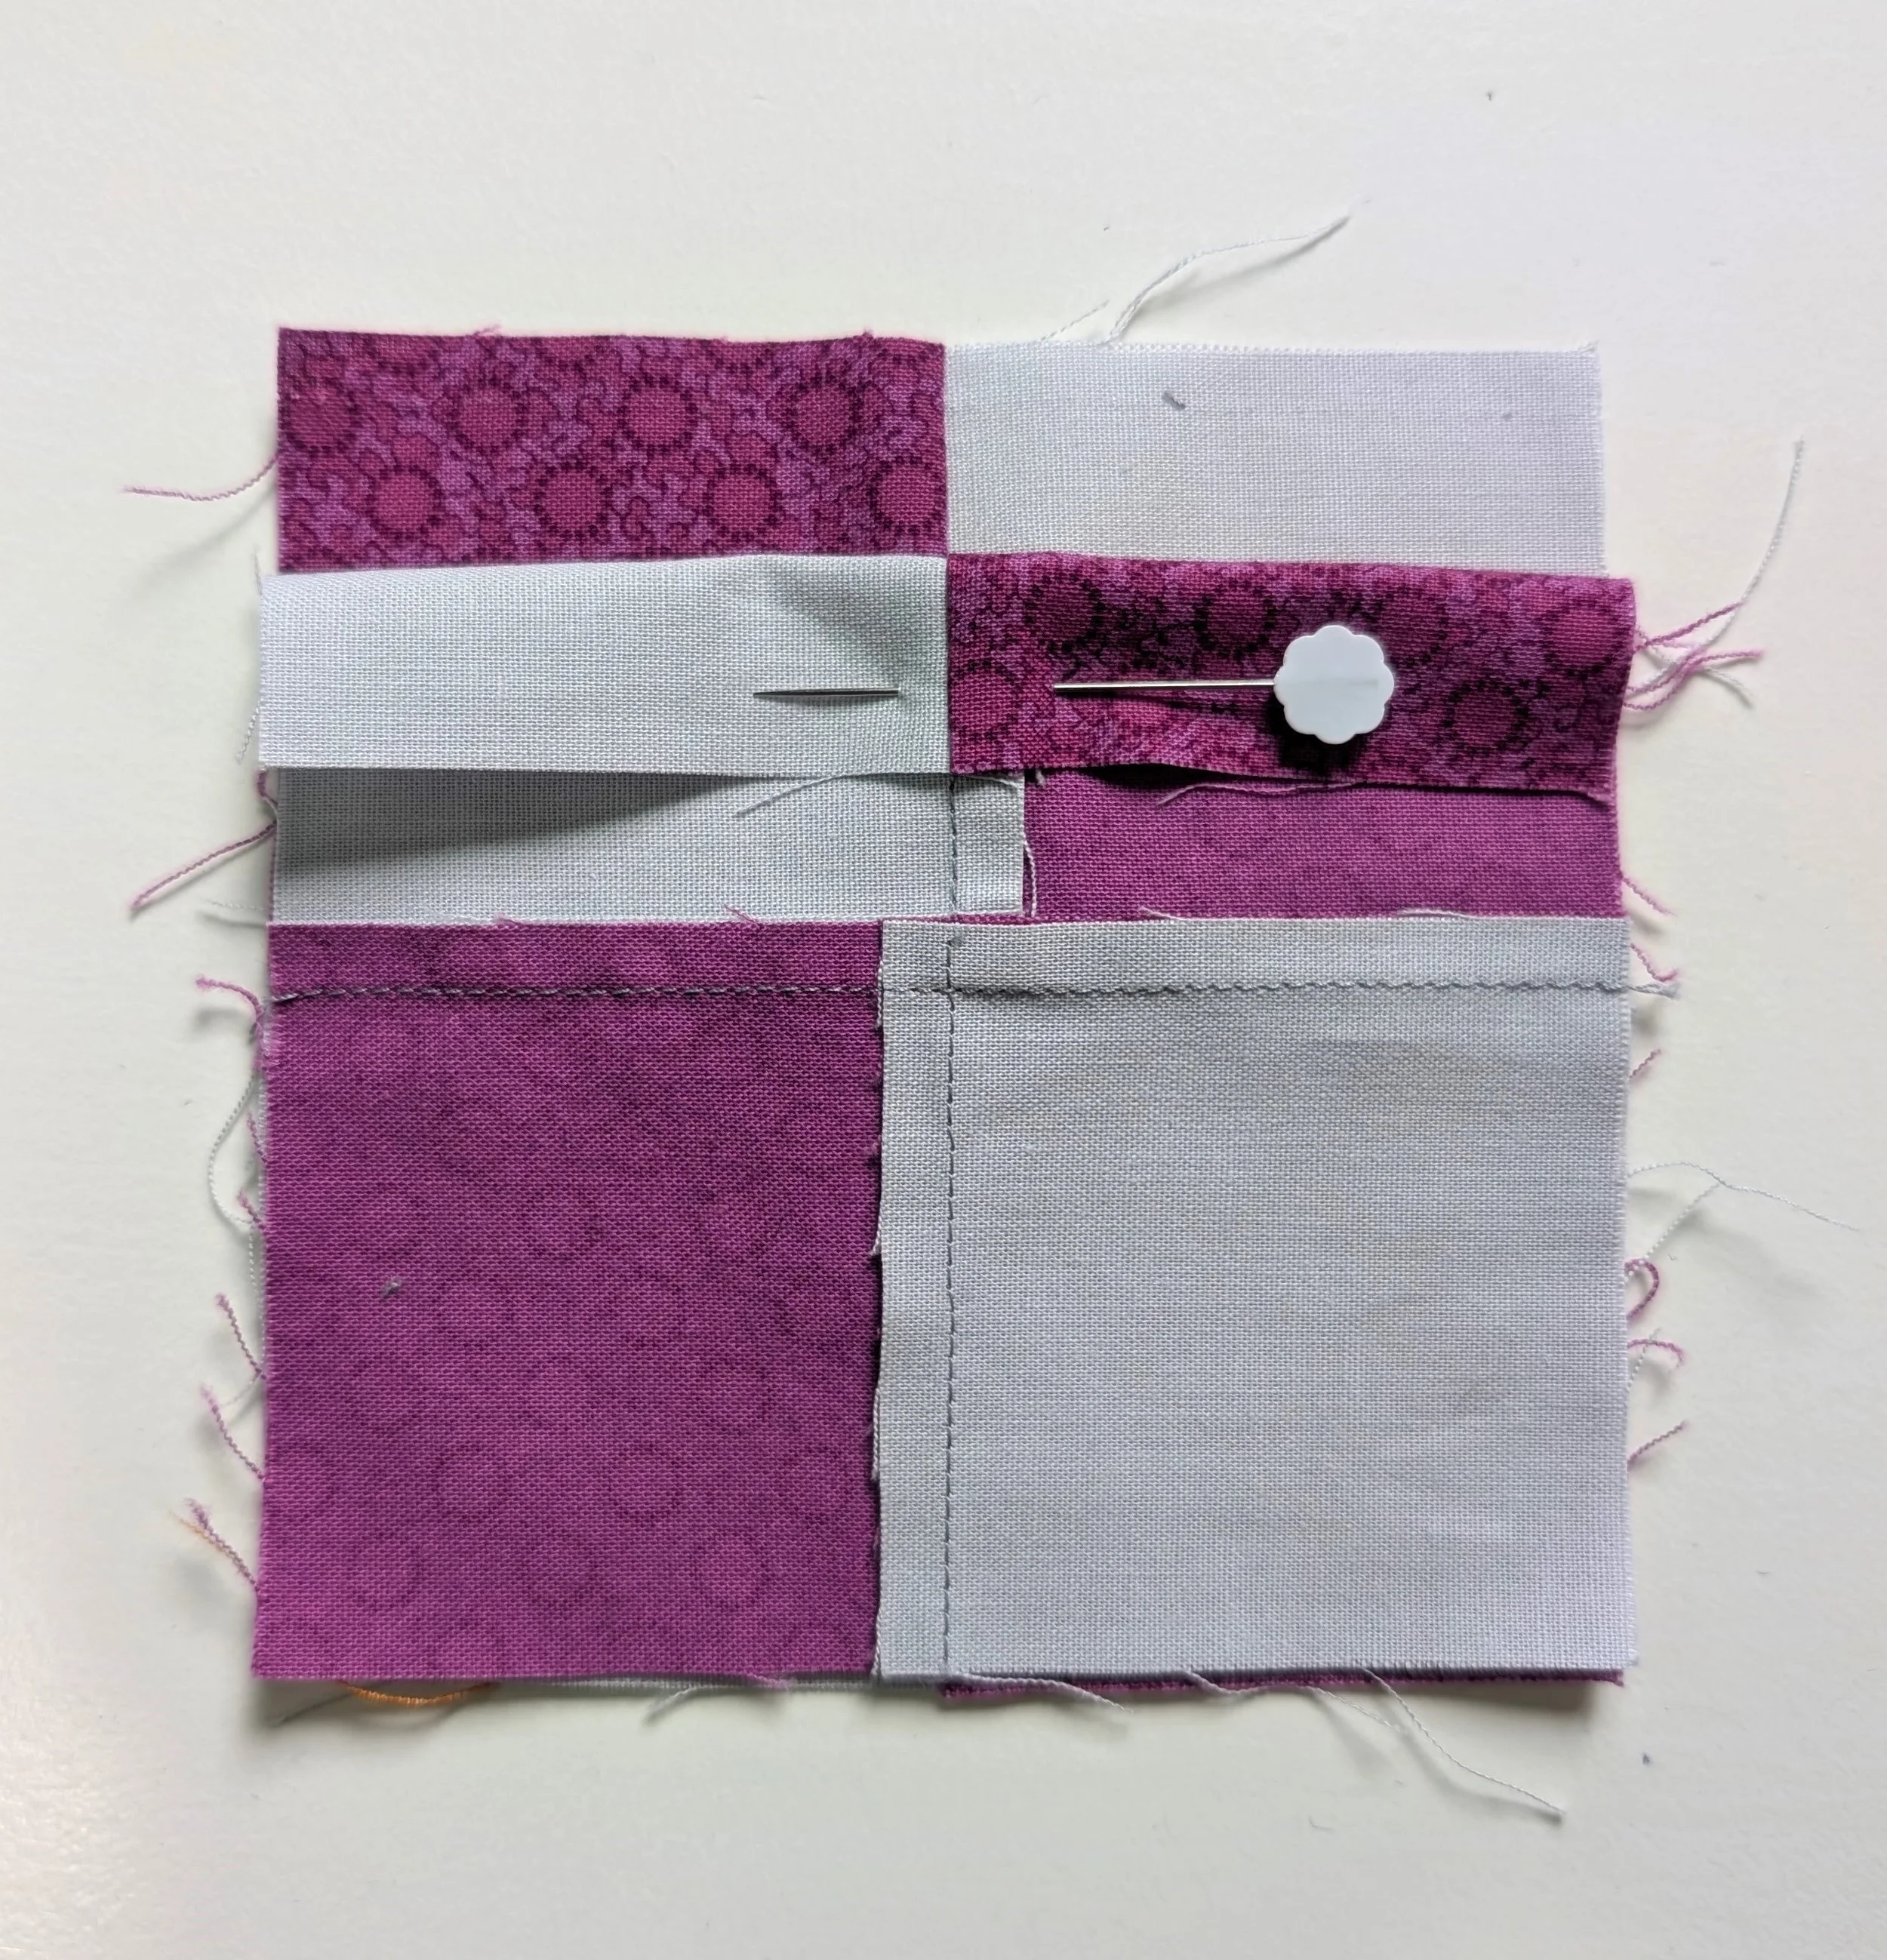
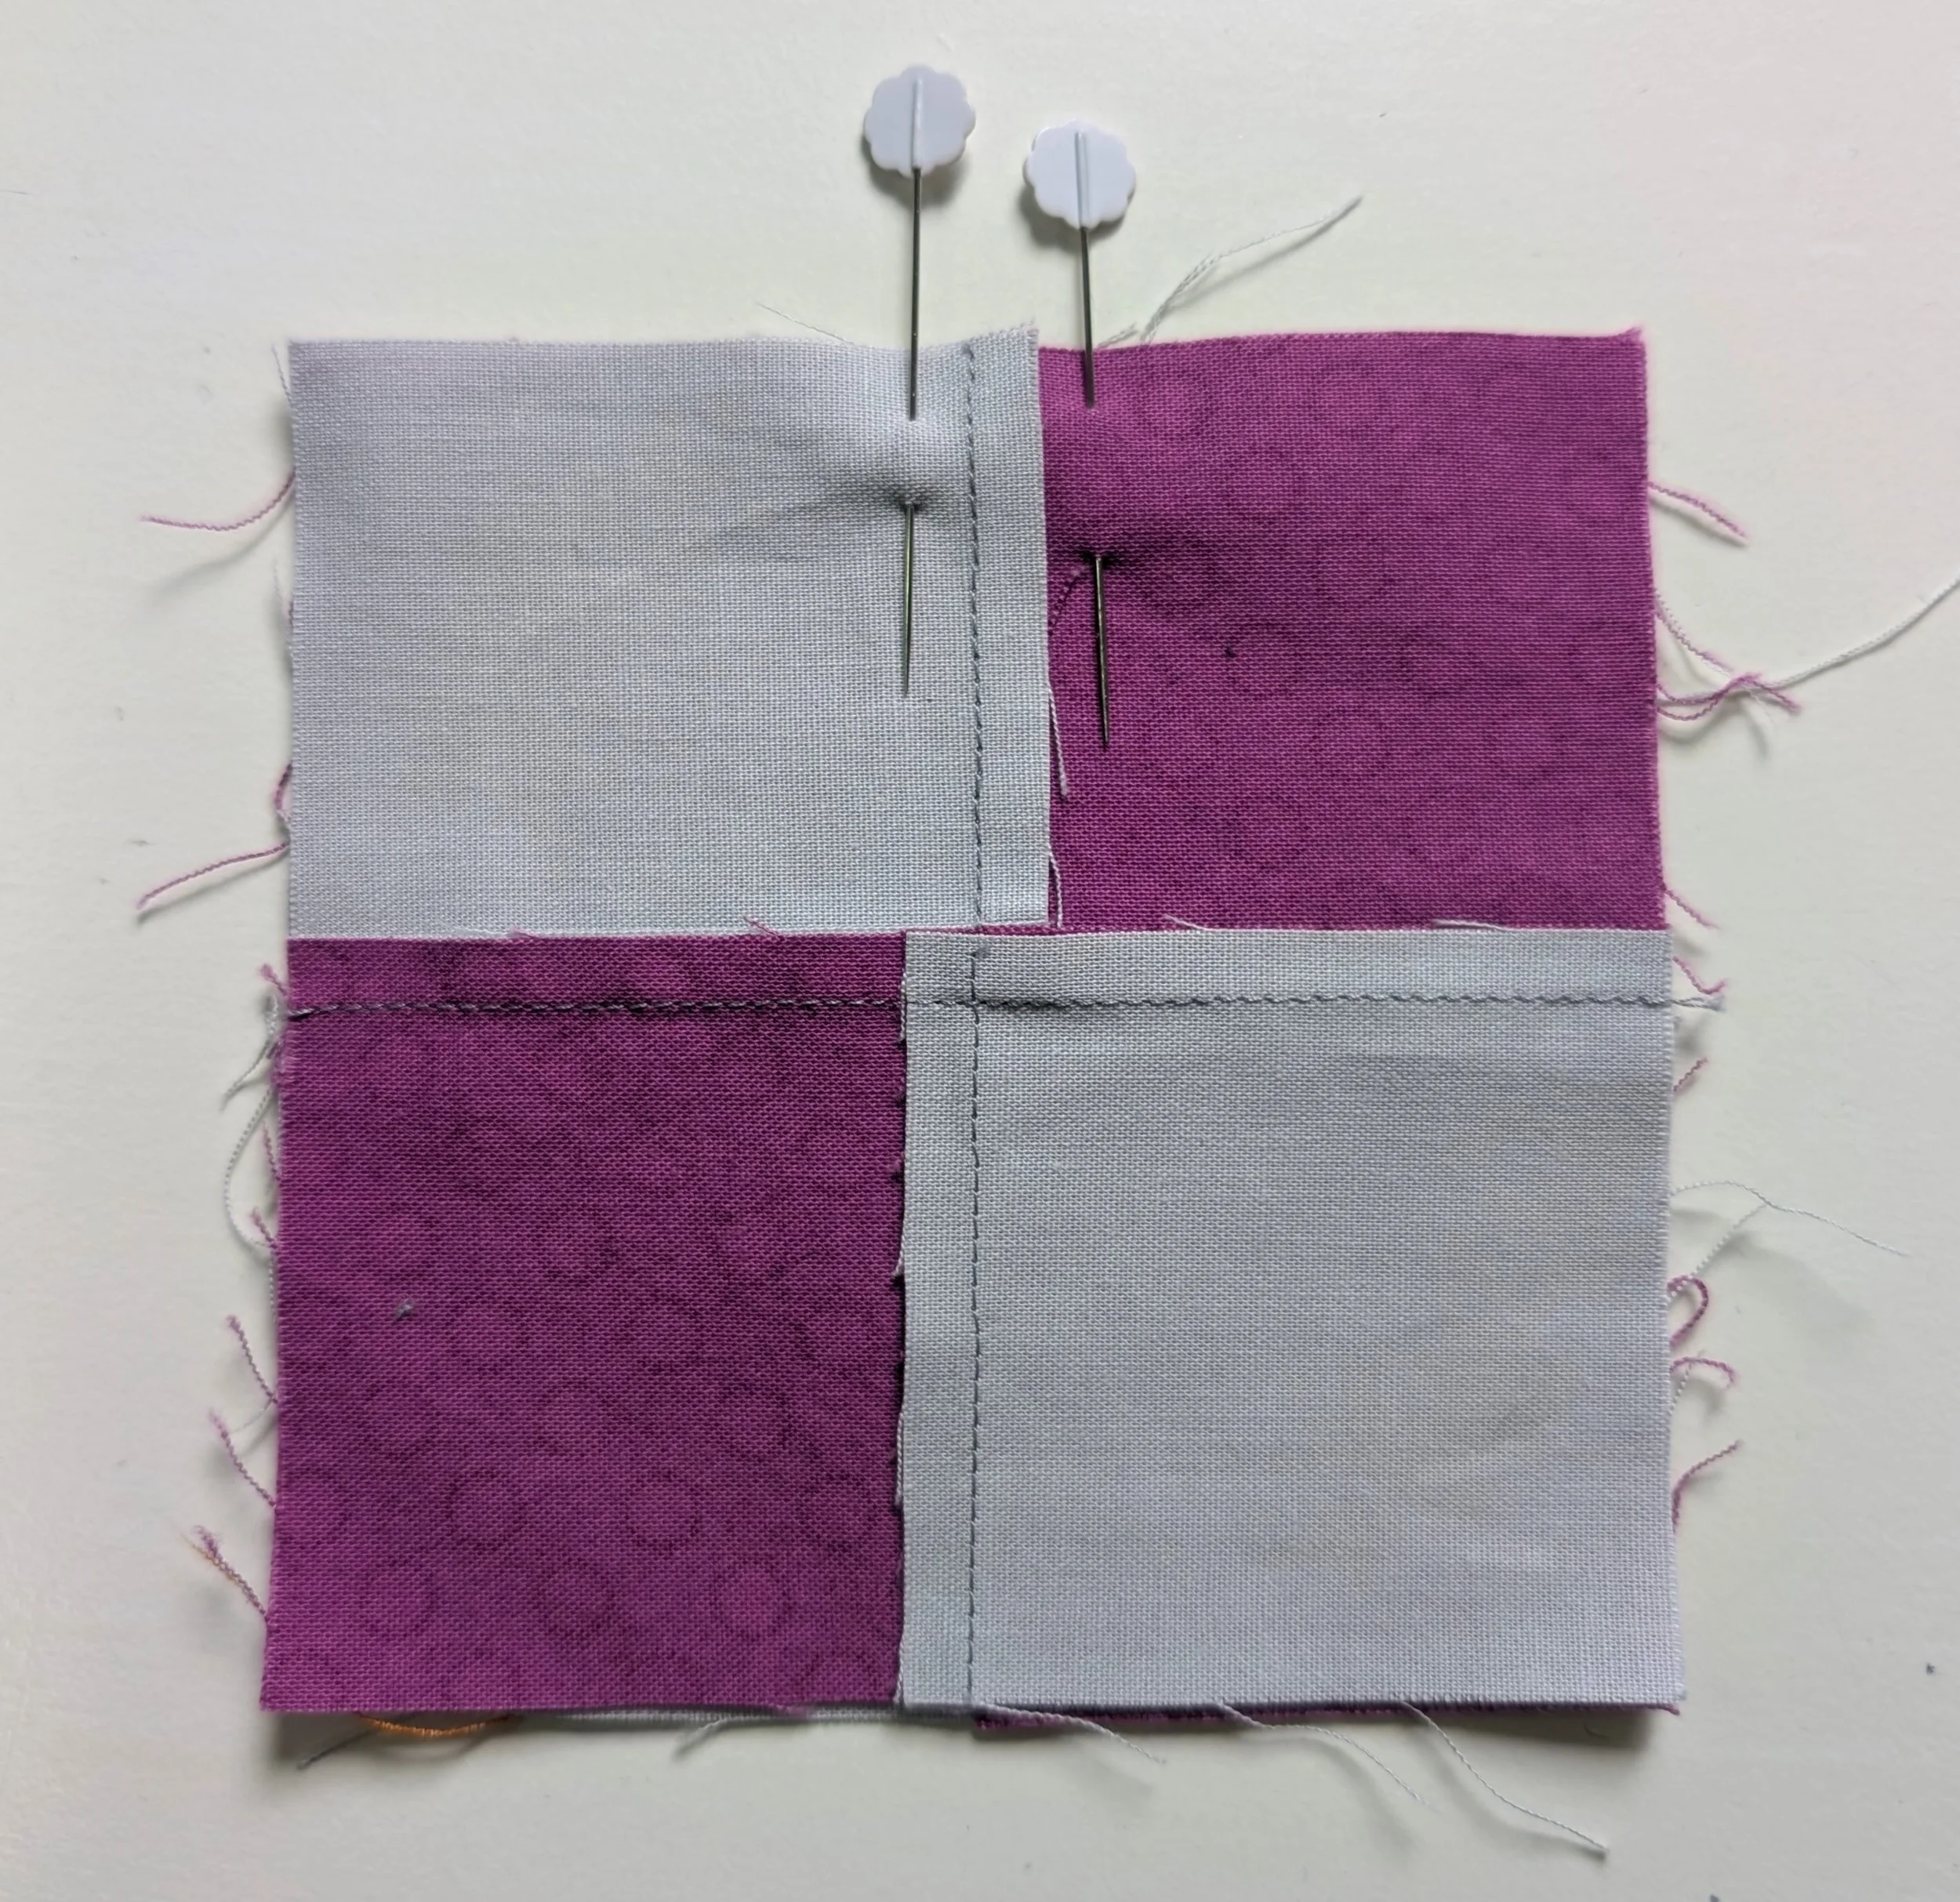
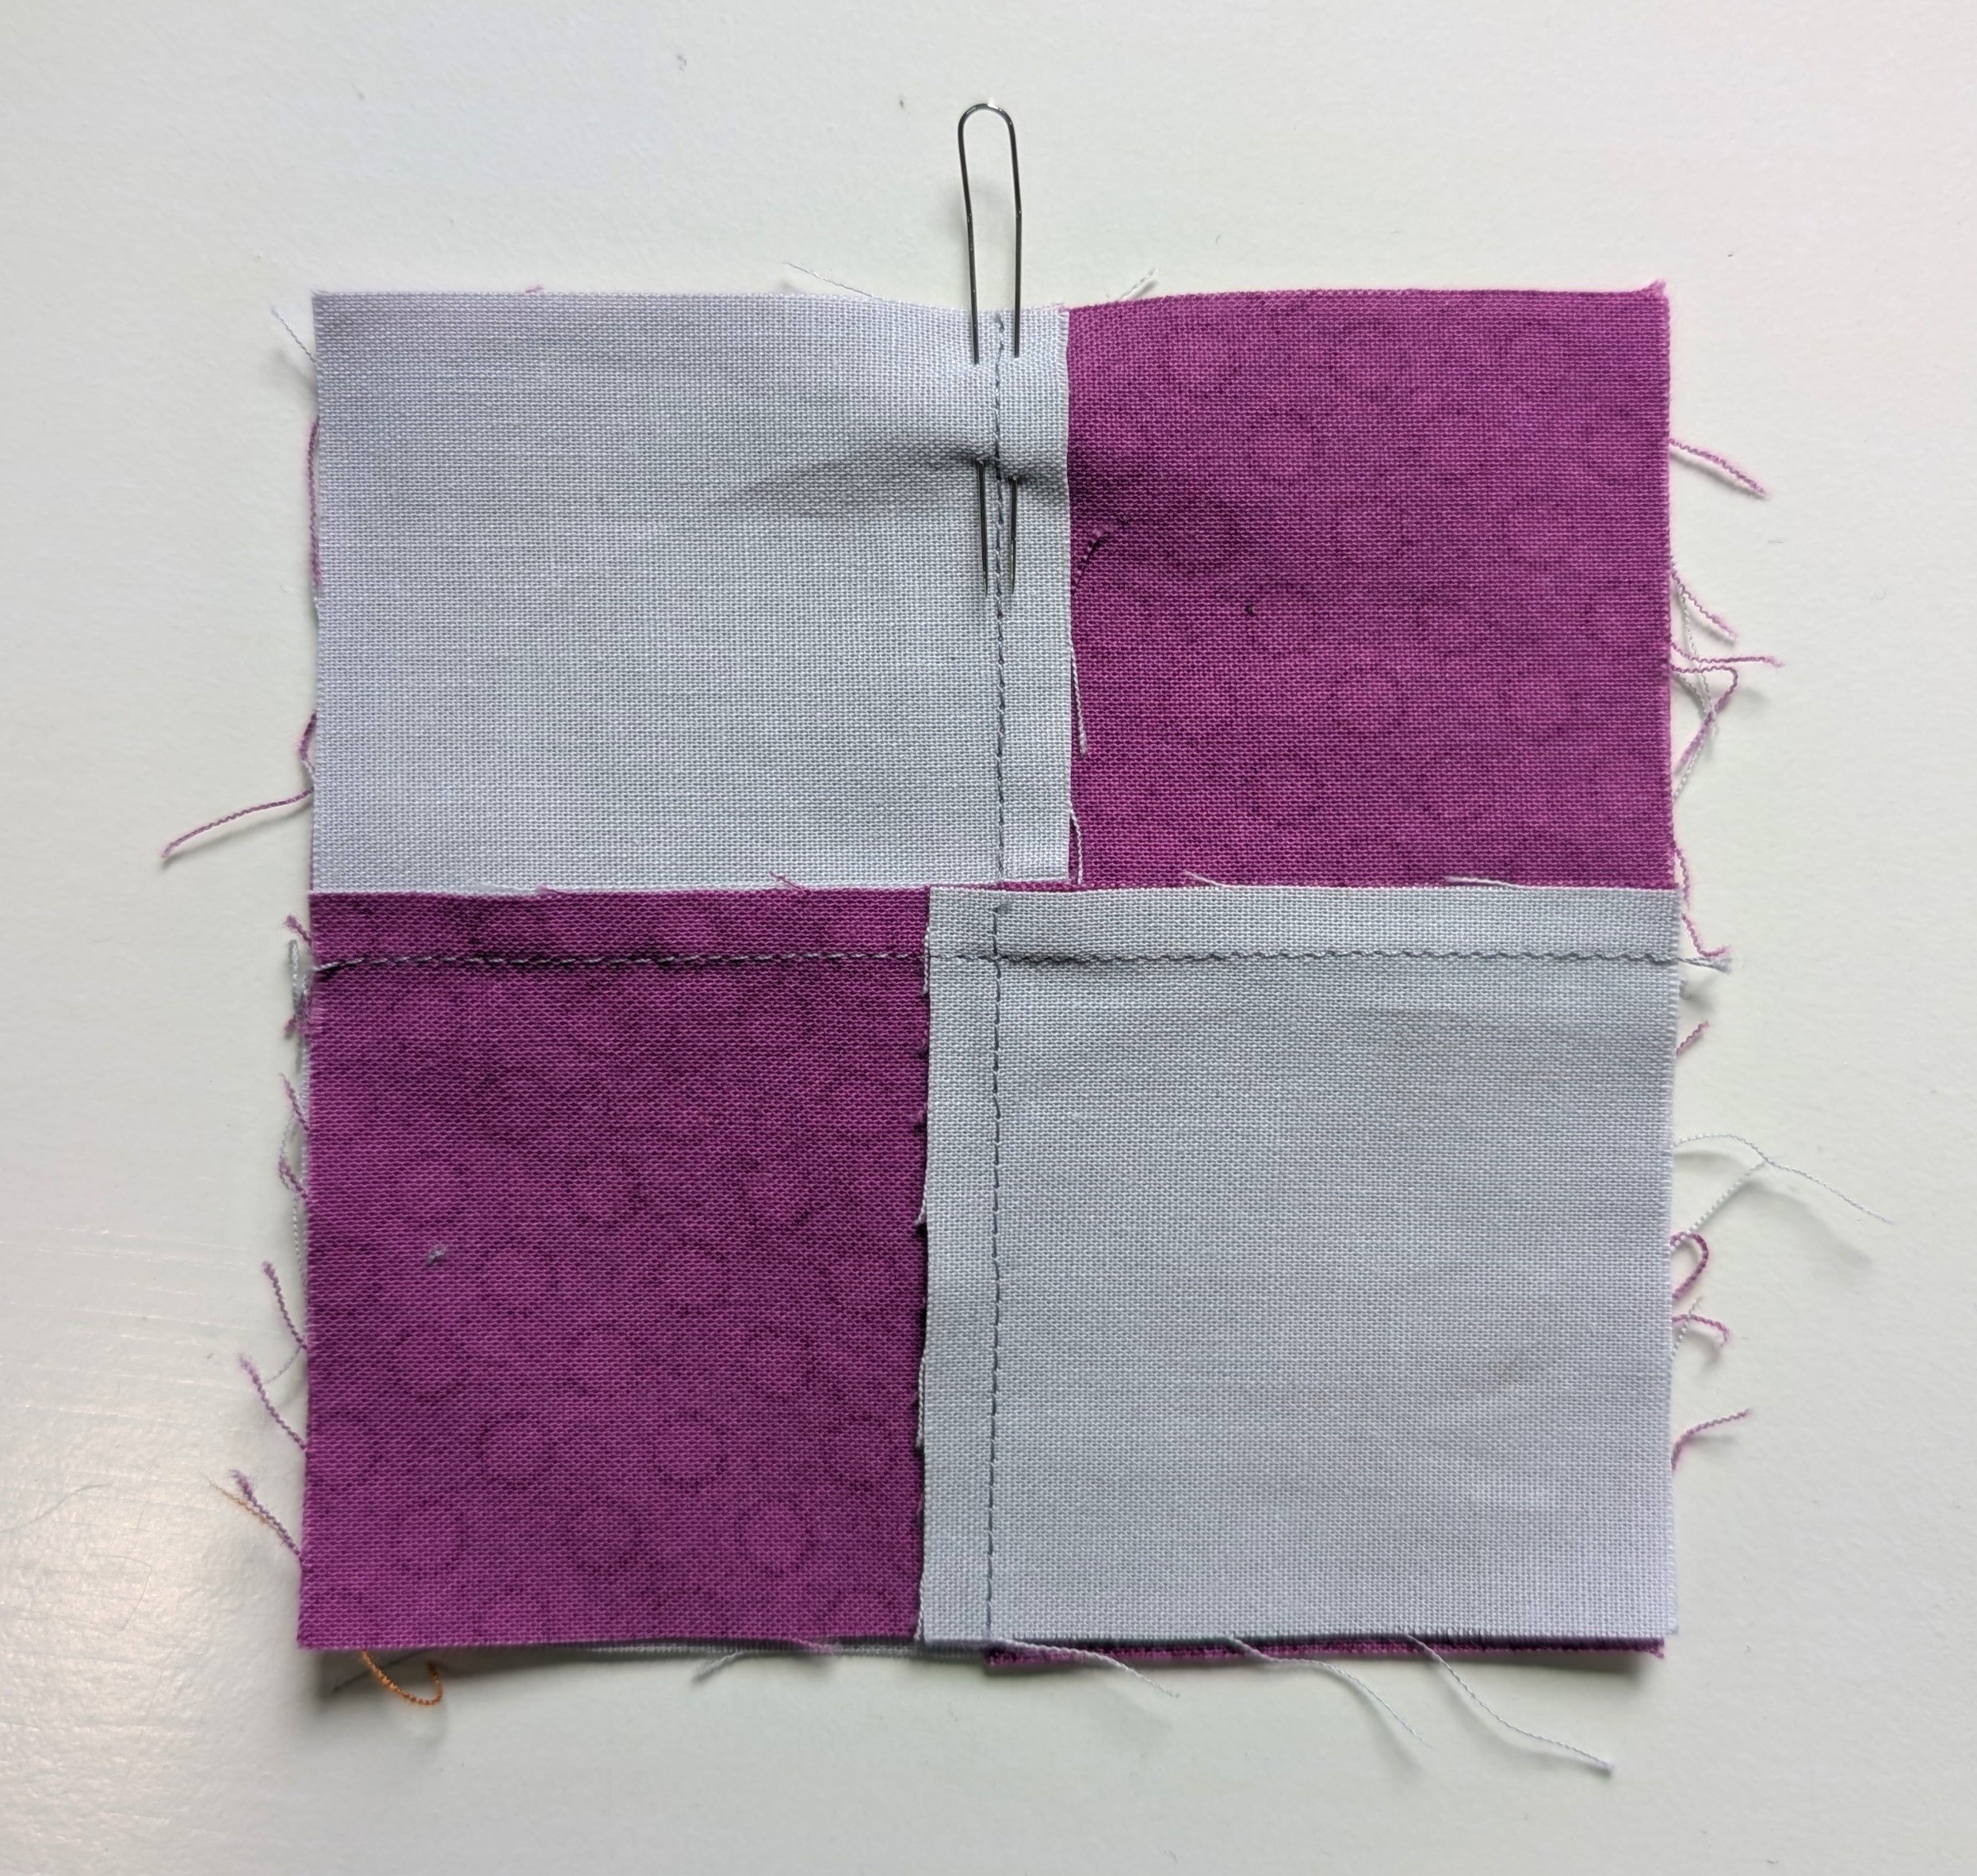
Below I have pinned together a couple of 4 patches that I had lying around to show you. In the first photo the square is pinned back to show how the seams are nesting. In a case like this I personally would not even bother pinning these together, but I do hold the tip of a pin on the fabric as the seams goes through the machine. It just holds it in place so it doesn’t shift. Some quilters use an awl for this job instead of a pin. For those of you who like to pin seams, you can use either one pin only or one on each side of the seam as in the second photo. The third photo shows the forked pin in action.
OK…I’m probably going to get a little bit of push-back on this topic. I don’t care what your grade 8 home-ec teacher told you (again, showing my age)…do not sew over pins!!! Back in the olden days all sewing machines were the heavy duty, all metal, mechanical machines and could probably take it, even though they shouldn’t have. Today’s electronic/computerized machines are a little more delicate and it could be a big problem if you sew over a pin and accidentally hit it with the needle. That needle can either break and the bits can go into the machine (or your eye!), or the needle can deflect and hit the bobbin case. Sometimes this can result in messing up the timing of the sewing machine, which is the synchronized movement of the top thread looping around to pick up the bobbin thread to form the stitch. If the needle hits the bobbin case, it can result in burrs on the plastic that can shred the thread as it passes around. If you must sew over a pin because it’s holding a couple of crucial seams together, then stop just shy of the pin and use the hand wheel on the right of the machine to bring the stitch forward very slowly making sure that the machine needle doesn’t hit the pin.
Like I said before, I use pins rarely, but when I do it’s when making something a little more involved, like star points, curved seams and when stitching on long borders. Sewing without pins is a skill that comes with having sewn for over half a century…OMG…I just now realized how old I am! LOL. Someday you might get there too, but if pinning sections together makes the job easier for you when sewing, then go for it! There is no right or wrong, just what works for you.