
A Tour of My Sewing Room
Thanks so much for all the emails and compliments about my sewing room. It didn't always look this good. For more than 30 years I made do with hand-me-down storage, an old office type-writer desk for my sewing machine table, a regular old ironing board and terrible lighting. I'm sure many of you can relate.
When we moved into our current house in 1997 I called dibs on the only basement room with a proper window. It was a really decent size (10' x 14') and I knew it would be perfect for my sewing room, but with young children I also knew it would be a very long time before it became my dream sewing room. For many years I still made do with the furniture I had and the painted concrete floor. About 10 years ago I started, bit by bit, to accomplish the plan that I had in my head.
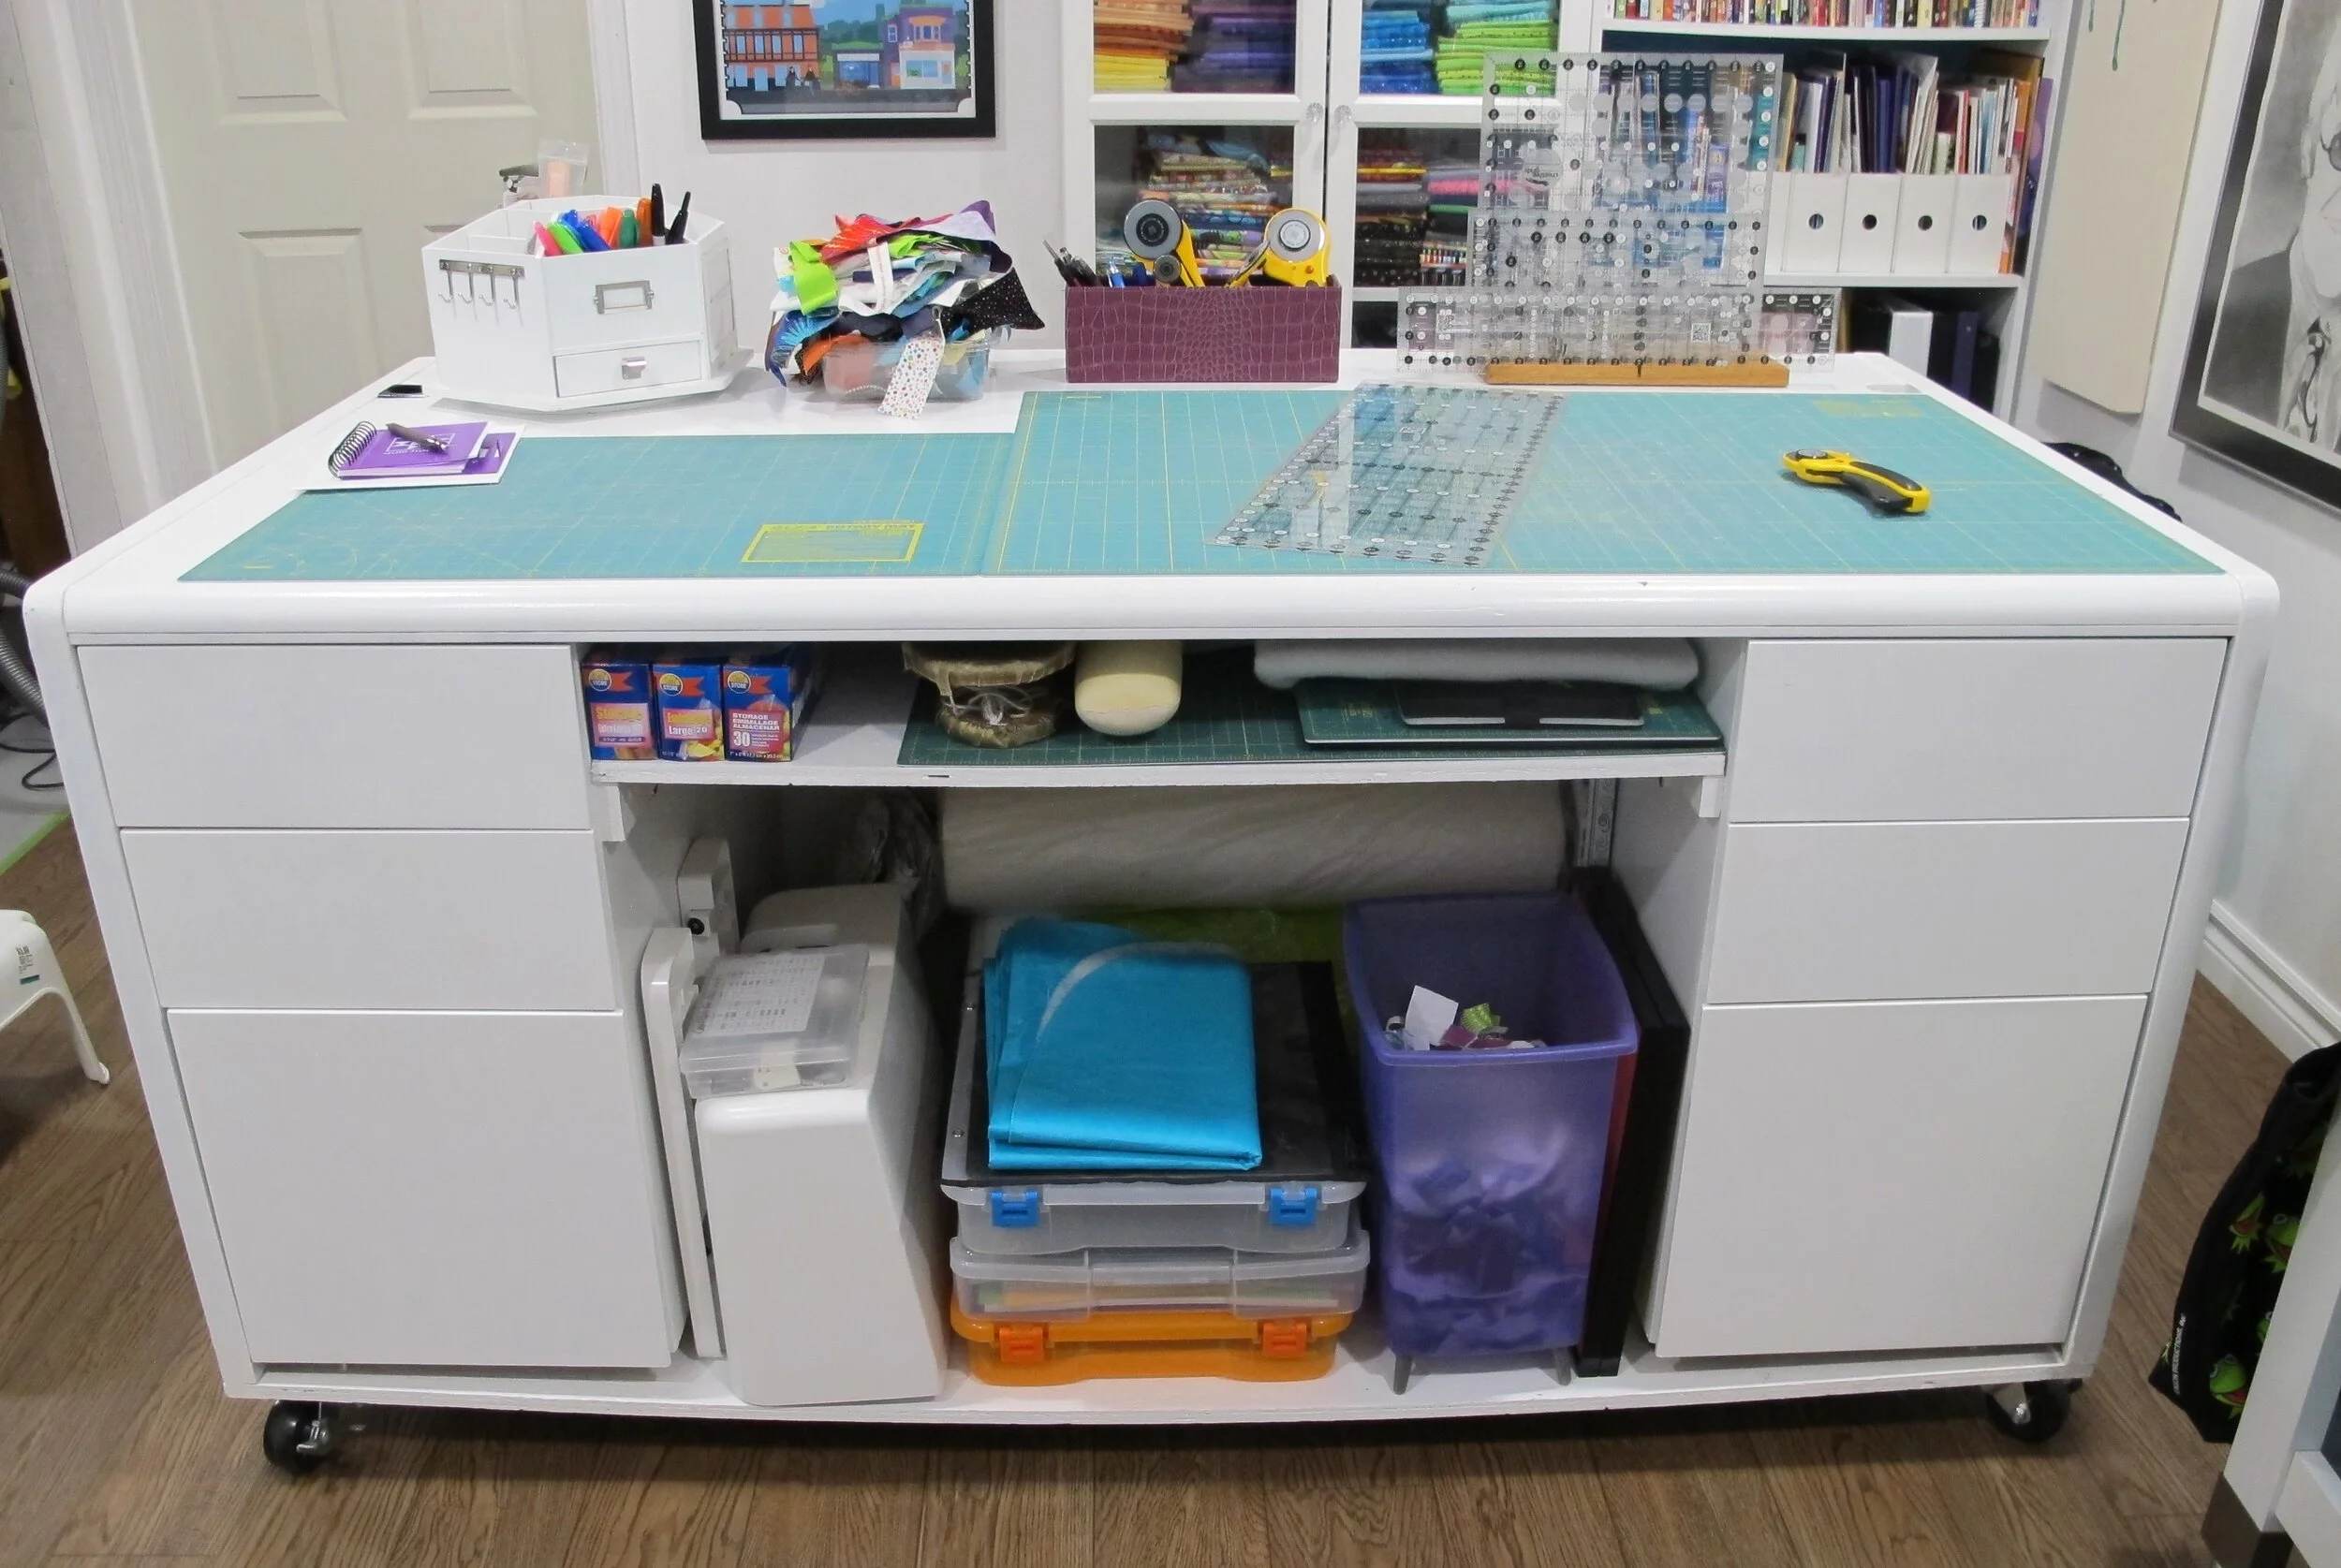
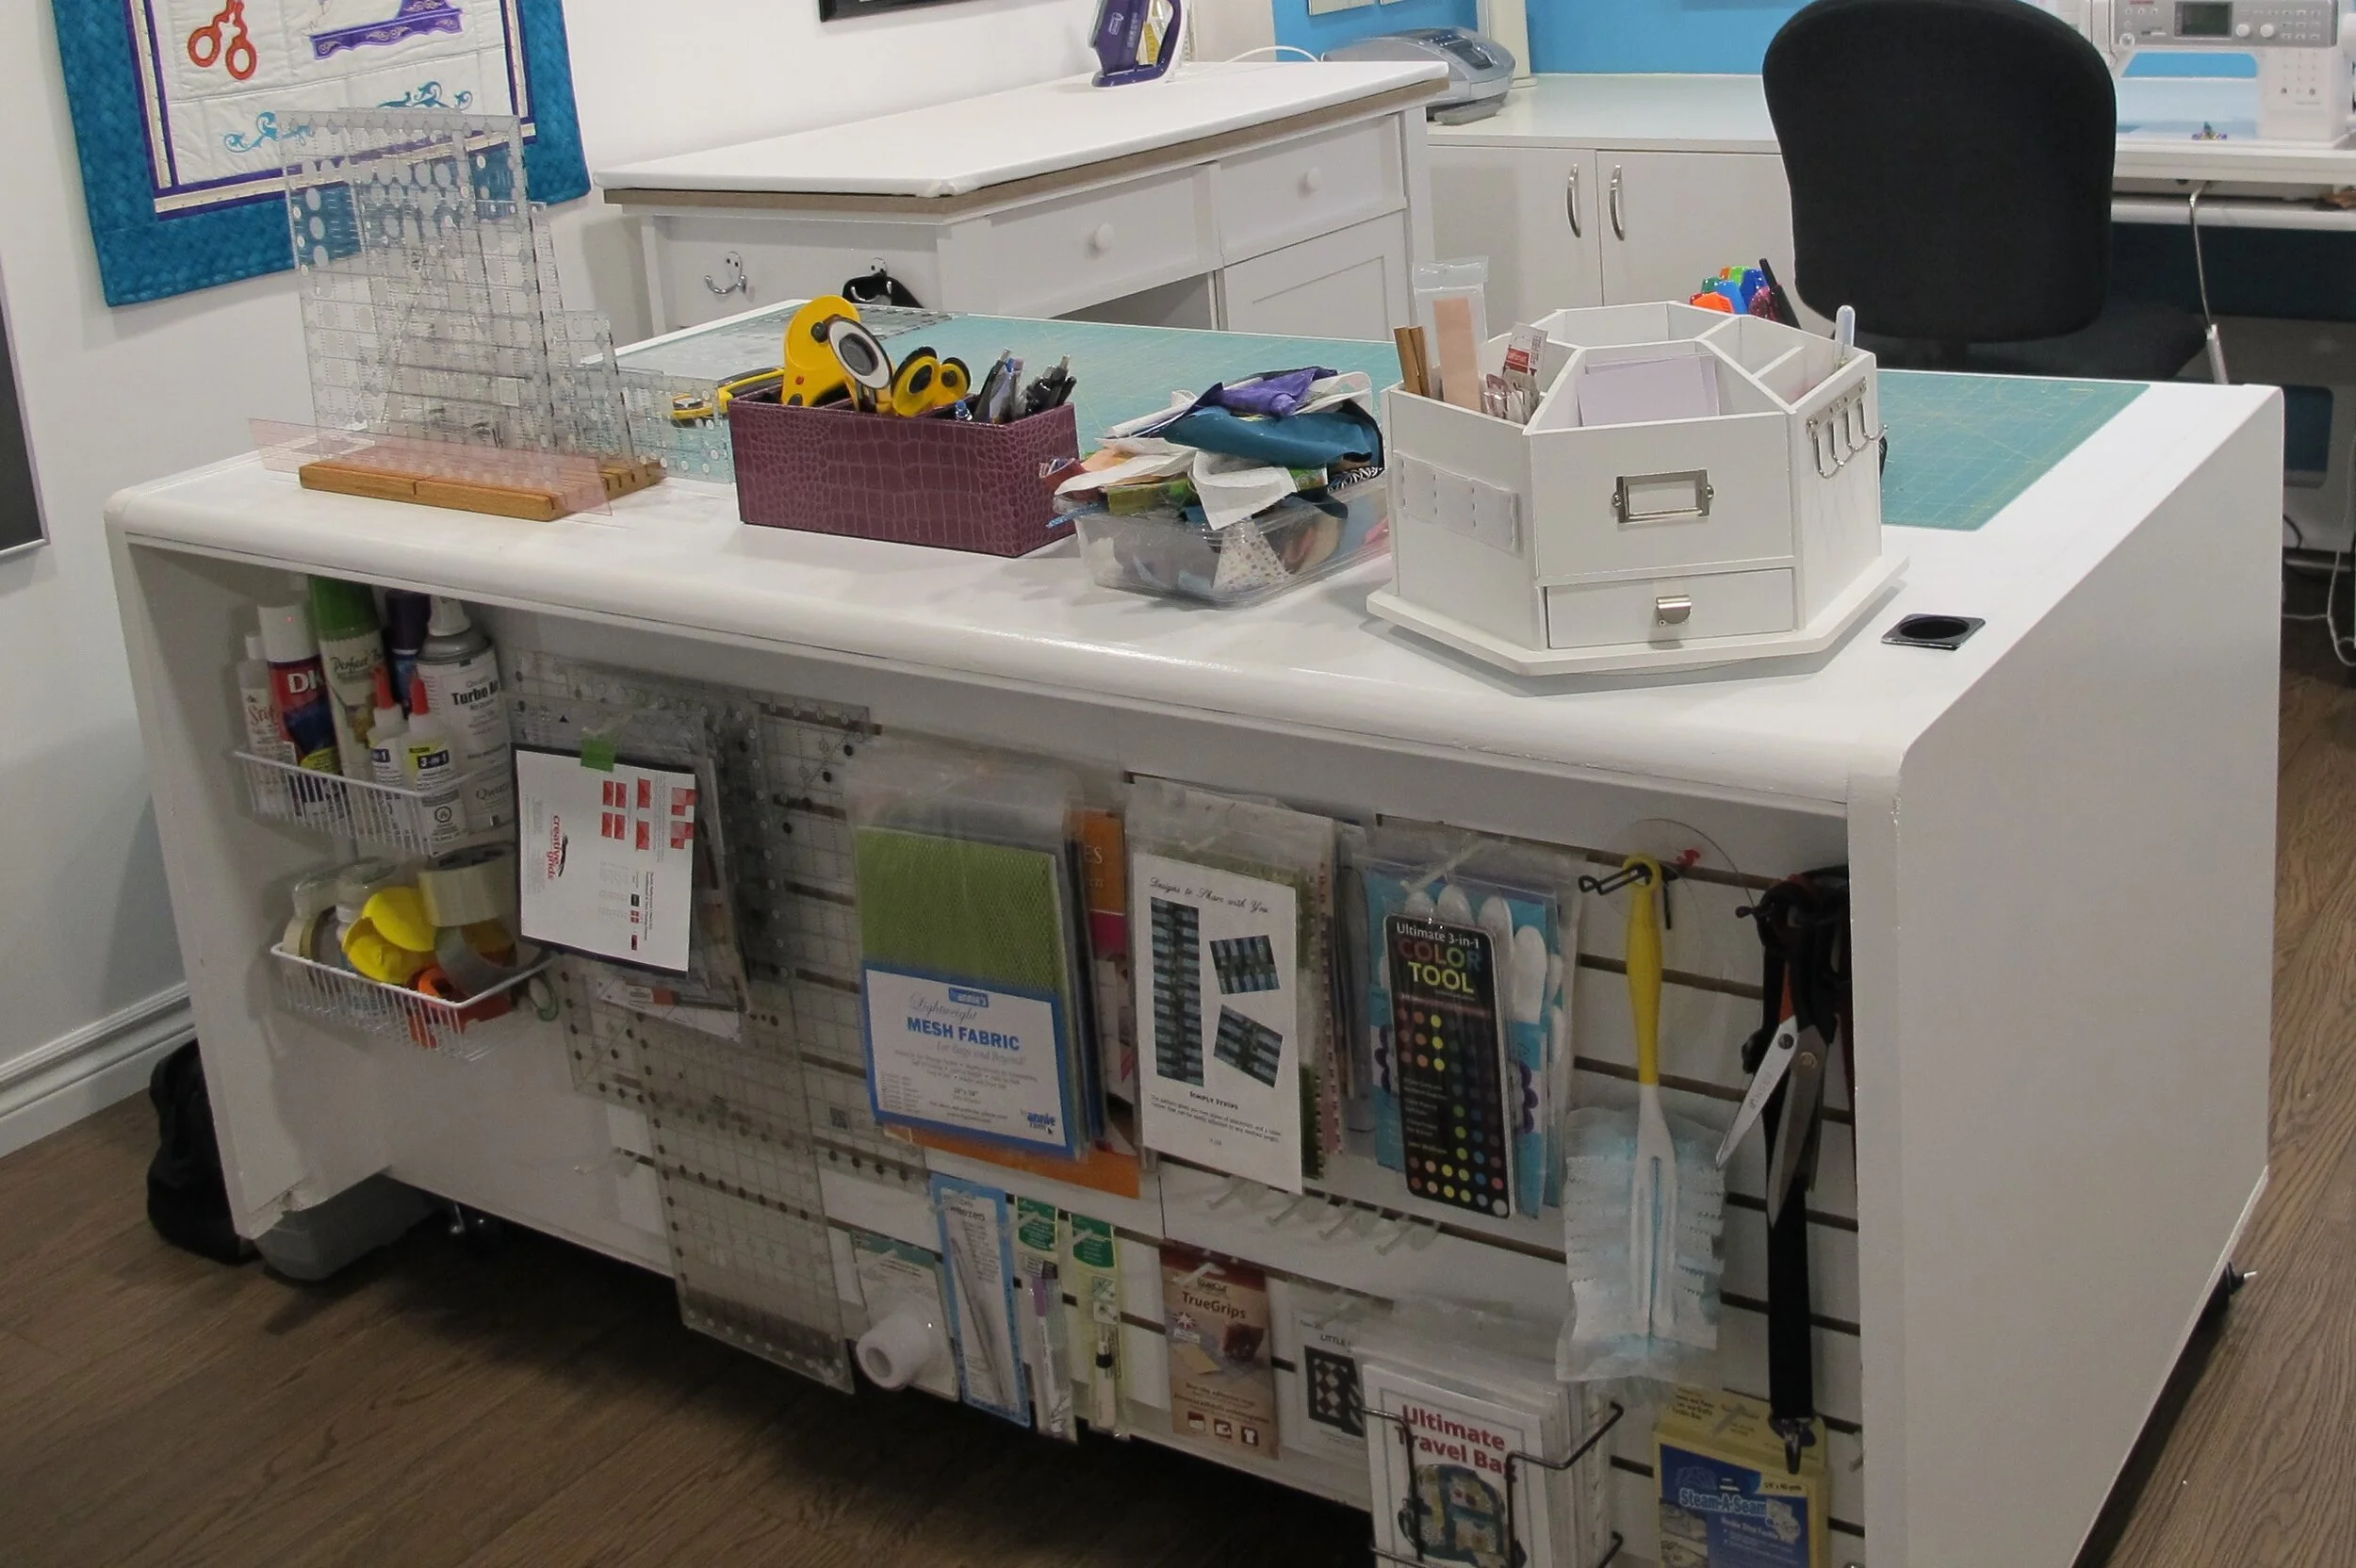
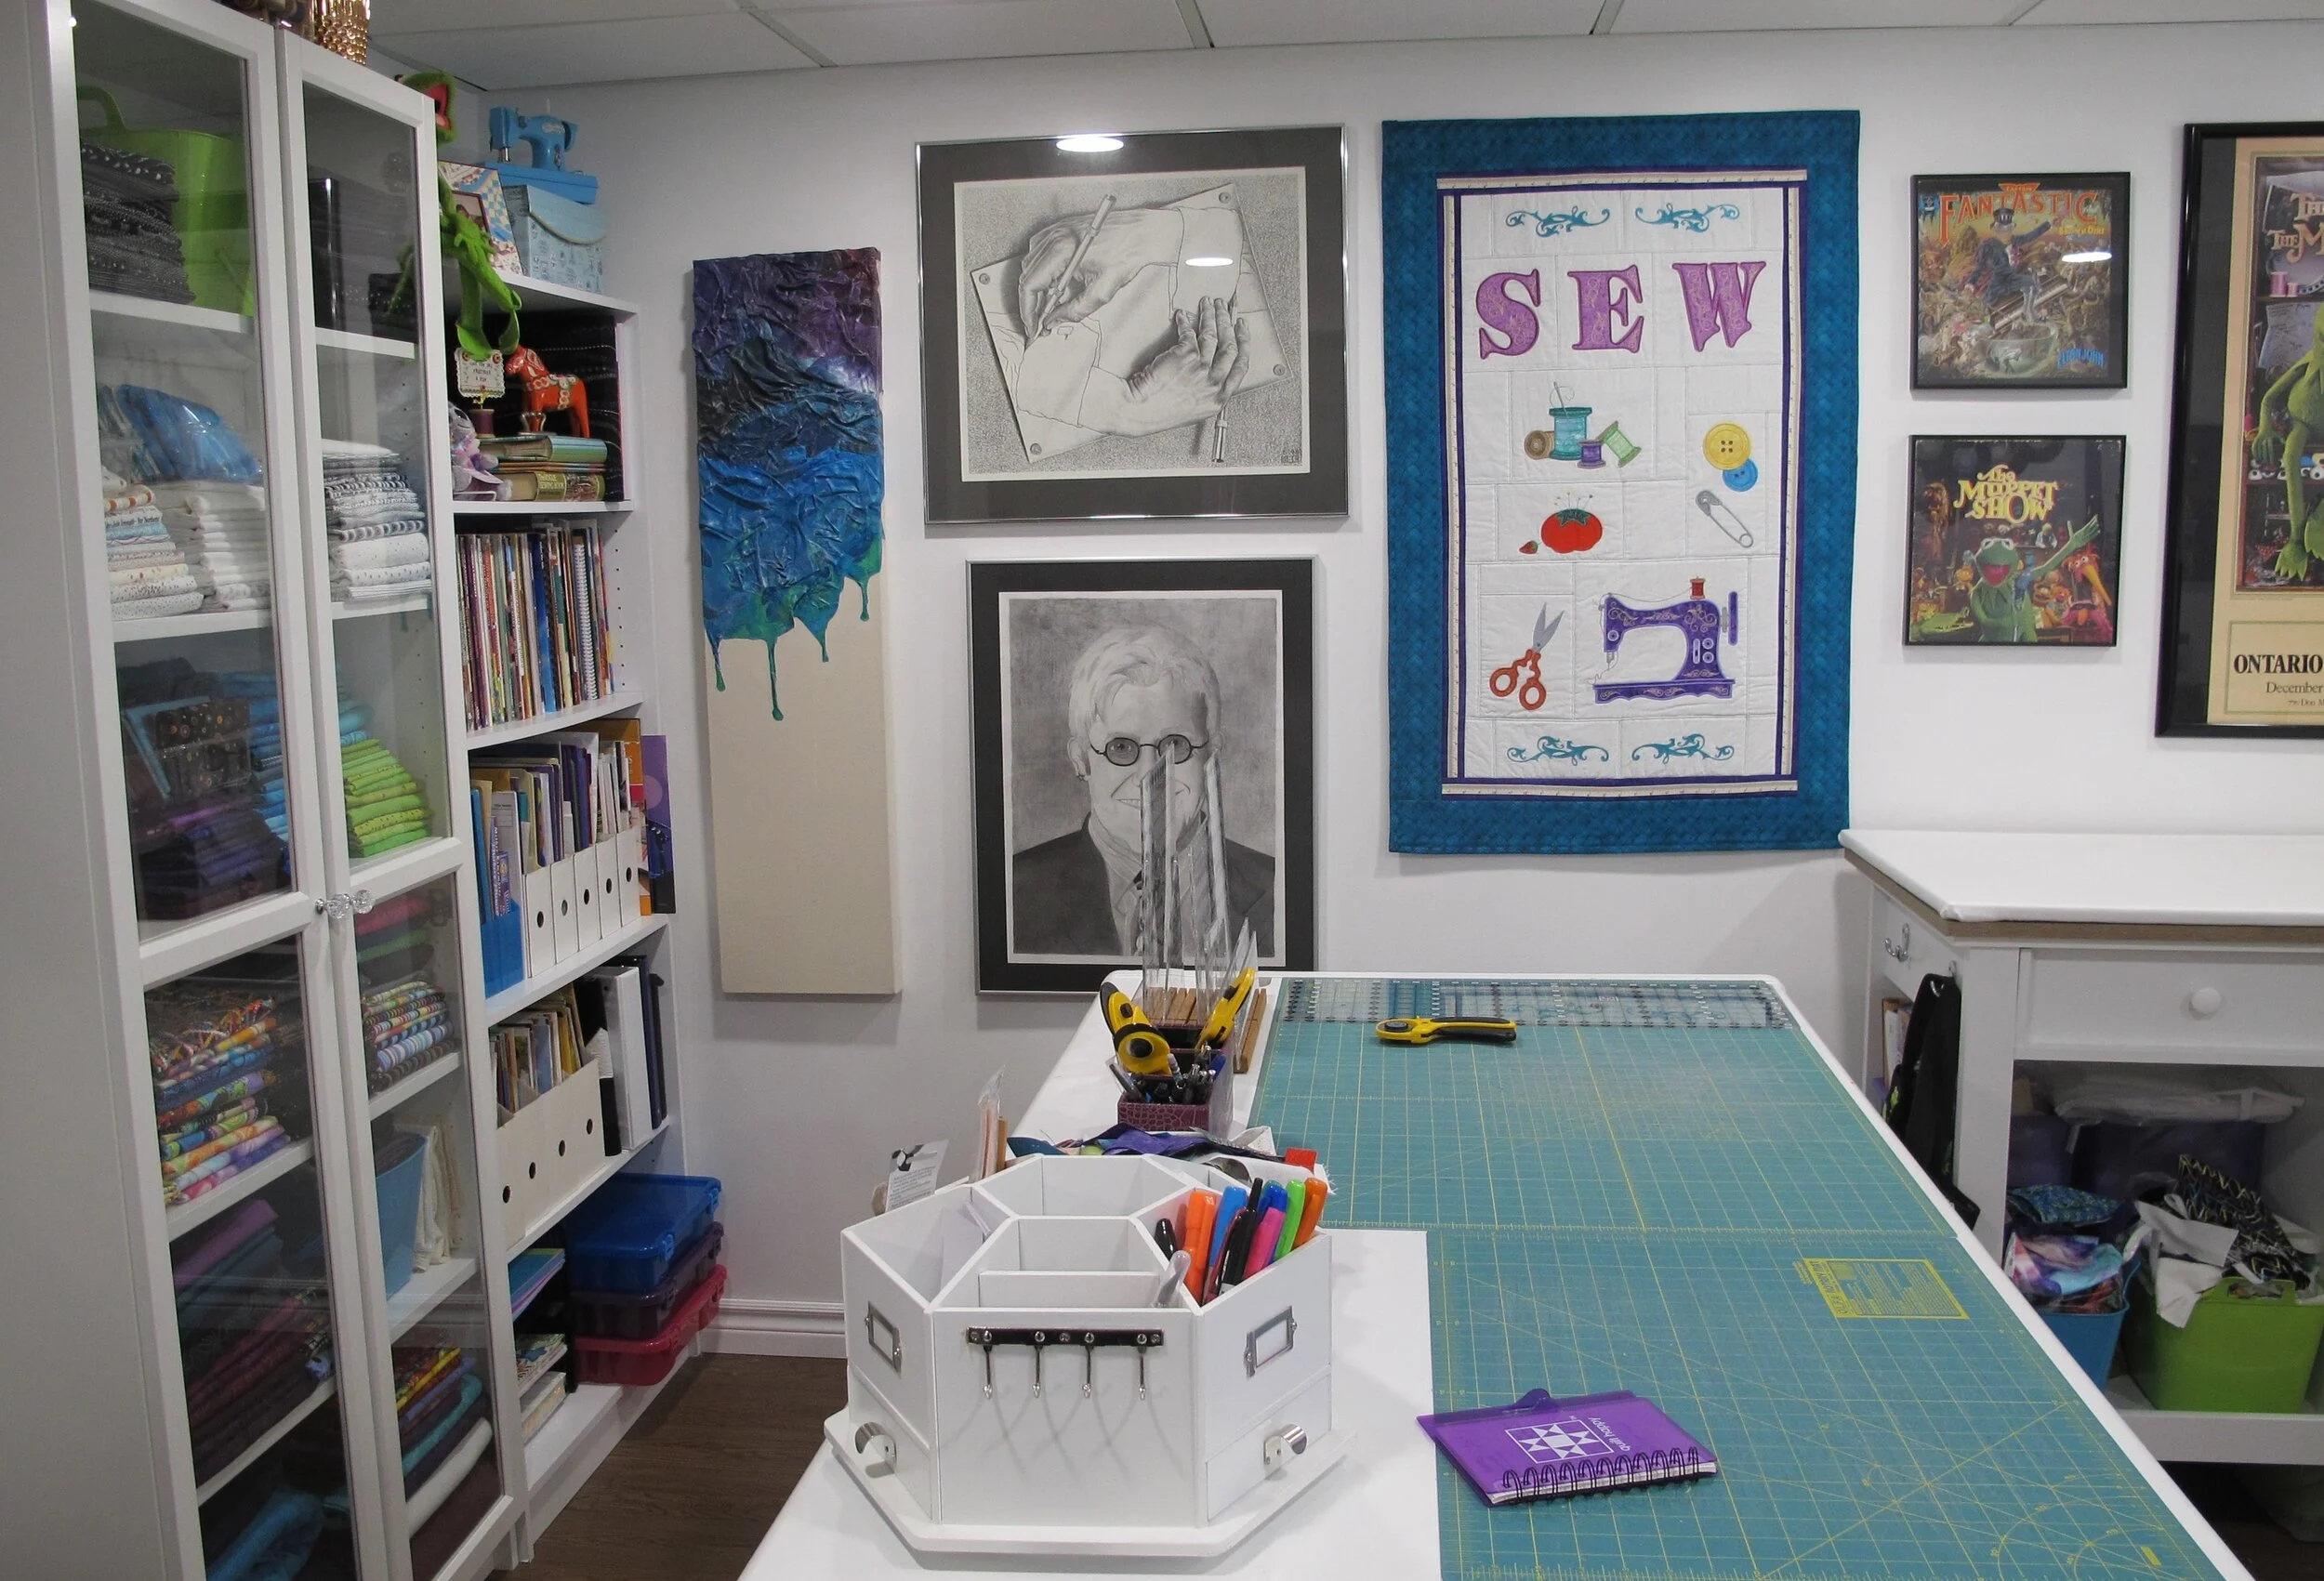
On a trip to Goodwill (so sad it’s no longer in my area) I found a massive old desk for $30 that I knew would be a perfect cutting station. I screwed a piece of plywood to the bottom to enclose the knee well for storage and added locking casters to the bottom so it could be wheeled around if needed. It's so freakin' heavy that I could have gotten away with regular casters! A shelf was added from another piece of leftover plywood and 1 x 2's for brackets. The whole thing was then painted with white melamine paint because it was old, ugly, fake woodgrain. I bought some slat board and hooks from my friend, Shirley, at Ultimate Sewing Centre, and screwed it to the inset area on the other side for hanging storage.
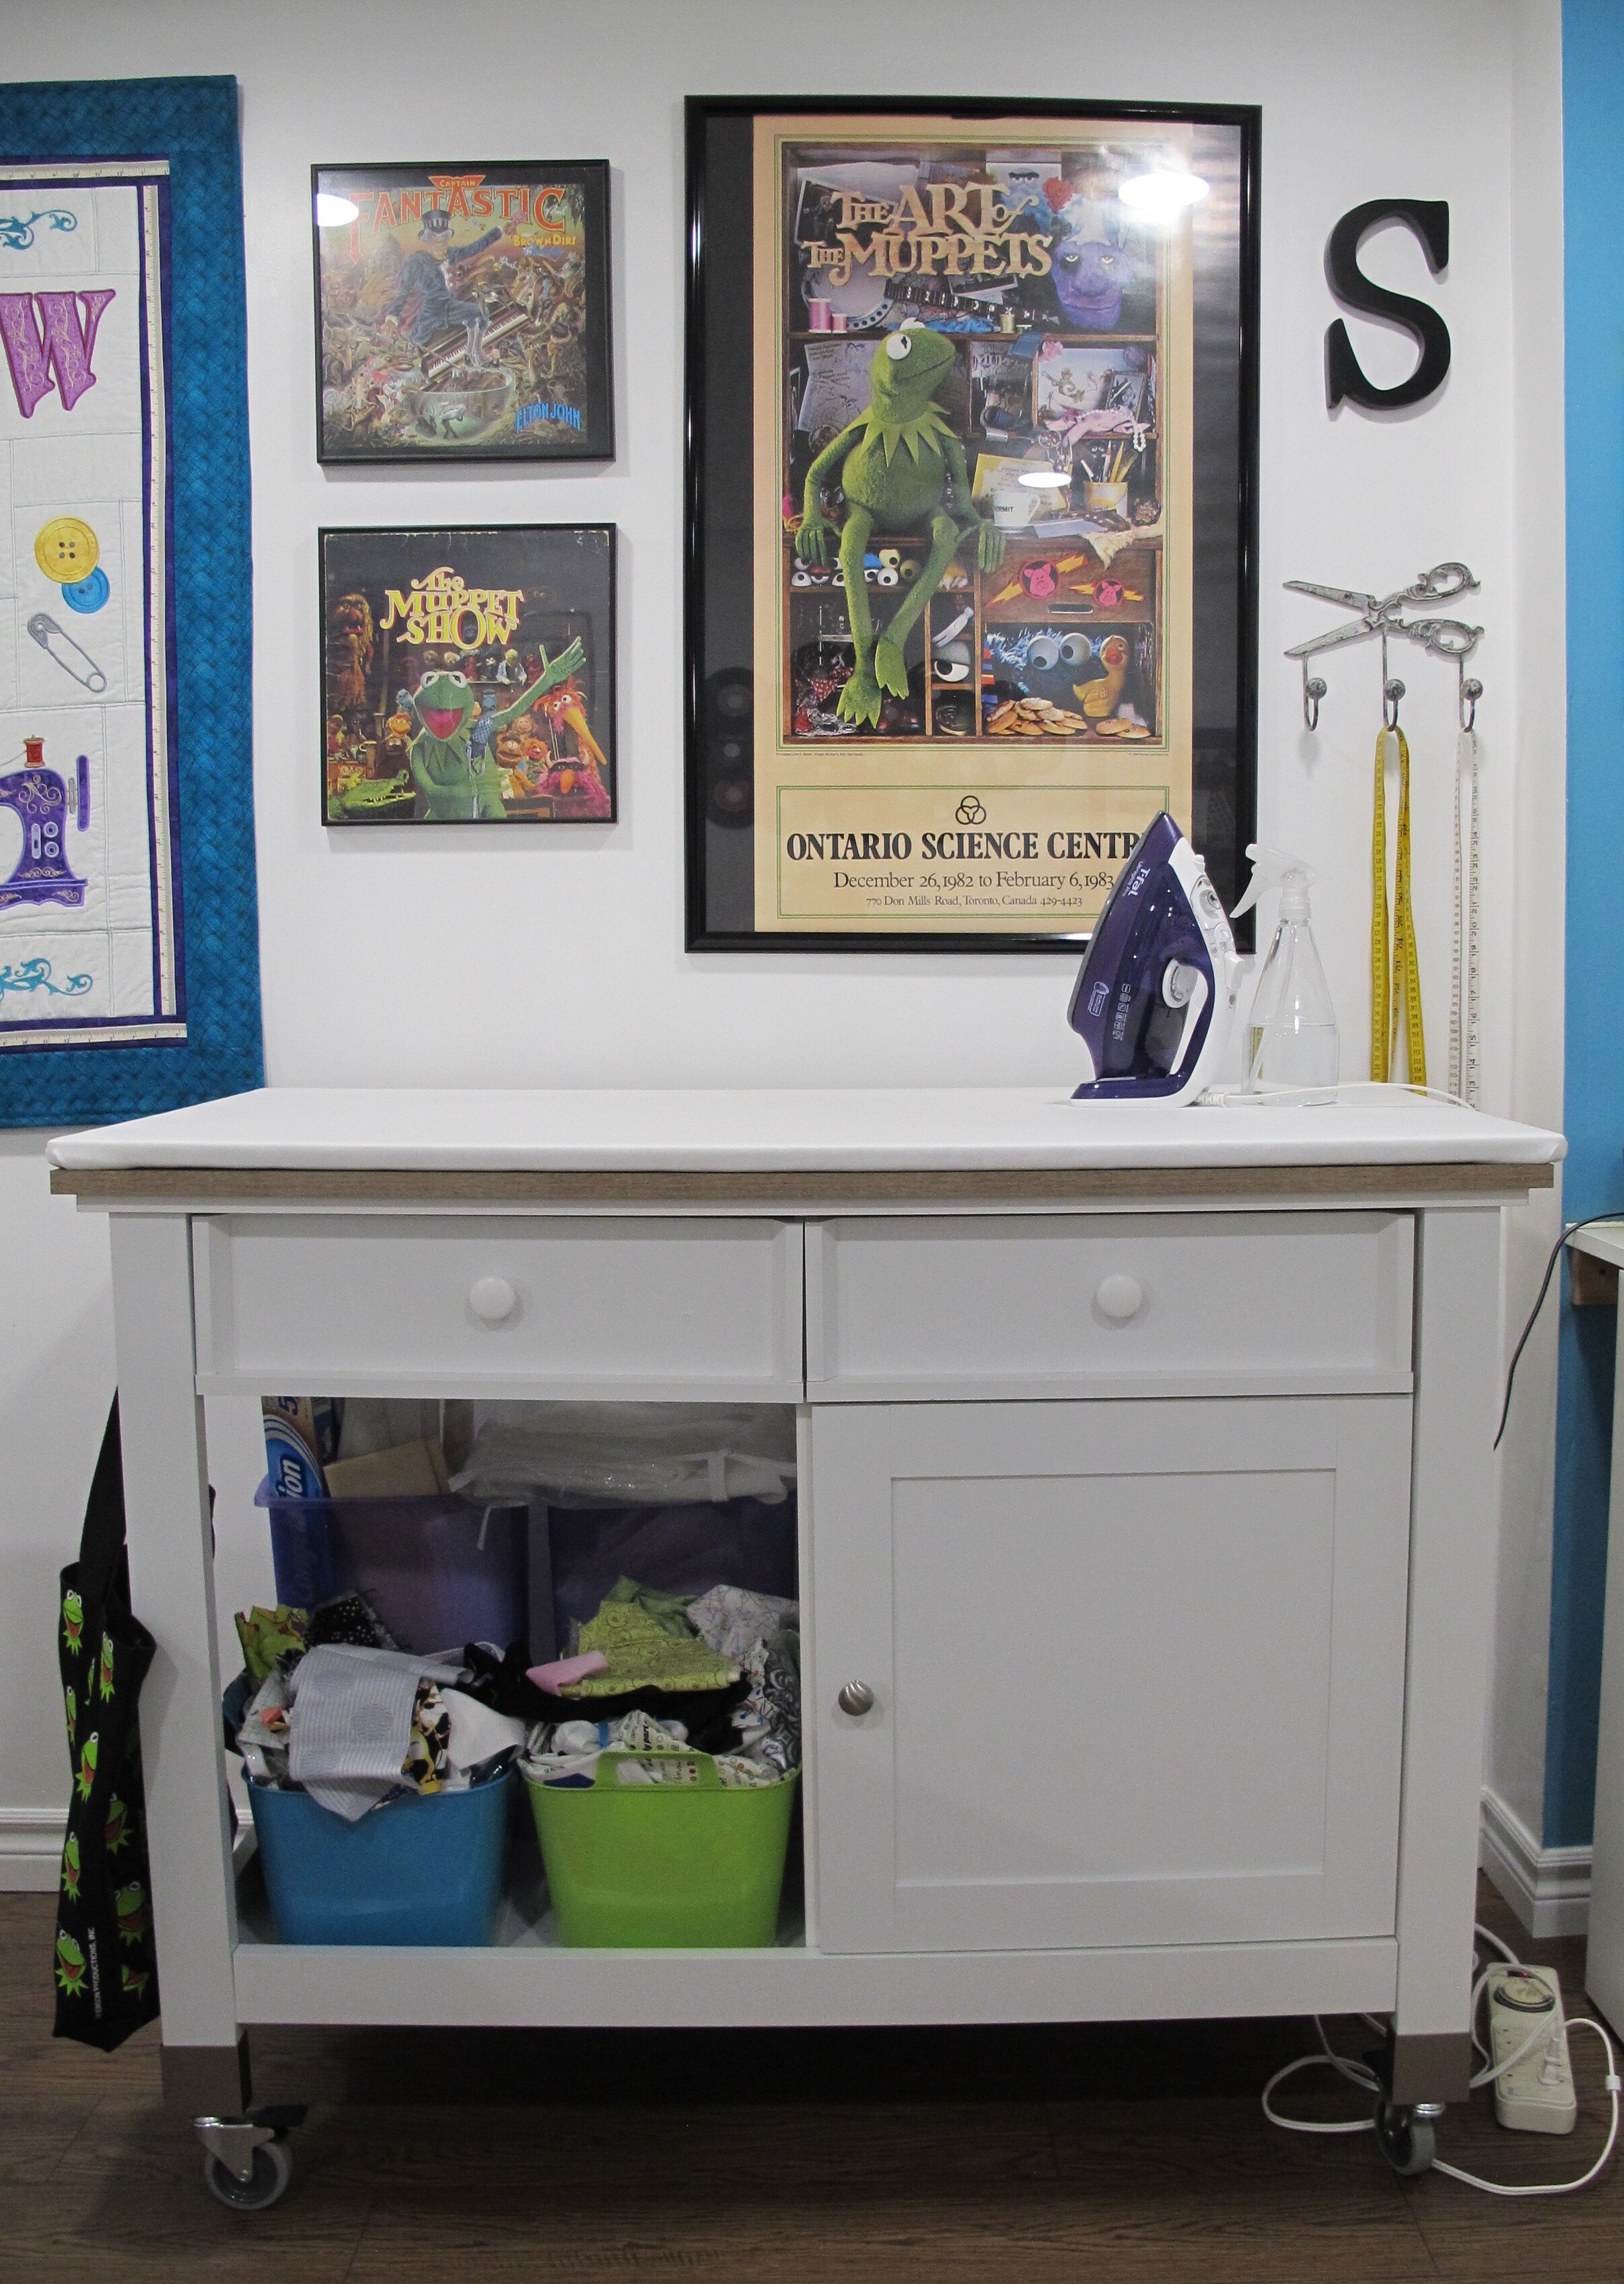
The next thing to be replaced was my rickety old ironing board. At a trip to Lowe's a few years ago I came across this kitchen island that I knew would be perfect for a pressing station (this particular model is no longer available). Not only did it have a good sized surface and was the perfect height when standing, but it had some great storage and an opening below that was perfect for holding dollar store bins for scraps. A large sheet of melamine became the ironing board on top by covering it with a couple layers of very thin batting and bleached muslin and stapling it to the back.
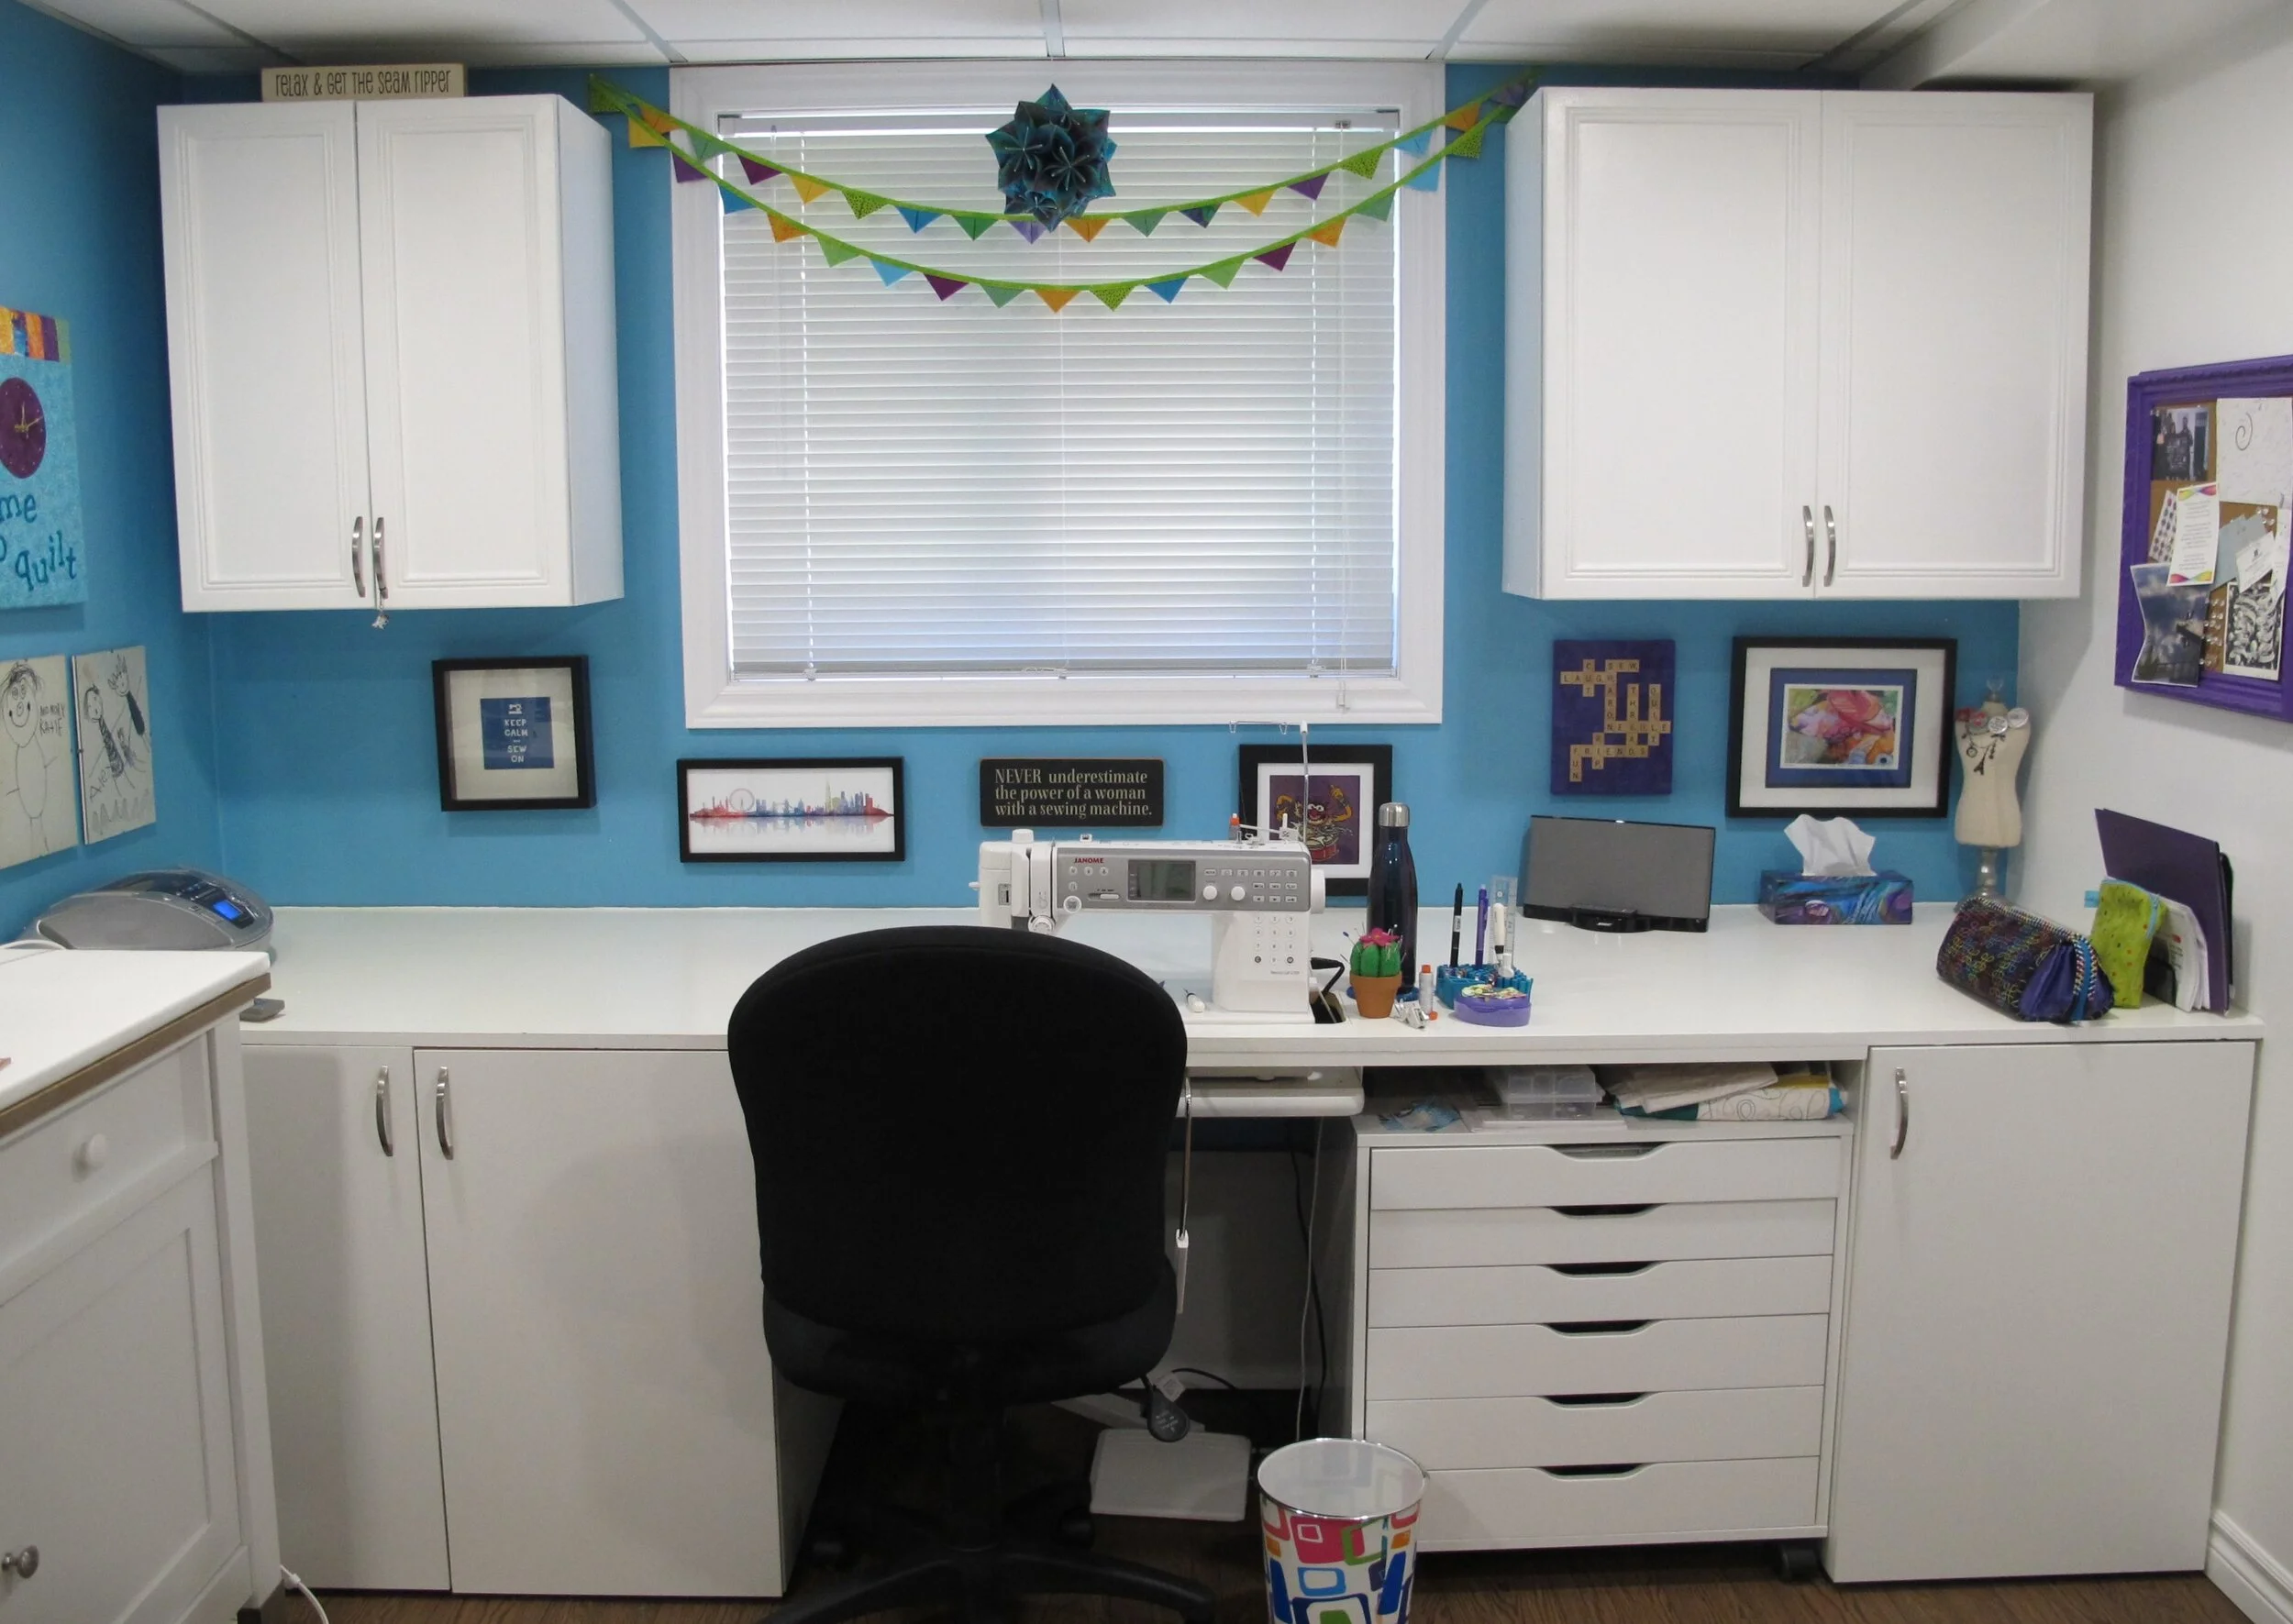
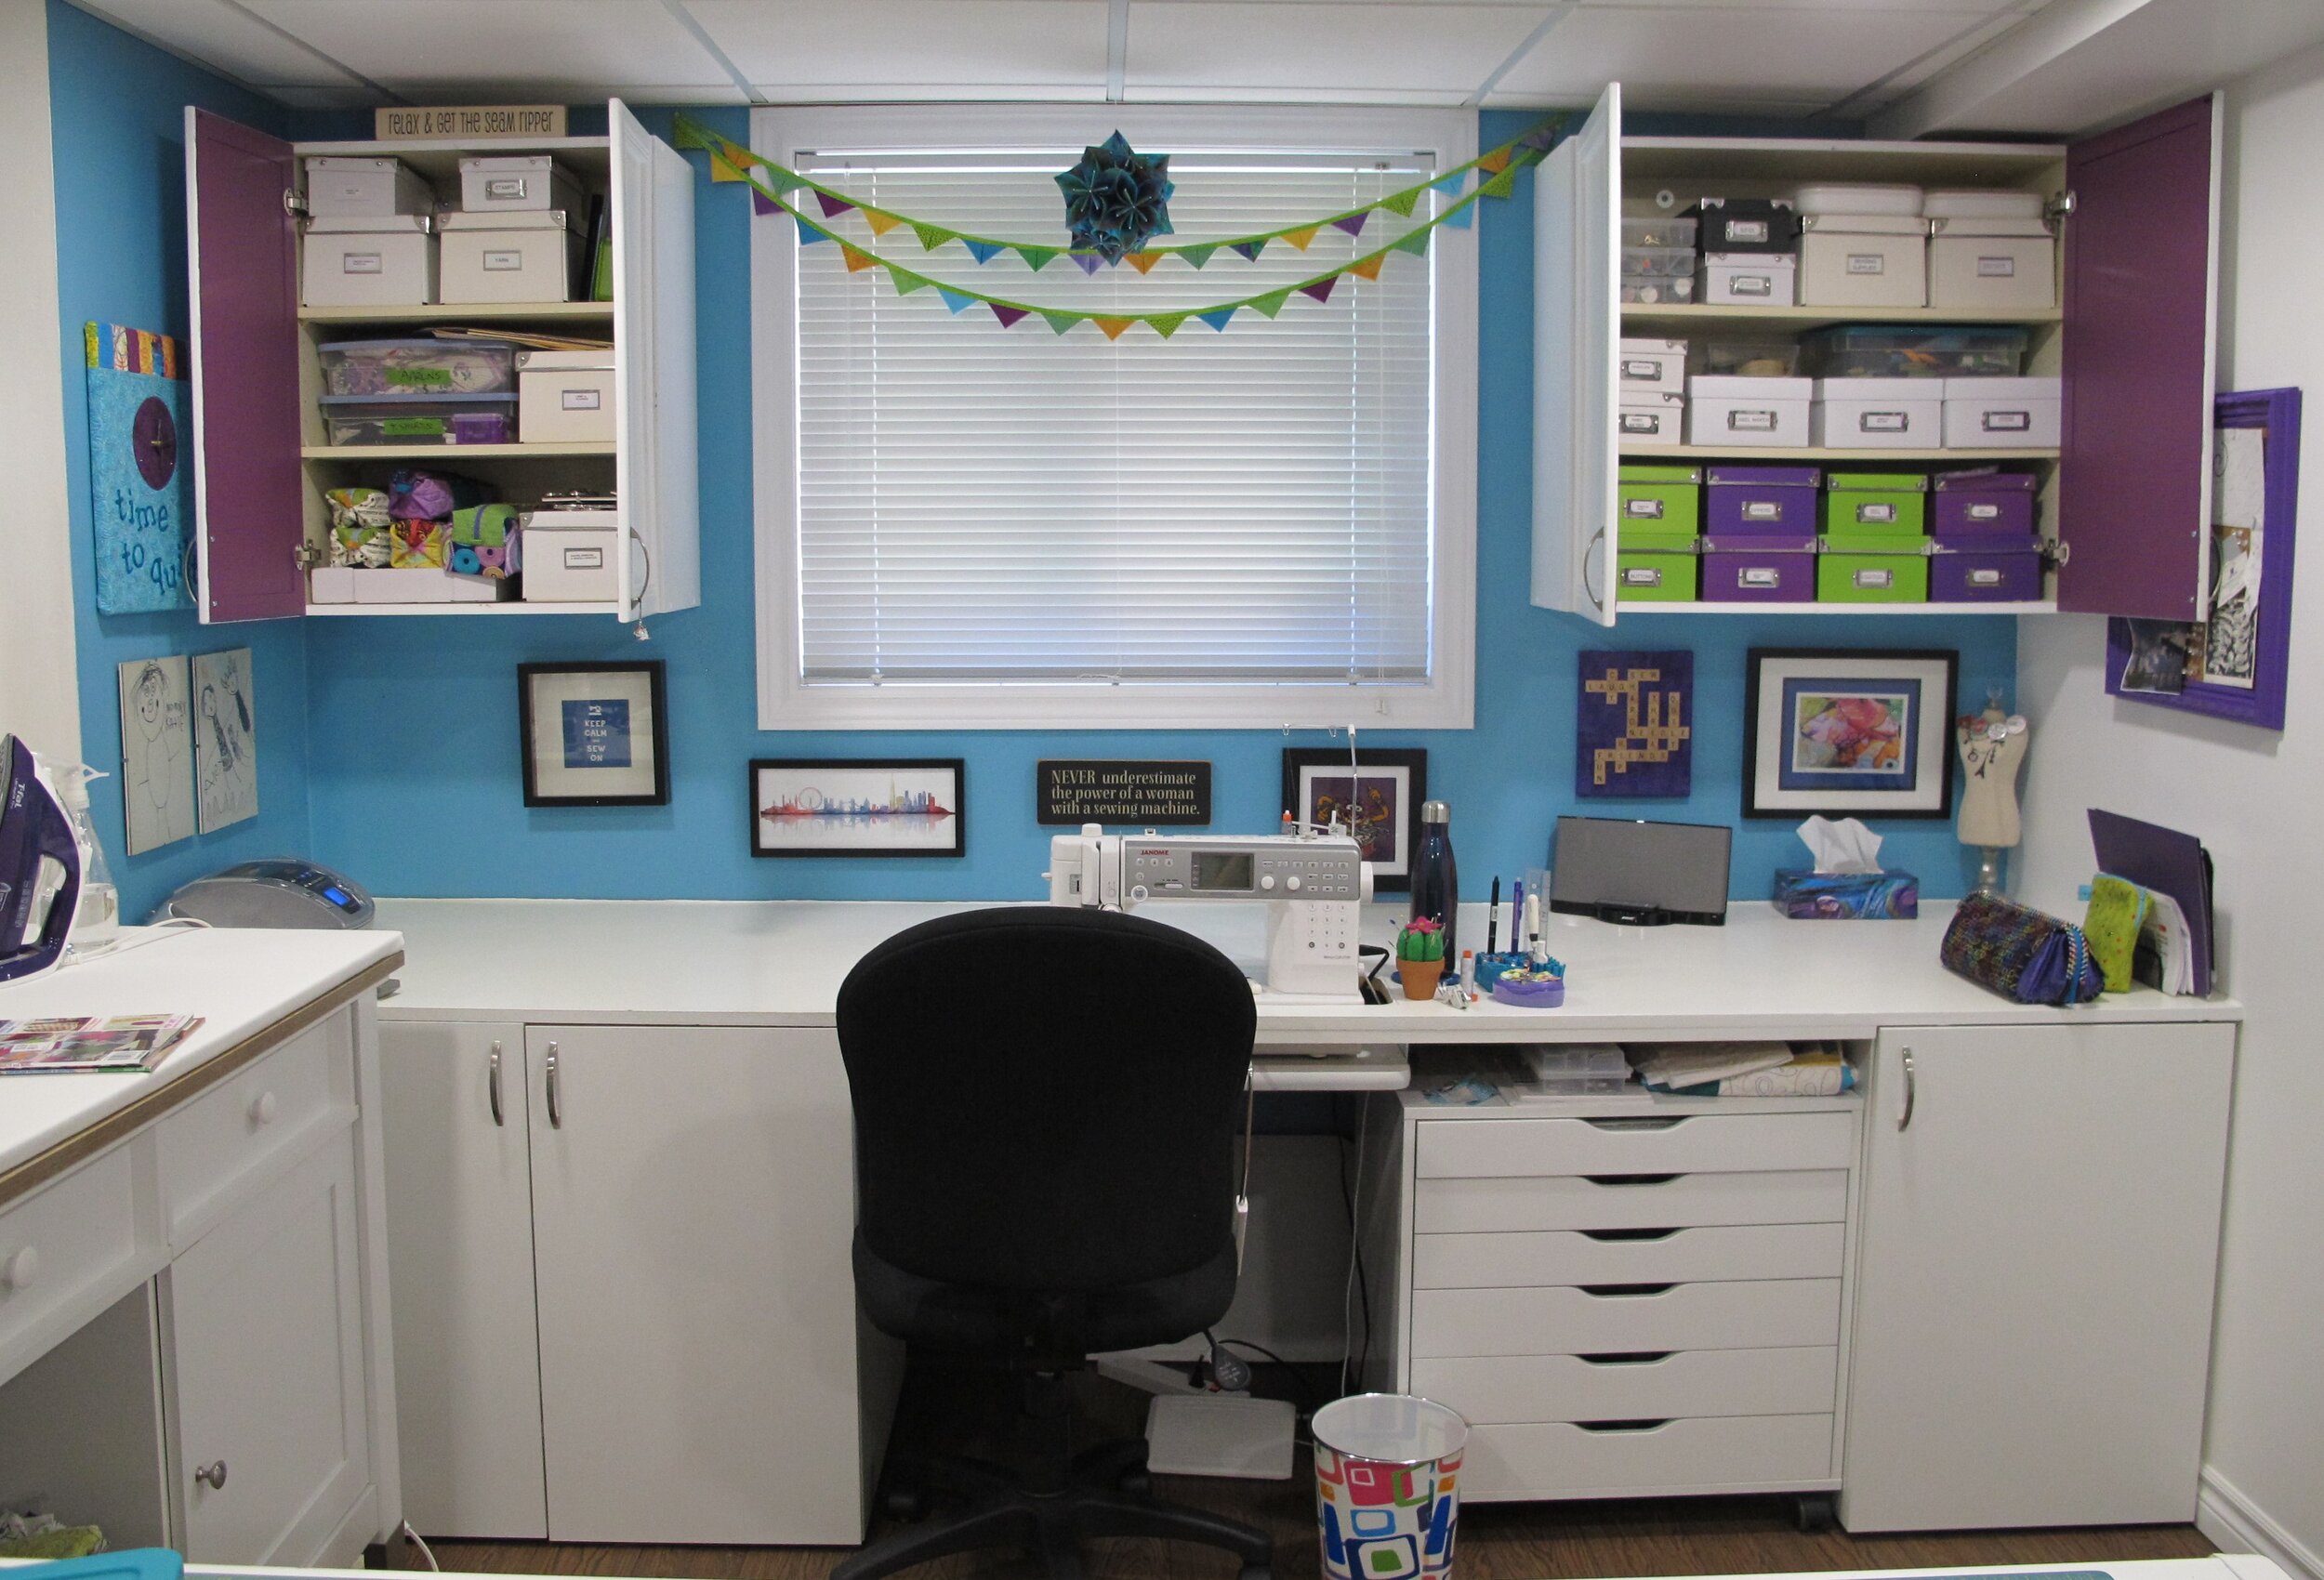
The sewing station was next to be overhauled and it started with the upper cabinets. My friend, Debbie, was going through a kitchen remodel and I scored a couple of upper cabinets from her. Again, the ugly fake woodgrain was painted with white melamine paint and new brushed nickel hardware was added. Before my hubby and I installed the cabinets I painted the one focus wall with Behr paint (my fave brand) in a beautiful turquoise called “Adonis” (MQ4-51). With the white cabinetry it looks really fresh.
At this point I was still using my old type-writing table, another Goodwill find for $10. For you young-uns, back in the day before computers and printers we used typewriters and there were office desks configured for their use. The great thing about it was that the sewing machine sat on an adjustable shelf lower than the table top so it was very ergonomic. The problem with it was there was very little table space to the left of the machine for free-motion quilting large quilts. I needed a new sewing table.
Before spanning the sewing station from wall to wall under the window the room needed new flooring. I installed sheet vinyl from Lowe's that looked like hardwood and reattached the baseboards. It was perfect for warming up the space and was soooooo much better than the painted concrete floor.
I did hire a contractor to install the base cabinets (IKEA base kitchen cabinets that I assembled) and countertop in which he cut a hole for my machine and attached the adjustable shelf that I salvaged from the typewriter table. At Peacock Lumber I found 3/4” MDF that was 10' long, the distance from wall to wall. After it was installed I painted (again white melamine paint) and sealed it. I clearly used the wrong sealant because it's already starting to yellow around the perimeter. Another bit of DIY is in my future!
The upper cabinets are painted purple (Behr MQ4-51- “Birthstone”) on the inside (see Lynn?) and hold all the labelled boxes for organization. My IKEA Alex unit fits perfectly to the right of my machine...you'd think I planned that or something!

To the right of my sewing station is my design wall area. Because it's so lightweight I pull in my portable design wall (made from a sheet of styrofoam insulation covered in white flannelette) from my basement storage area when needed. The stacked drawer unit was a prize from our Elim Lodge retreat a couple of years ago (thanks Diane and Doreen!) that holds “guild stuff” in one drawer, scraps for friends in another, scraps for me in another, and one for miscellaneous stuff. The artwork that I made from 45 RPM records was some of my favourite music from the 70's and 80's (a lot of them are Elton John!).
The IKEA bookcase (which I've had for about 25 years) and fabric storage are across from the cutting table, and if you've read my Fabric Storage post you already know the story behind the glass fronted cabinet. My wonderful hubby installed new pot lights 2 years ago so the room is now flooded with light...it's awesome!
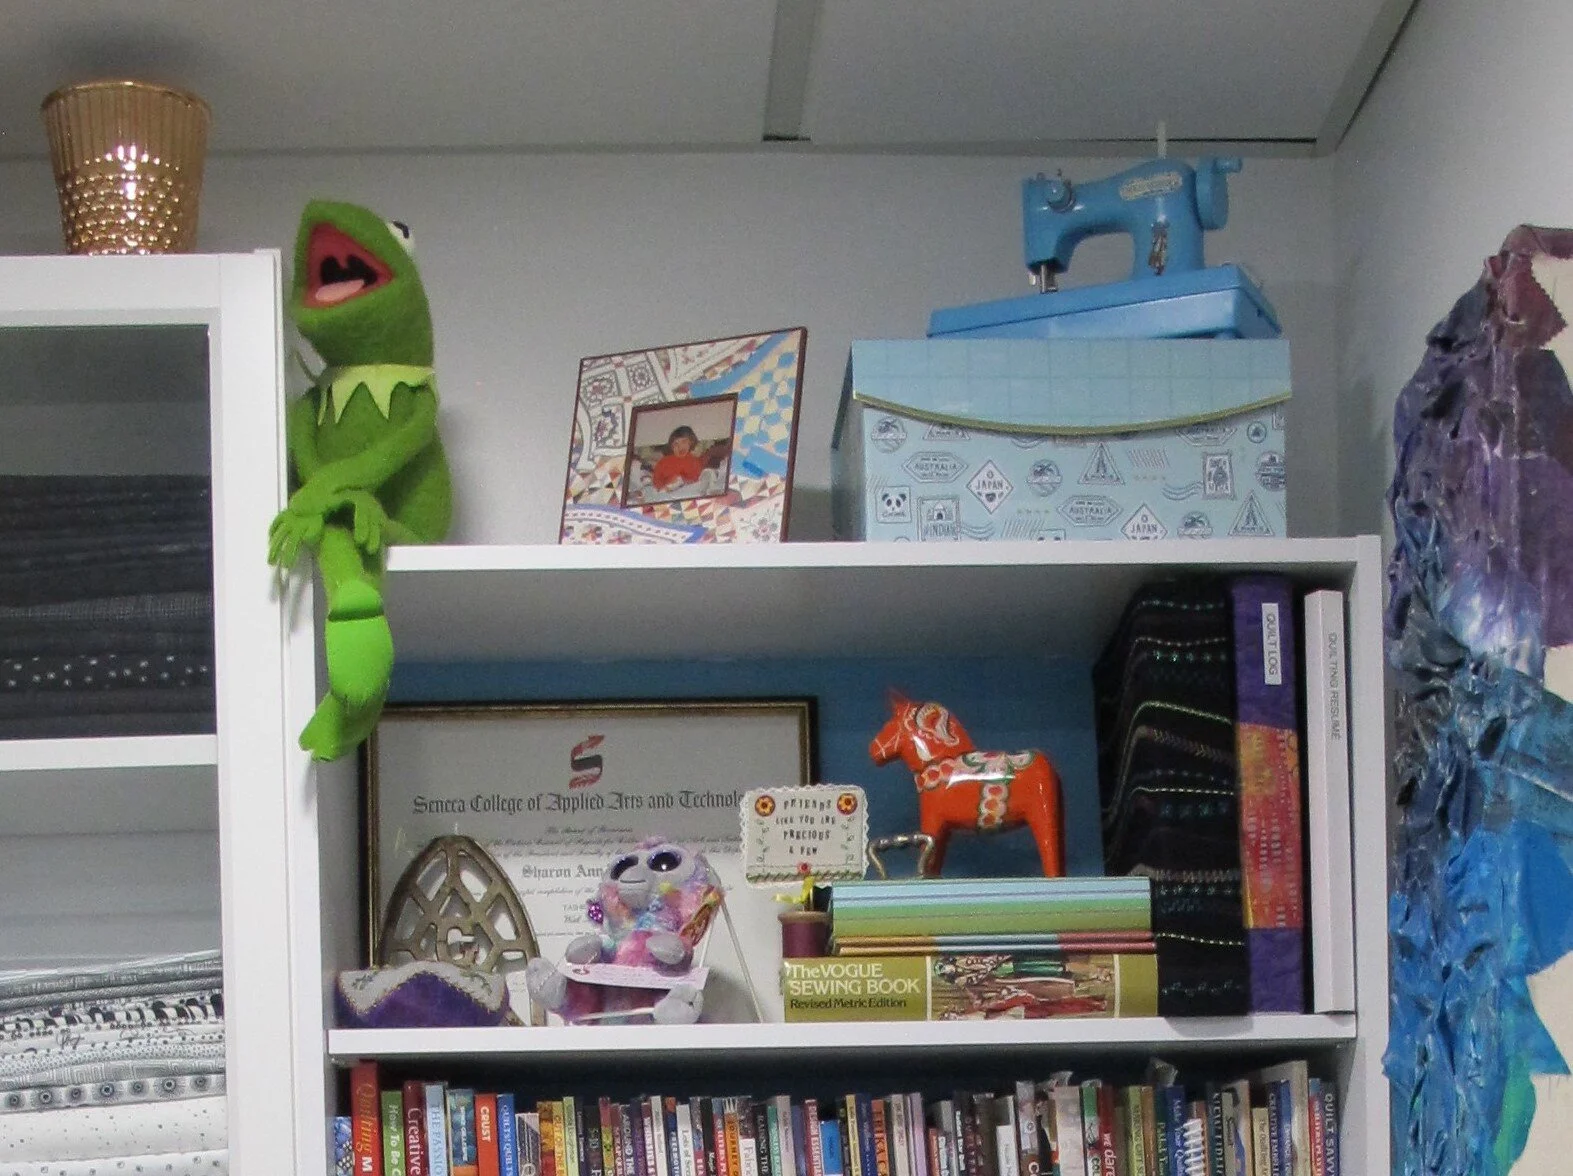
I surround myself with “stuff” that I love. You might notice that there is quite a bit of Elton John (fave artist) and Muppets stuff in my room. On the bookshelf you will see some of my favourite things. My friend, Ann-Marie from Sweden, gave me the little red Dala horse over 30 years ago, my friend, Mary, gave me the Holly Hobbie toy sewing machine, I got the Kermit stuffed toy as a gift when I was 15, and my mom got me the Vogue Sewing Book in 1975. Check out the photo below left to see the beautiful machine embroidered “SEW” wallhanging that my friend, Trudie, made for me. Artwork made by my very talented daughter, gifts from students and art from my travels all hold a special place. Looking in any direction in my room makes me smile.
Whatever space you have available to you, try to infuse it with things that make you happy and productive. Maybe right now you're making do with hand-me-down furniture and odds and ends, but someday you'll be able to design your own special place where you can happily be creative and surround yourself with the thing that make you smile.