
DIY Armoire

Sharon & Fred 1997
When my wonderful Grandpa Wilson died in 1997 I received a little bit of money from his estate. Immediately I knew I had to buy something that would remind me of him whenever I looked at it rather than spend the money on something frivolous or unnecessary. Wood furniture seemed like a good choice...longlasting and, if a classic design, something that wouldn't seem dated no matter how long I kept it. My practical side said it also had to be useful…translation “storage”.
I got all of that and more when I found this pine armoire (figure 1). Our children were quite young, and being a stay-at-home mom way back then I didn't have an awful lot of time to put into it. Since it was unfinished...just the bare wood...it had to be stained and sealed. In between junior kindergarten for Alex and grade 1 for Kate (and volunteering at the school) I was able to at least accomplish that.
Fast forward 23 years later and I needed something to keep me busy during Covid (aside from quilting of course!). With recent updates in our home of new engineered hardwood, new furniture and light grey walls, the orangey tones of the armoire just weren't working for me anymore. It needed a 21st century facelift.
I was so happy with how the buffet and hutch turned out that I wanted to do the same type of facelift with the armoire. They are on opposite ends of a long living/dining room so I wanted to use the same dark colour used on the buffet and hutch knowing it would make both ends of the room seem balanced.

the supplies
A good sanding was necessary to remove the original finish, then priming and sealing was in order. When working with pine be sure to use a primer/sealer that kills stains. Pine has natural oils that show through in the knots of the wood on painted surfaces unless they are sealed. I've had great luck with this Zinsser primer/sealer. Because it was white I actually added some of the dark paint I'd be using to darken it so fewer coats of paint were necessary. You can see in figure 2 that adding the dark paint to the primer/sealer made it a medium grey.
Two coats of “Cracked Pepper” (PPU18-01) in a melamine finish by Behr was all that was needed for paint. I chose not to paint the interior of the armoire. After the paint was dry 4 thin coats of Minwax Polycrylic were applied using a foam roller to paint it on and a foam brush to smooth out any air bubbles. Beautiful rectangular knobs (bought for a steal at a hardware store going-out-of-business sale) were added in a brushed nickel finish to top things off (figure 3).
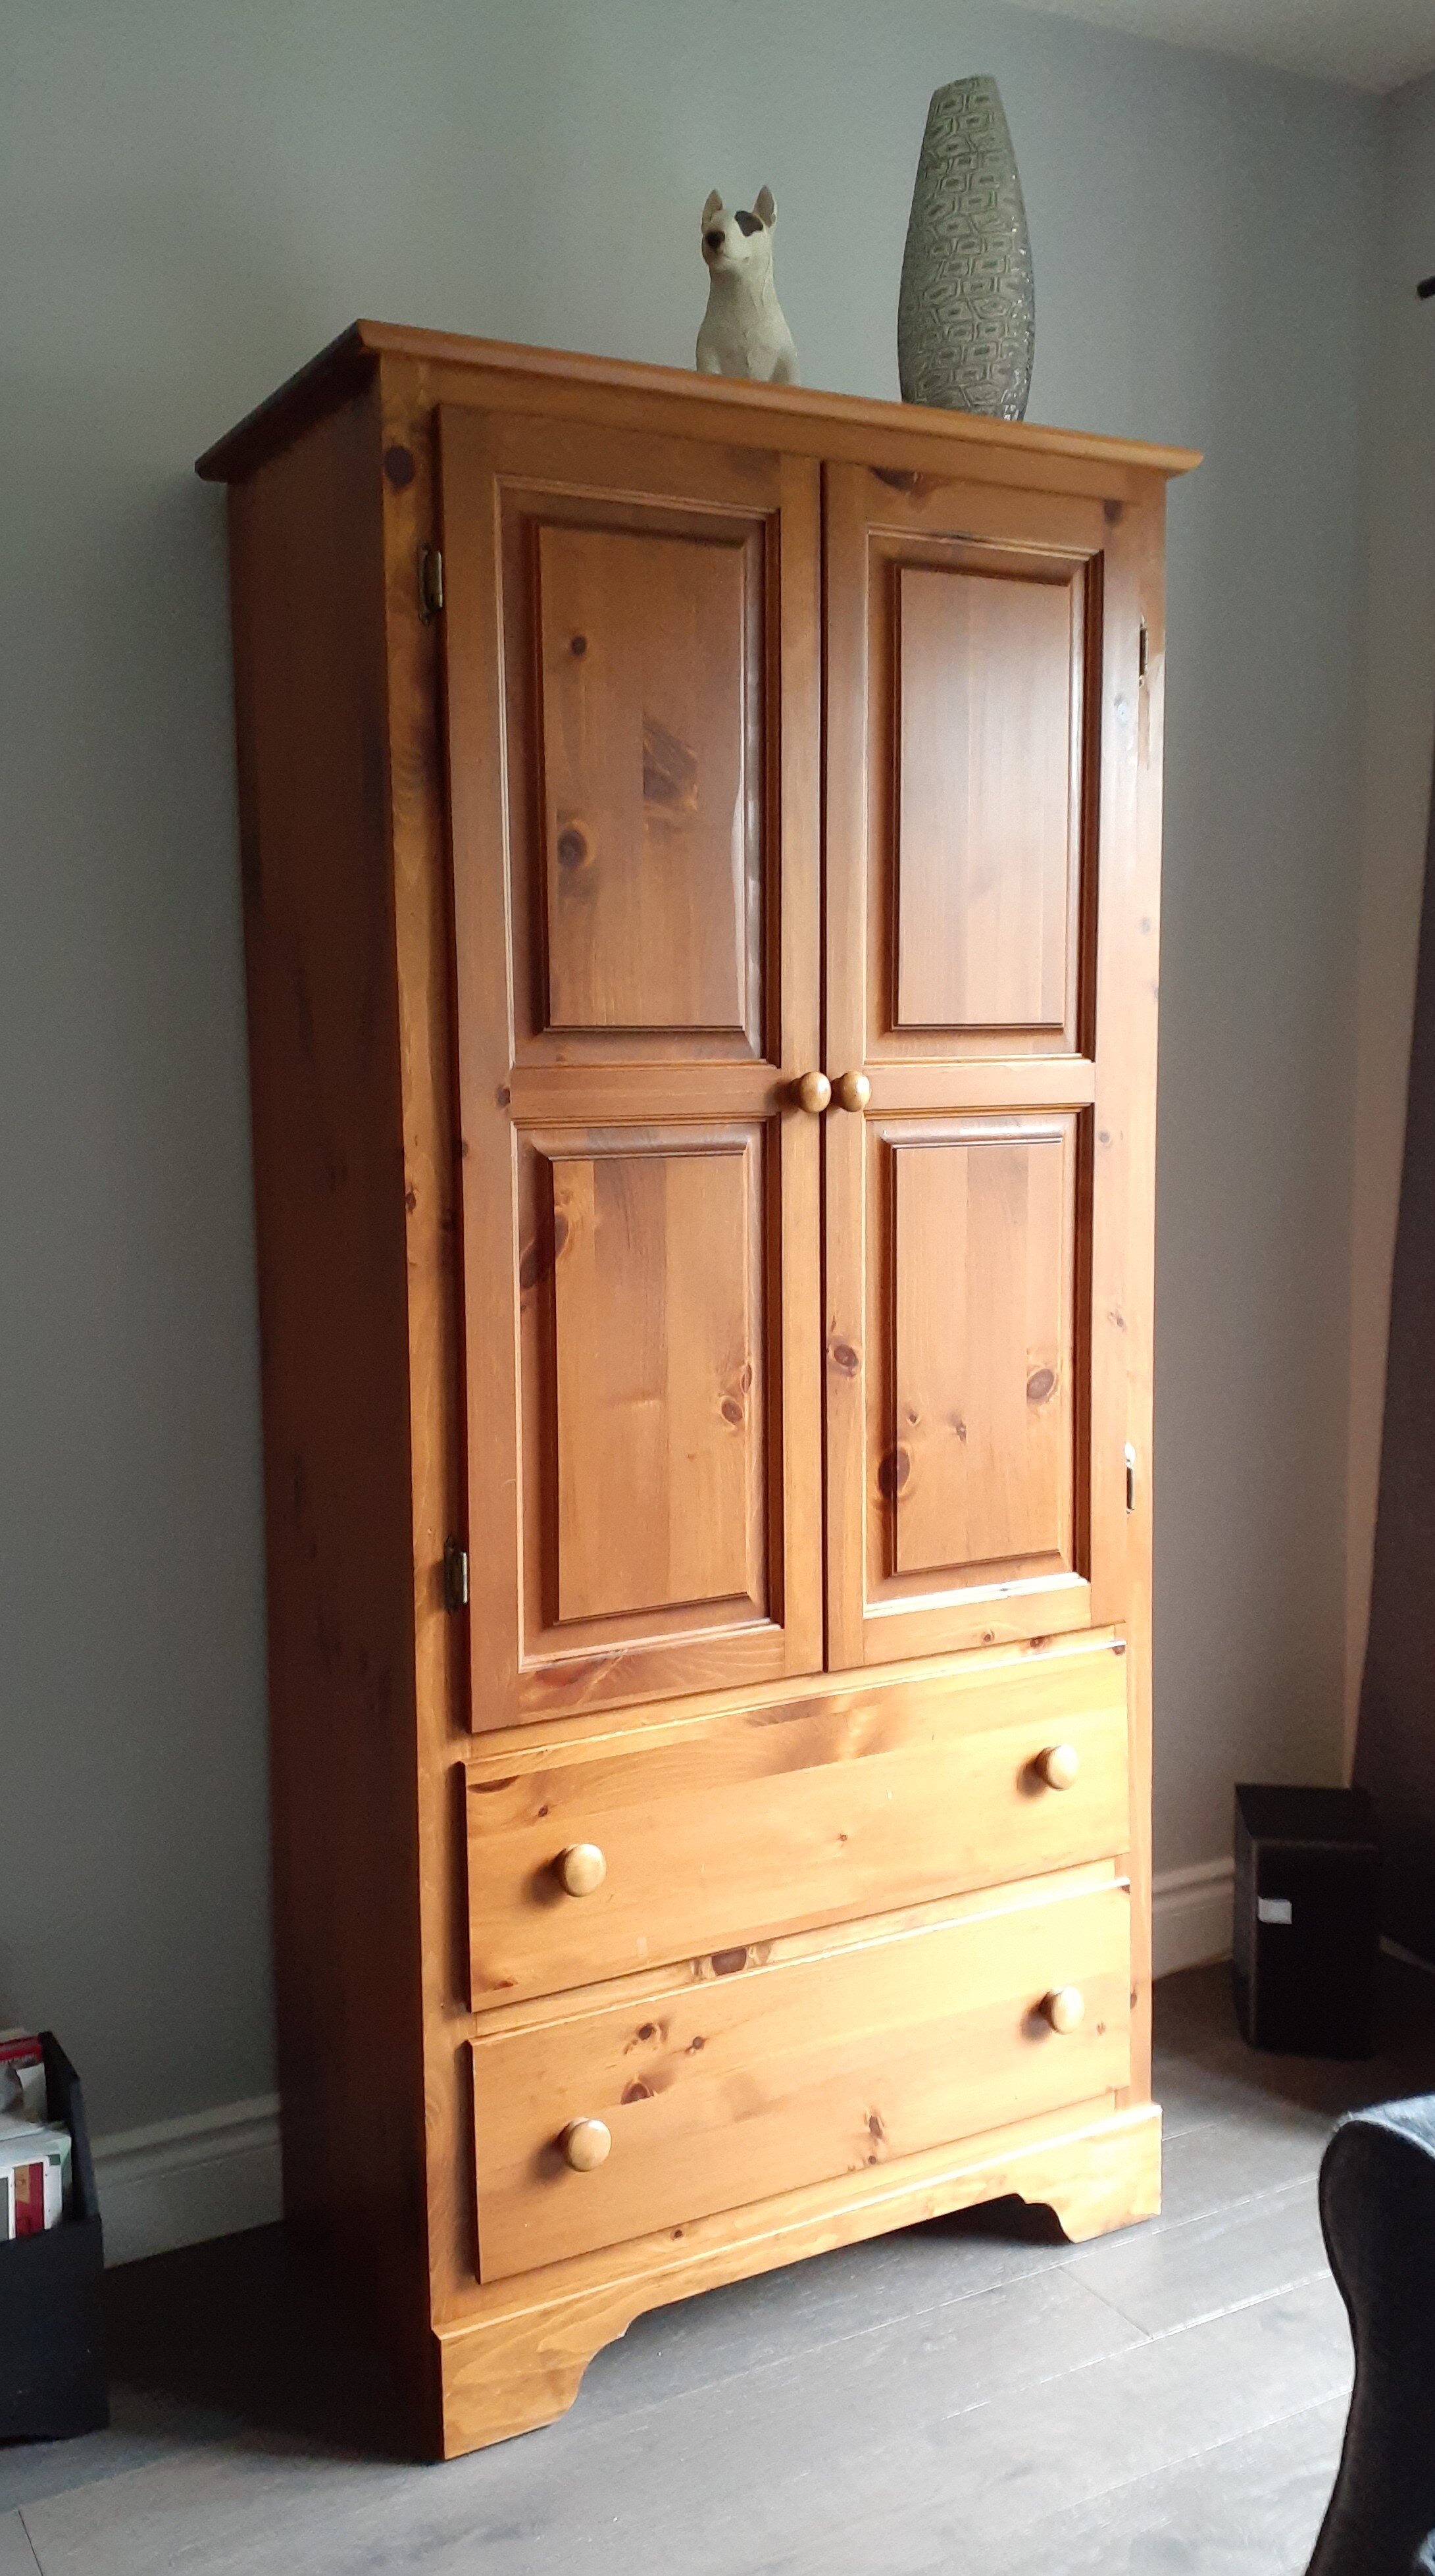
figure 1

figure 2

figure 3
I'm just thrilled with how it turned out and I know my Grandpa would be happy knowing that I have this reminder of him. I'm running out of furniture to refinish...but, hmmm, there is that old dresser in the upstairs hall...