
Quilt Backings
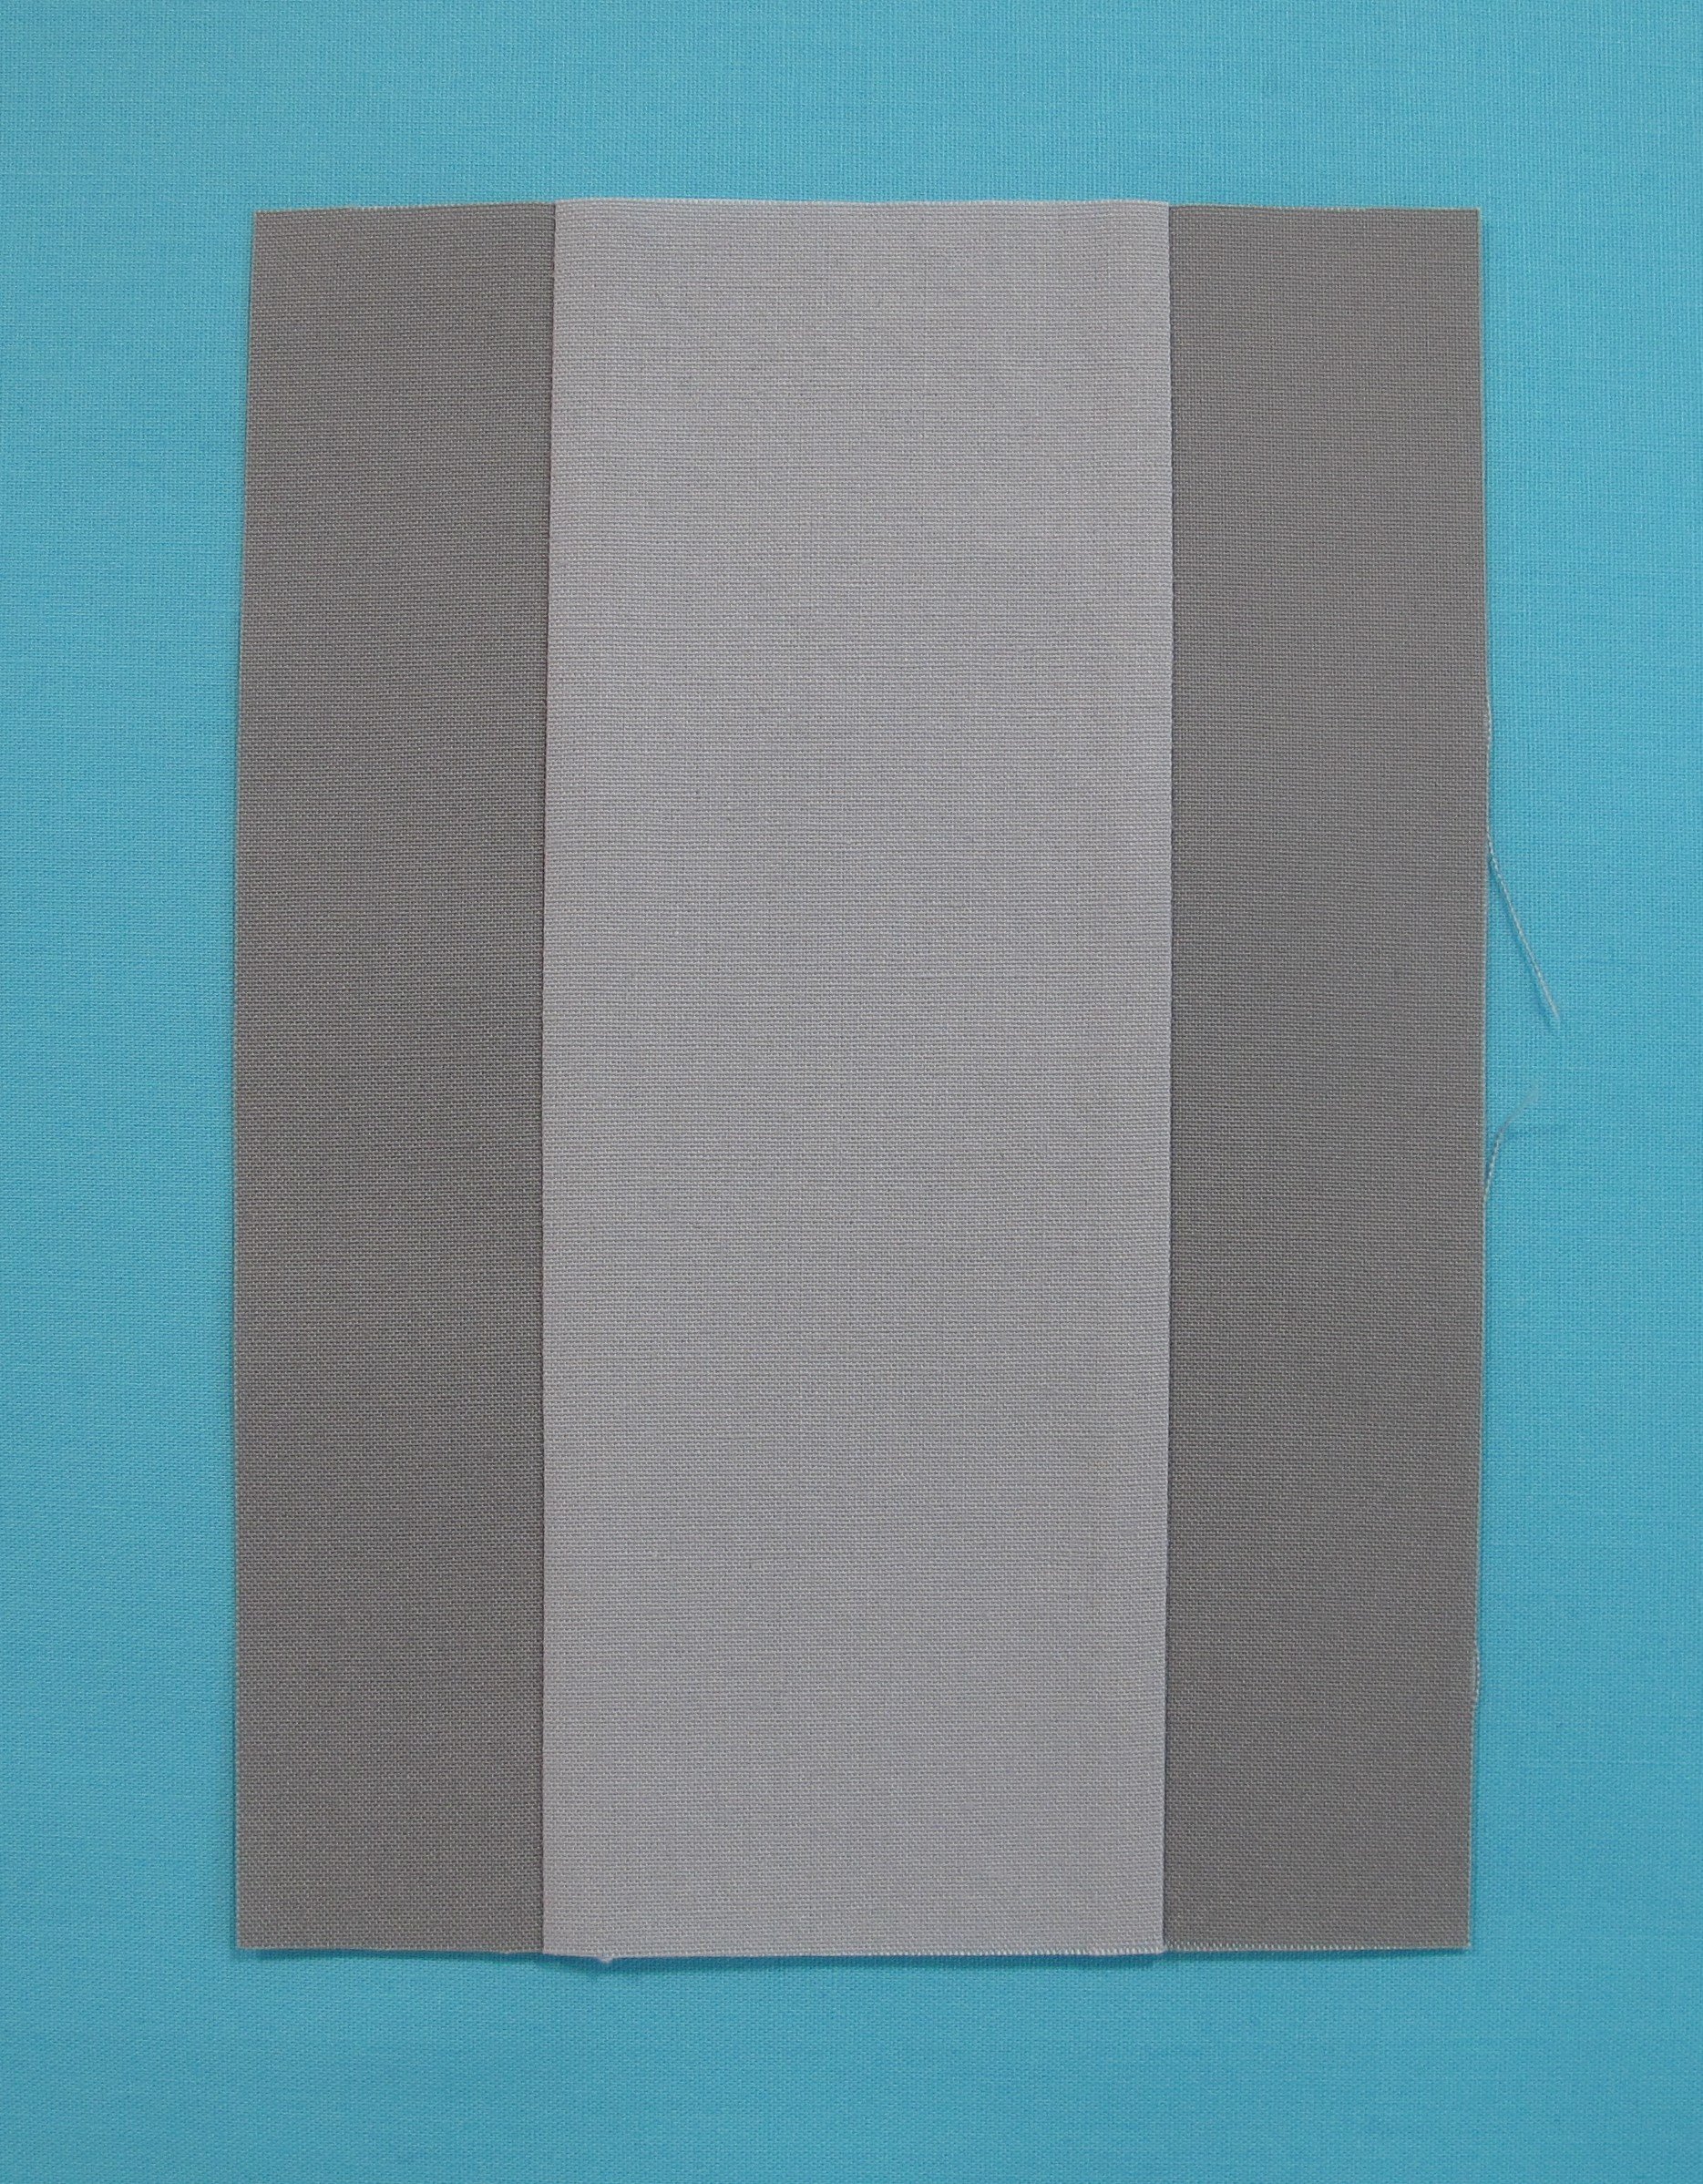
Julia D. sent me an email a few months ago asking a question about backing a quilt and I thought maybe some of you might have also had a similar question. So, today’s post is all about quilt backings with some tips and tricks to give you options. *** These are not regular sized backings but very small 5” x 7” samples for demonstration only. *** Different shades of grey on the first 2 samples are there only to differentiate the two separate areas.
Back in the ”olden days” when I first started quilting, I was told that if a quilt was to be entered into competition, the backing was to be pieced in a very specific way. One full panel of fabric (from selvedge to selvedge) was to be centred vertically and the additional fabric, to make up the width and length required, was to be stitched to either side of that centre panel. I really have no idea if this is still the norm or not, but back then there were no extra-wide quilt backing fabrics available, so you can imagine how much more regular width fabric would be needed for a large quilt. Now there are so many beautiful extra-wide backings available that regular width fabrics are usually used only when you want to incorporate the same fabrics as in the quilt top.
Of course, the same technique can be used with a horizontal setting by placing the centre panel from side to side and the additional panels above and below. Just be sure to cut off the selvedges because they can shrink more than the rest of the fabric because they are so tightly woven. Follow the instructions here for tips about cutting fabric lengthwise to get rid of the selvedges. It’s also a good idea to use 1/2” seam allowances on backings because they are stronger.

Many times we have leftover extra blocks or strips that didn’t get used on the front of the quilt. This is a perfect scenario for using them on the back of the quilt. Stitch them all together in one long row and add large panels to either side. What a nice surprise when the back of the quilt is showing…it adds that little something extra to the quilt. Once again, this panel can be either vertical or horizontal.


*** Please note that if you are using the services of a longarmer, the patchwork panel must be parallel to the frame rollers. Even though the throat area of the machine is very large, once rolled, the fabric where the panel is can accumulate under the throat of the machine with every revolution of the roller after each section is quilted and can distort the quilt. This also ensures that the panel will be relatively straight on the back as it’s in line with the rollers.
*** Please also note that if you are using the services of a longarmer, an extra 5” all around the quilt (10” in both directions) will be needed for both backing and batting. This takes into account that sometimes extra-wide backings are not always on grain or perfectly straight when cut from the bolt. And, let’s face it, not all our quilts end up square! It’s a bit of insurance.

One thing I like to do, especially if I am making a really scrappy quilt, is to use large pieces of my extra fabrics on the back…just like one large patchwork block. This way I can use some of my fabrics that I’m not really that in love with anymore. They are not going to waste, but are getting a new lease on life on the back. Of course you can use leftover blocks along with the large pieces of fabric and come up with your own beautiful backing designs. Hopefully these ideas will help you get those quilts out of the cupboard and on the beds.