
Quilt-As-You-Go Placemats

use up those orphan strips!
For quite a while now I've been making up quilt-as-you-go (QAYG) placemats for the Meals on Wheels program as part of my charity contributions for my quilt guild the Twisted Stitchers. I always have multiple orphan strips in various widths left over from other projects and this is a great way to make use of them. It's also a wonderful project for a newbie quilter, or for those of you looking to complete something quickly.
*** scroll to the bottom of the page for a printable PDF
Normally my placemats have a finished size of 13” (depth) x 18” (width), so all measurements in this tutorial are for that size, but if you prefer them larger or smaller it's an easy thing to change. As long as your backing and batting are 1” larger than the preferred finished size and your strips are cut 1” longer than the finished height, you're good to go.
I also use up all my batting off-cuts from quilts that I've done and I often piece together smaller pieces of batting with fusible batting seam tape. Fusible batting is not to be used with this project unless it is fusible on one side only, then it is fused to the wrong side of the backing fabric before stitching begins.
Supplies:
one backing piece (1” larger in both directions than the finished size)
one piece of thin batting (1” larger in both directions than the finished size)
a variety of strips in differing widths (1” longer than the finished depth)
two width of fabric strips for the binding
bobbin thread to match the backing
neutral or coordinating thread on top
walking foot (even feed attachment)
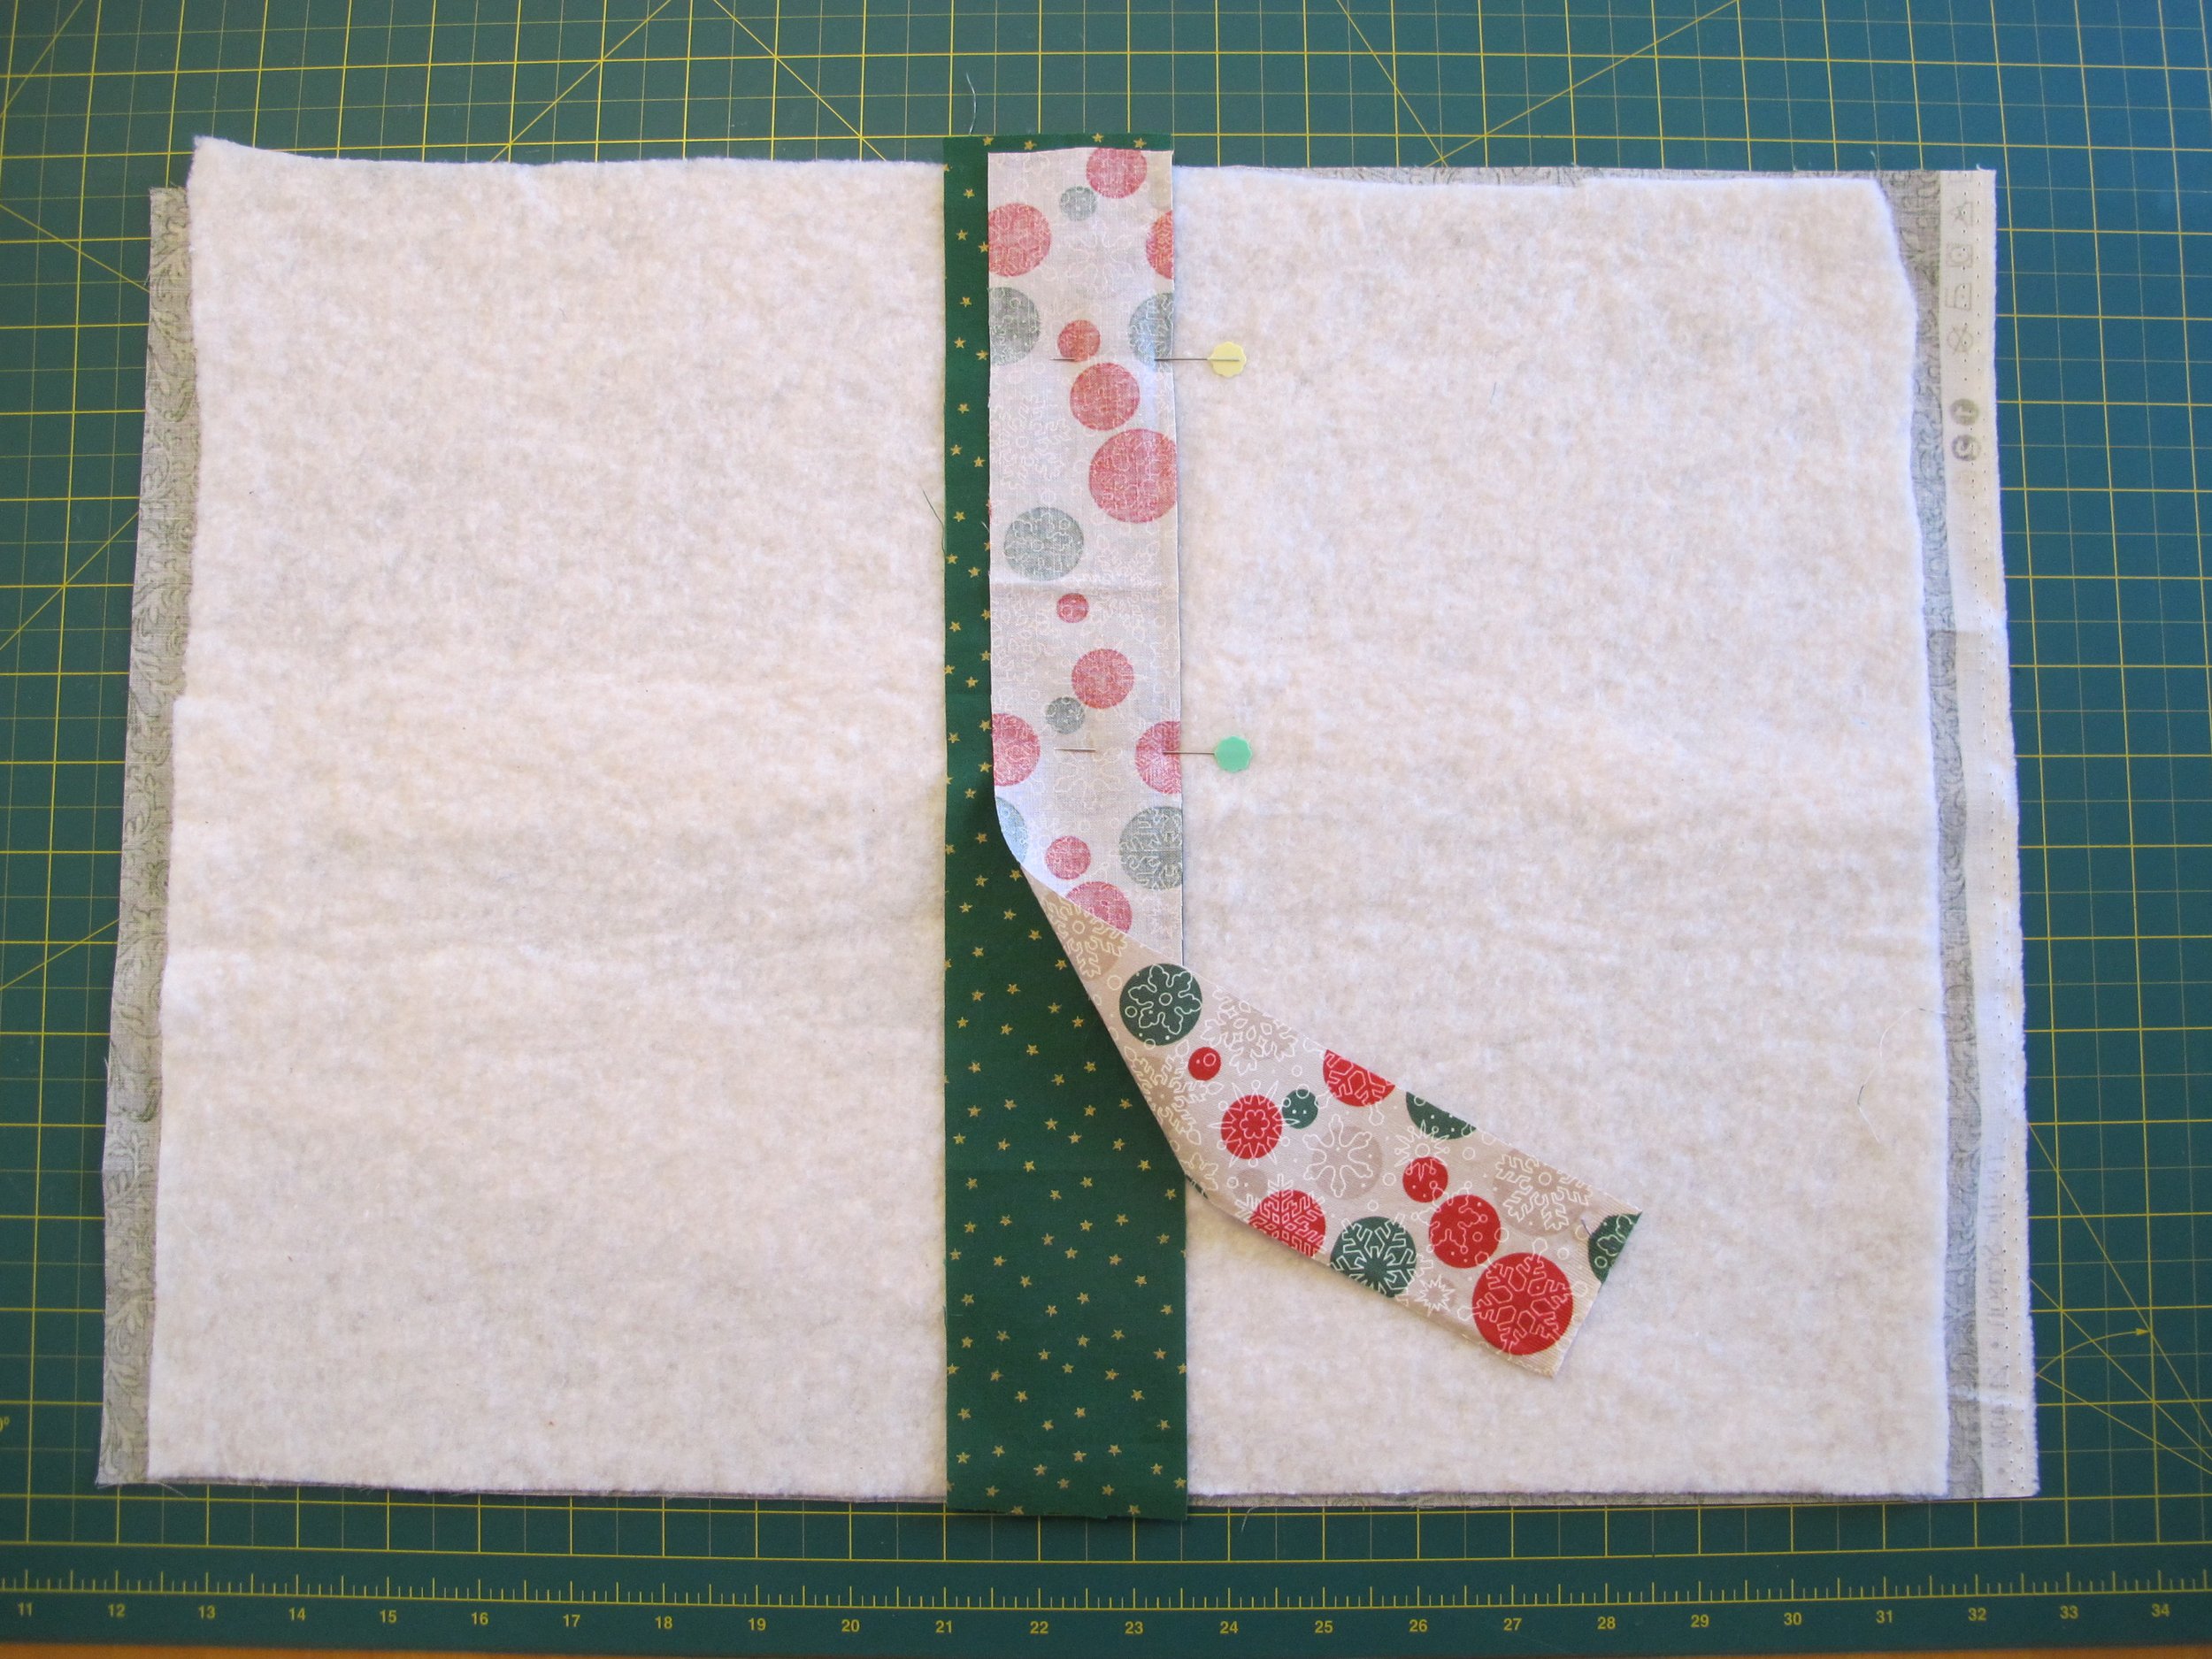
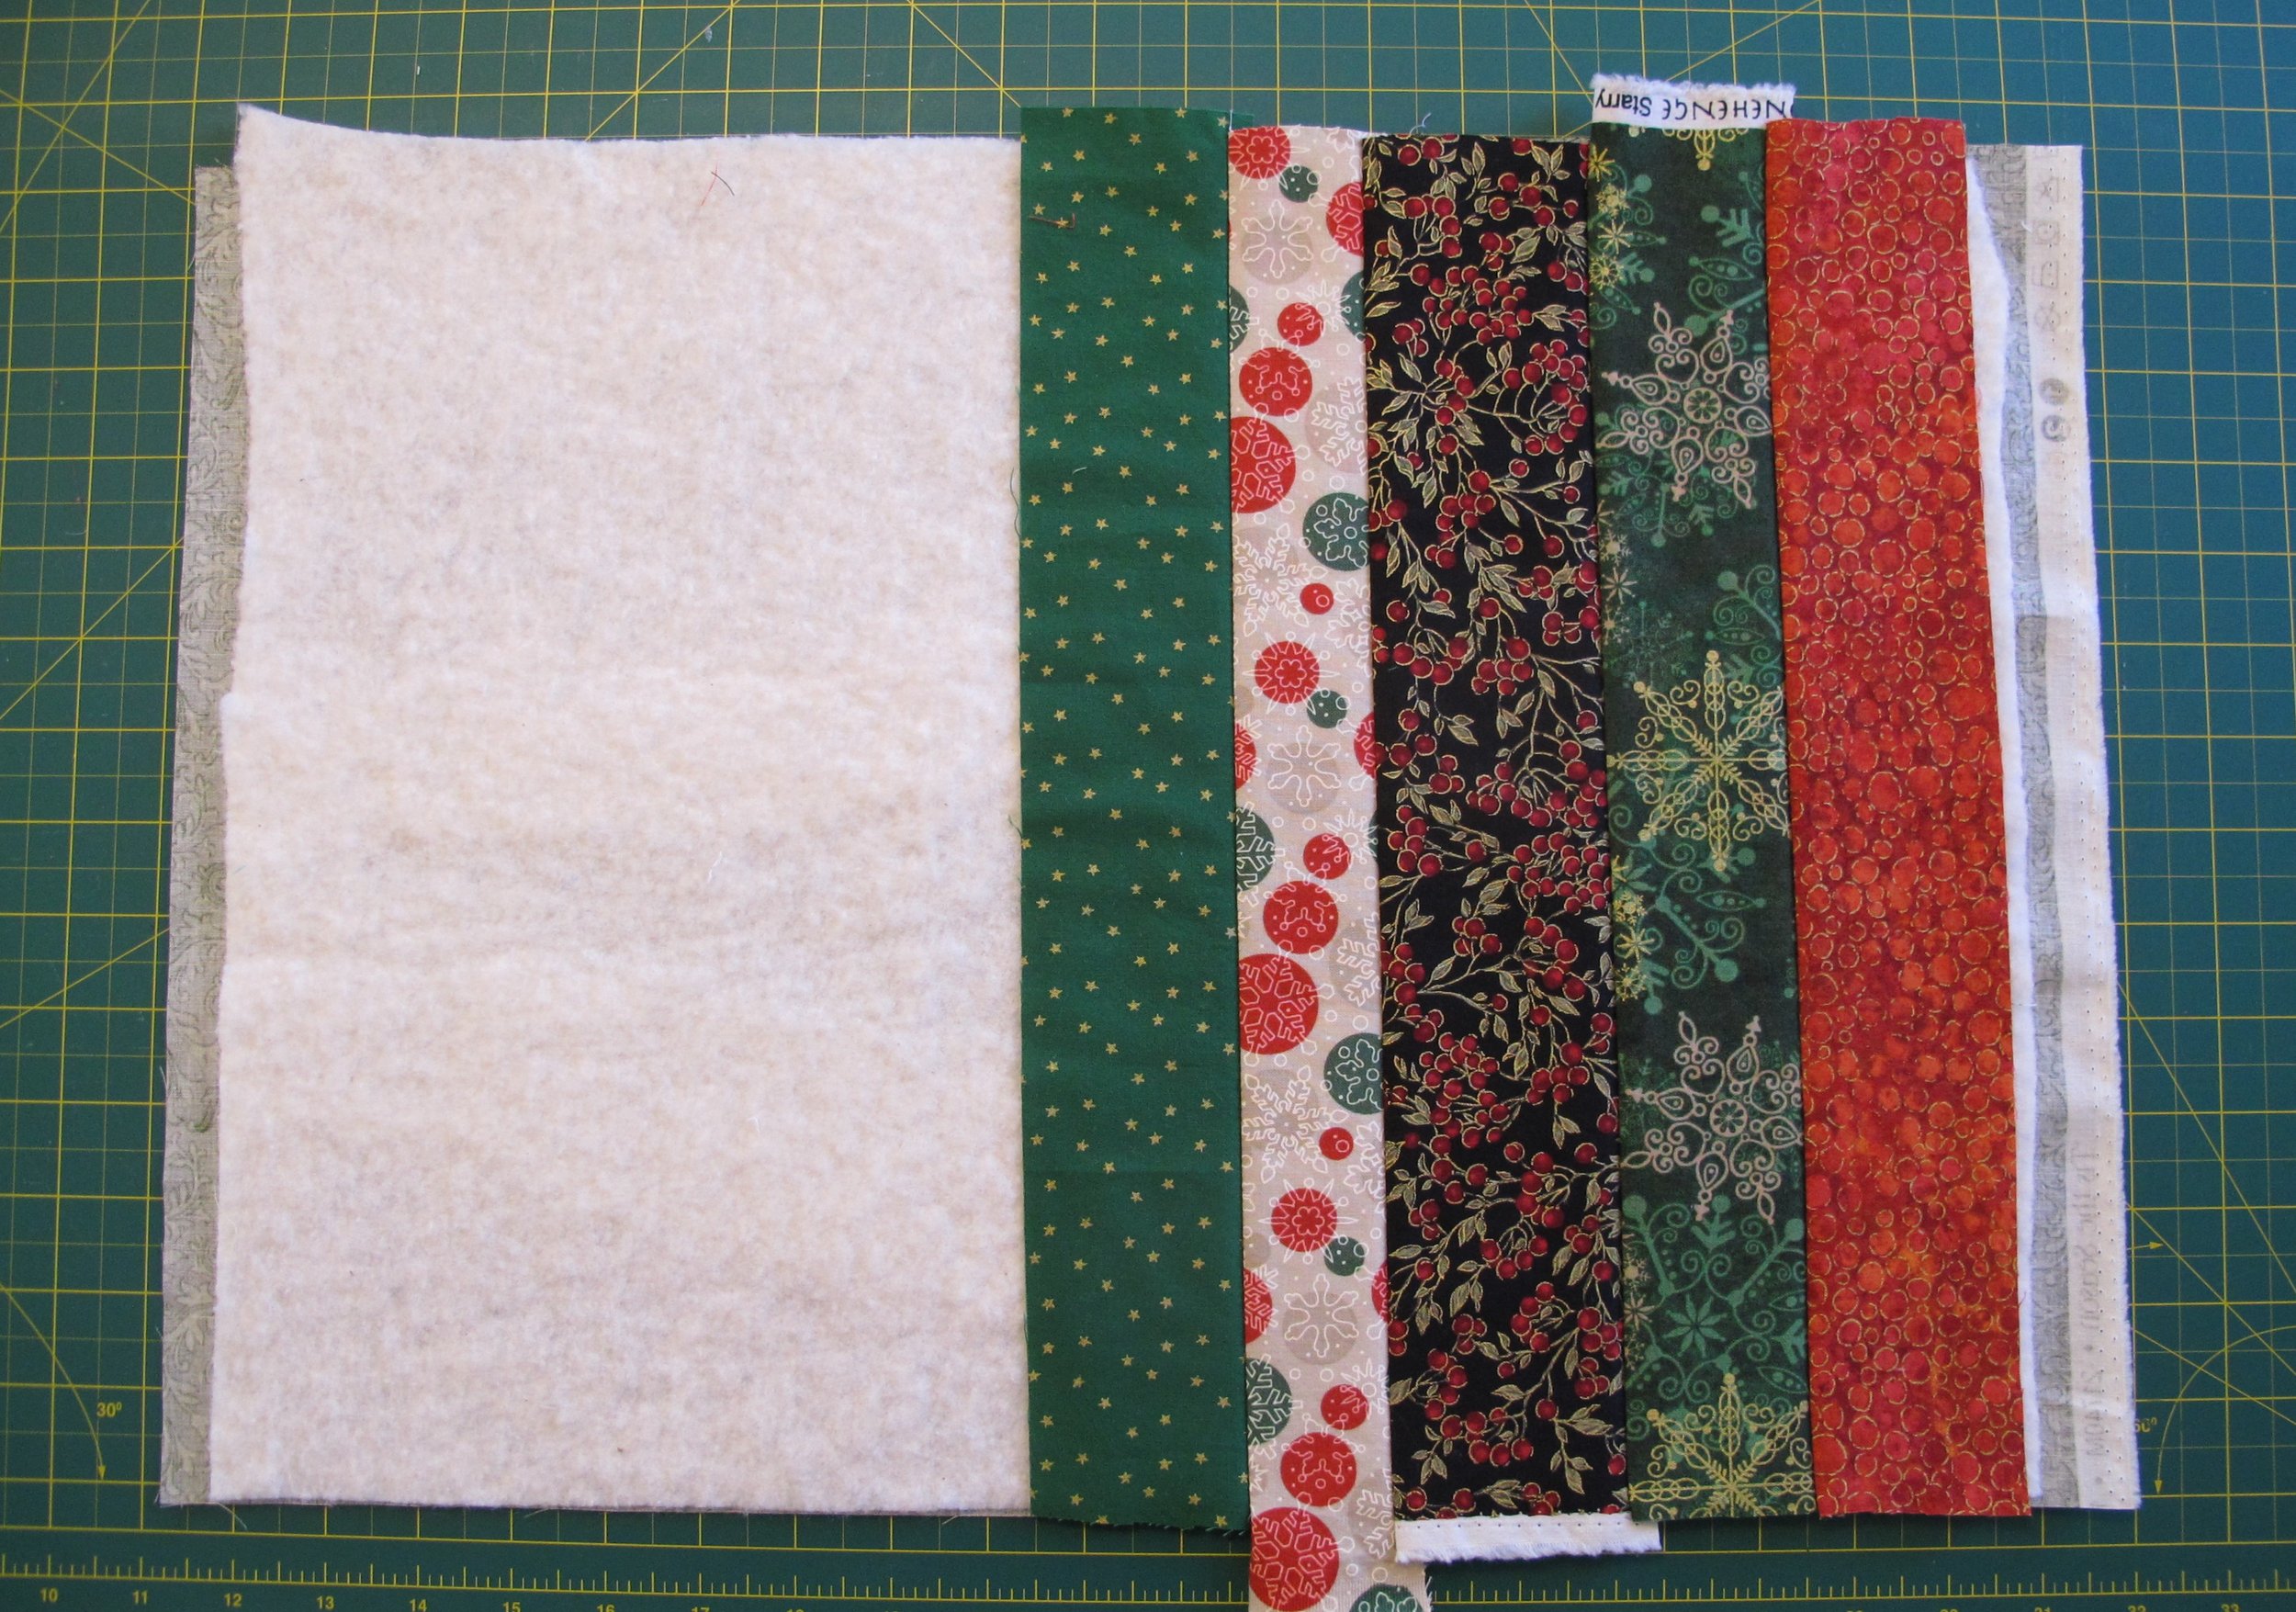
Gather up all your various strips (remember that they can all be of differing widths- I usually use strips anywhere between 1”- 3” wide) and cut them about 1” longer than the depth of the finished placemat. This is so you have a little bit of insurance when trimming the placemat later, but if your strip is only 1/2” longer it will probably work. The sample that is shown has one single strip in the centre and all others are in sets of two making both sides symmetrical. The photo at the top of the page shows random strips...perfect for using up extras.
Lay the backing fabric wrong side up on the table, place the batting on top of the backing and either spray baste the two layers together or use a couple of pins. Centre the first strip and pin in place. With right sides together, place another strip on the right and stitch through all layers using a 1/4” seam allowance. Stitch length should be between 2.5-2.8. The walking foot is recommended because it stops the layers from shifting (if your walking foot does not have a specific 1/4” spot to follow, just find a spot where it's as close to the 1/4” as possible...no need to be exact here since seams are not matching).


Press the strip right side up, again with right sides together place another strip on the right, stitch through all layers, and press that strip right side up. Repeat until that side of the placemat is filled with strips. Turn the placemat around and repeat with the other side.


***Sharon's hint: the final strip on each end should be one of the wider strips so if trimming is necessary it won't be too narrow when finished.
Once all the strips have been sewn on, the placemat must be trimmed to size. With a long ruler, line up one of the centre seams with a line on the ruler (notice the white line on the ruler in the photo, just left of the 12” mark, is lined up with the seam of the green centre strip) and trim one long edge. To make it easy for trimming the opposite side, line up the trimmed edge with the bottom line on the cutting mat and cut the other long edge along the 13” line on the mat.


Mark the centre spot on the centre strip and cut 9” away from the centre on both short ends, or again use the lines on the cutting mat, for a finished size of 13” x 18”. Stitch within the seam allowance on both short ends so the end strips don't get folded back when applying the binding. Use your preferred method of binding or follow the instructions here for my fave method.


These are so fast and easy to make, even for a true beginner quilter, and the fact that you are piecing and quilting at the same time, makes it so satisfying. Have fun using up all your orphan strips!