
Happy Hexies

Last year, when the English paper piecing (EPP) bug hit me, I got a huge amount of inspiration from Instagram. One person who I started following is @naomialicec who has hosted a #focuscuttingsewalong for the last couple of years. Her hexagon shapes include the usual hexagon in the centre with six half-hexagons around the perimeter to create a larger hexagon. Even though I did not follow along with her prompts for fussy cutting according to her categories, I still loved the style of the hexagons she created and wanted to do my own version.
In the Southern Aurora kit that I purchased there was a 1” acrylic hexagon template and also a 1” acrylic template for the half-hexagon…didn’t that work out well?! This allowed me to do some fussy cutting for my own hexagons because I could see through the template to highlight the designs in the fabric.
Having already worked on two actual quilts, Prudence and Southern Aurora, now was the time to focus on something a little smaller…a runner for my dining room table was the perfect project for these happy little hexagons.
Once again, the sewing room was a disaster area as I dove through all my smaller scraps and leftover bits from fat quarters and other yardage. Then the fussy cutting began for some of the hexies, and, of course, pairing up different colours to make interesting combinations.
Originally I thought that the runner would be really interesting with an entirely jagged edge…then I saw it that way and thought it looked terrible. I loved the ends of the runner, but not the centre area. The solution was to add half hexies to the long sides to straighten them up…much better!


The next step was to take my time and do a proper pressing of the back to flatten all the seams…all those seam allowances needed to be tamed! If you look closely at the photo to the right you will notice that the seams on the right side of the photo have been pressed and flattened while the ones on the left are still poking up and “bushy”…yes, that’s the technical term (LOL)!
After doing all this great pressing work I wanted to maintain that flatness so I opted to back the top of the runner with Pellon’s 987F Fusible Fleece. It’s a one-sided fusible that is low loft so it’s perfect for runners and placemats…no wobbling mugs or vases!
No way was I going to use a traditional binding on this runner…I didn’t want to drive myself that crazy going around all those weird angles…so I opted for the “birthing” technique where the runner and backing are placed right sides together, sewn around the perimeter and a large enough opening was left for turning.
I’m not a fan of runners done this way where the backing is peeking around to the front. I think it looks sloppy and takes away from the runner itself, especially if the backing fabric contrasts too much with the front. In order to stop this from happening I trim the backings slightly smaller than the top.
The first thing to do is place the runner on top of the backing fabric with right sides together, pin them together and then trim the backing even with the runner. I always mark the wrong side of one end of the backing with chalk and place a safety pin in the corresponding end of the runner. No matter how careful you are with the sewing, if they get separated somehow, they definitely will not line up properly when it comes time to sew unless the two marked ends are together. Look at the photo on the left below…none of the edges look to be the same length…you can imagine how frustrating that would be if the top and backing didn’t line up when it came time to sew. Also, place a chalk mark on only one edge of the backing…this comes into play next.
Starting with the marked edge (shown in the top right of the third photo below) trim 1/16” from all edges of the backing fabric. This makes it slightly smaller than the runner itself. When you trim all the way around the runner that mark will remind you not to trim any further! On larger pieces that use the “birthing” method I remove 1/8” from each edge. Notice in the third photo below that the runner is peeking out from under the backing.


a sample showing clipping inner corners and trimming outer corners
Match up the outer corners and edges with pins and stitch with 1/4” seam allowances leaving a large enough opening for turning. If you’ve done any garment sewing you’ll already know this trick…take one diagonal stitch across each of the outside points. This will make sharper corners when the runner is turned right side out. Notch inside corners and trim outer corners so there is less bulk when turning and everything will look much neater.
Turn right side out, poke the points out with a tool, “roll” the edges with your fingertips to push the backing to the back, and give it a good press all around. The opening from turning will need a bit of extra attention to ensure the seam allowance is hidden. Once that is done, edgestitch around the perimeter closing up the opening at the same time. I chose to machine quilt (stitch length 2.8) with the walking foot along the seam lines using Aurifil #1243 dusty lavender, which blends really well with most of the fabrics. The fabrics are so busy that it would have been a waste of time free motion quilting any kind of intricate design so this was a good choice.
Make your life easier by doing as much continuous quilting as possible…follow the seam lines, pivot when you arrive at the edge of the runner and keep pivoting until you get to the other end. Repeat as many times as necessary until the runner has been quilted to your liking. This way you’re not starting and stopping each time you reach an edge.


This project was a joy to work on…I loved the variety of fabrics used, the fussy-cutting, and challenging myself with the finish on the jagged edge. Back in the days when I first tried English paper piecing, the only inspiration at the time came from the very old fashioned Grandmother’s Flower Garden which just didn’t do it for me. That’s why I did my first EPP project like a colour wash. Now I’m taking my own advice, working with my favourite colours, getting involved with some old techniques and doing my own thing while enjoying the process!
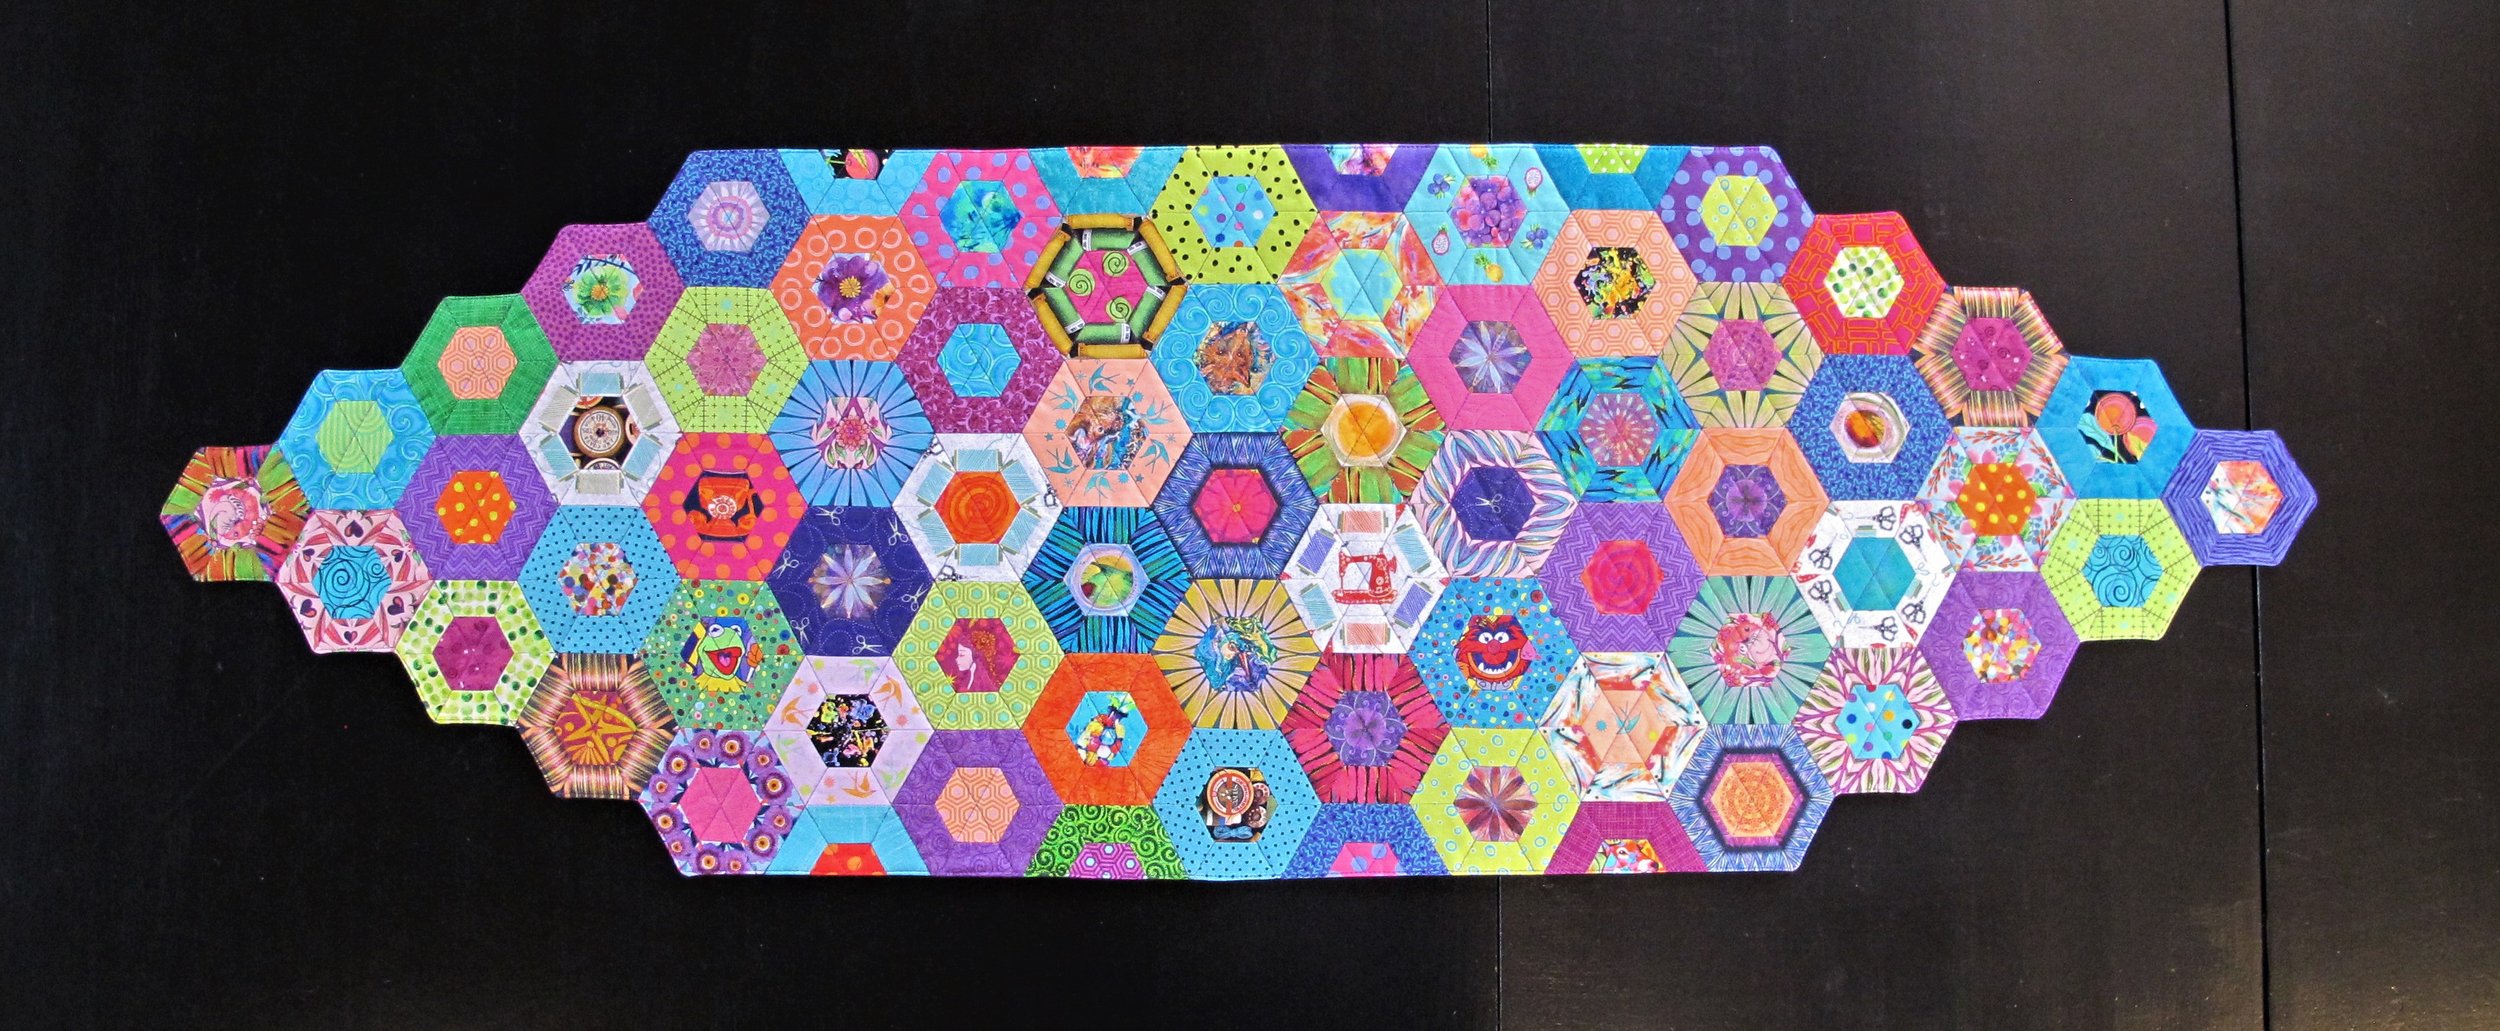
the completed runner